Thermoelectric Cooling Vest
CU Boulder ME Senior Project
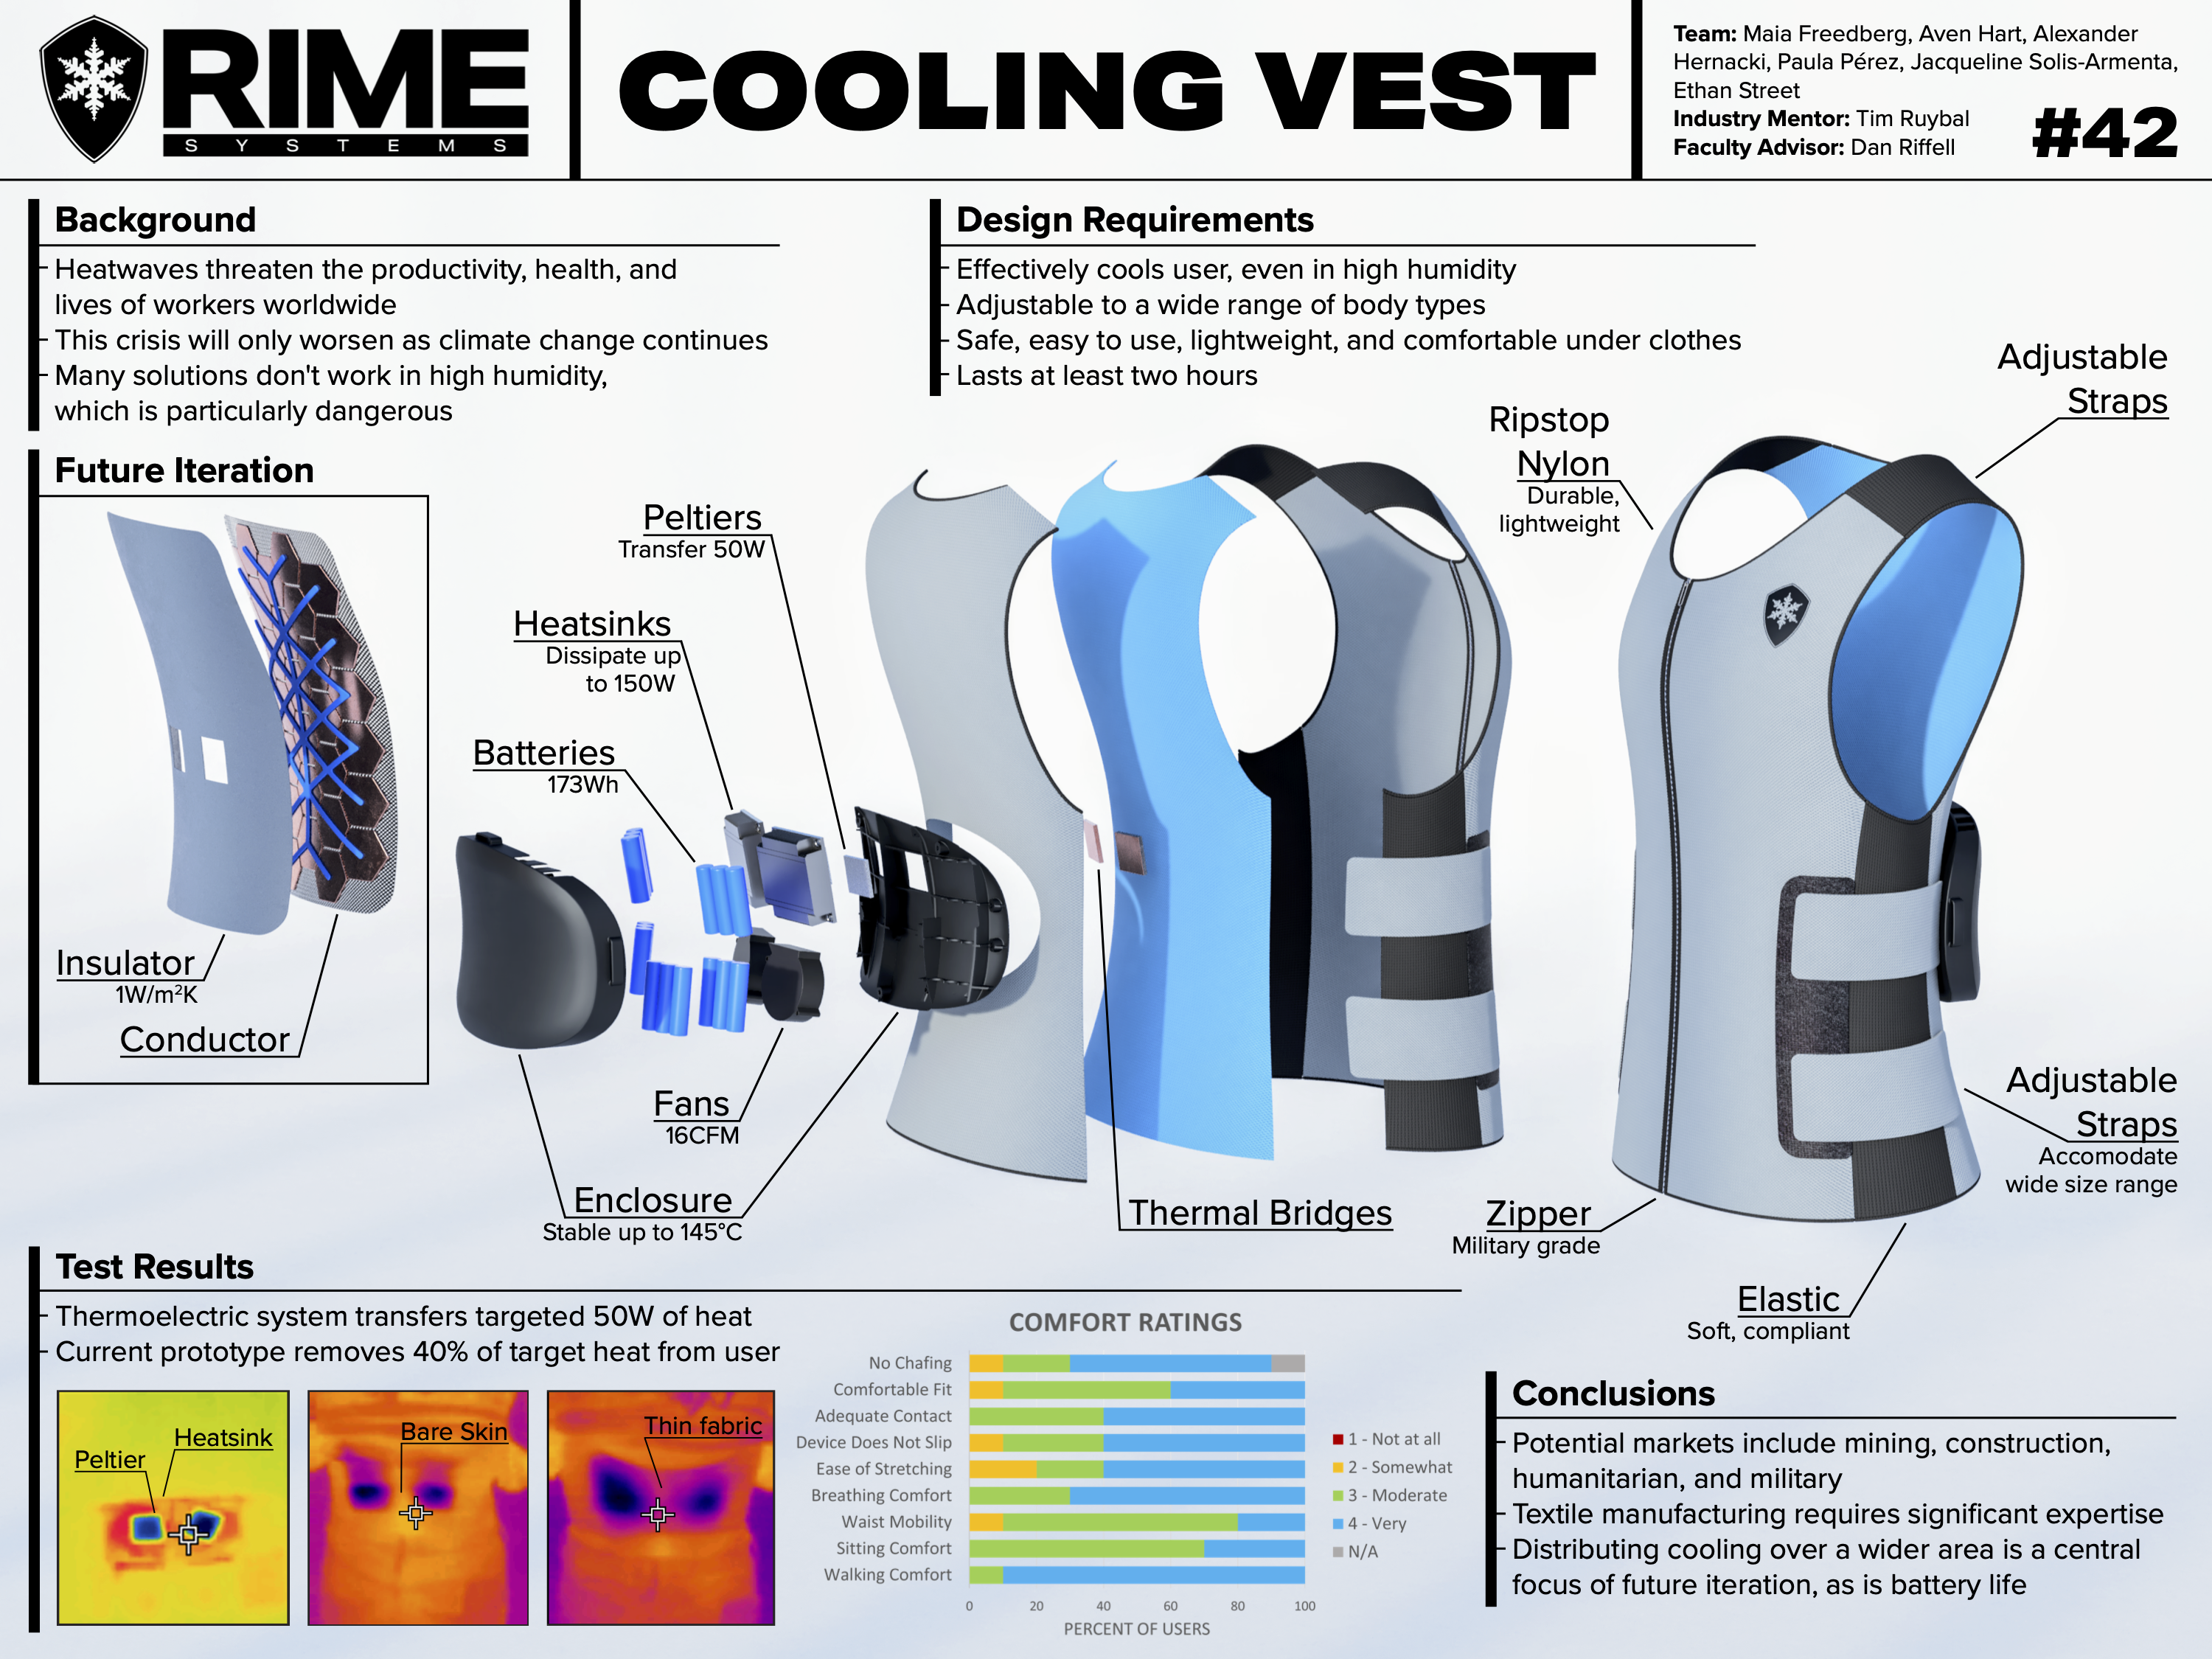
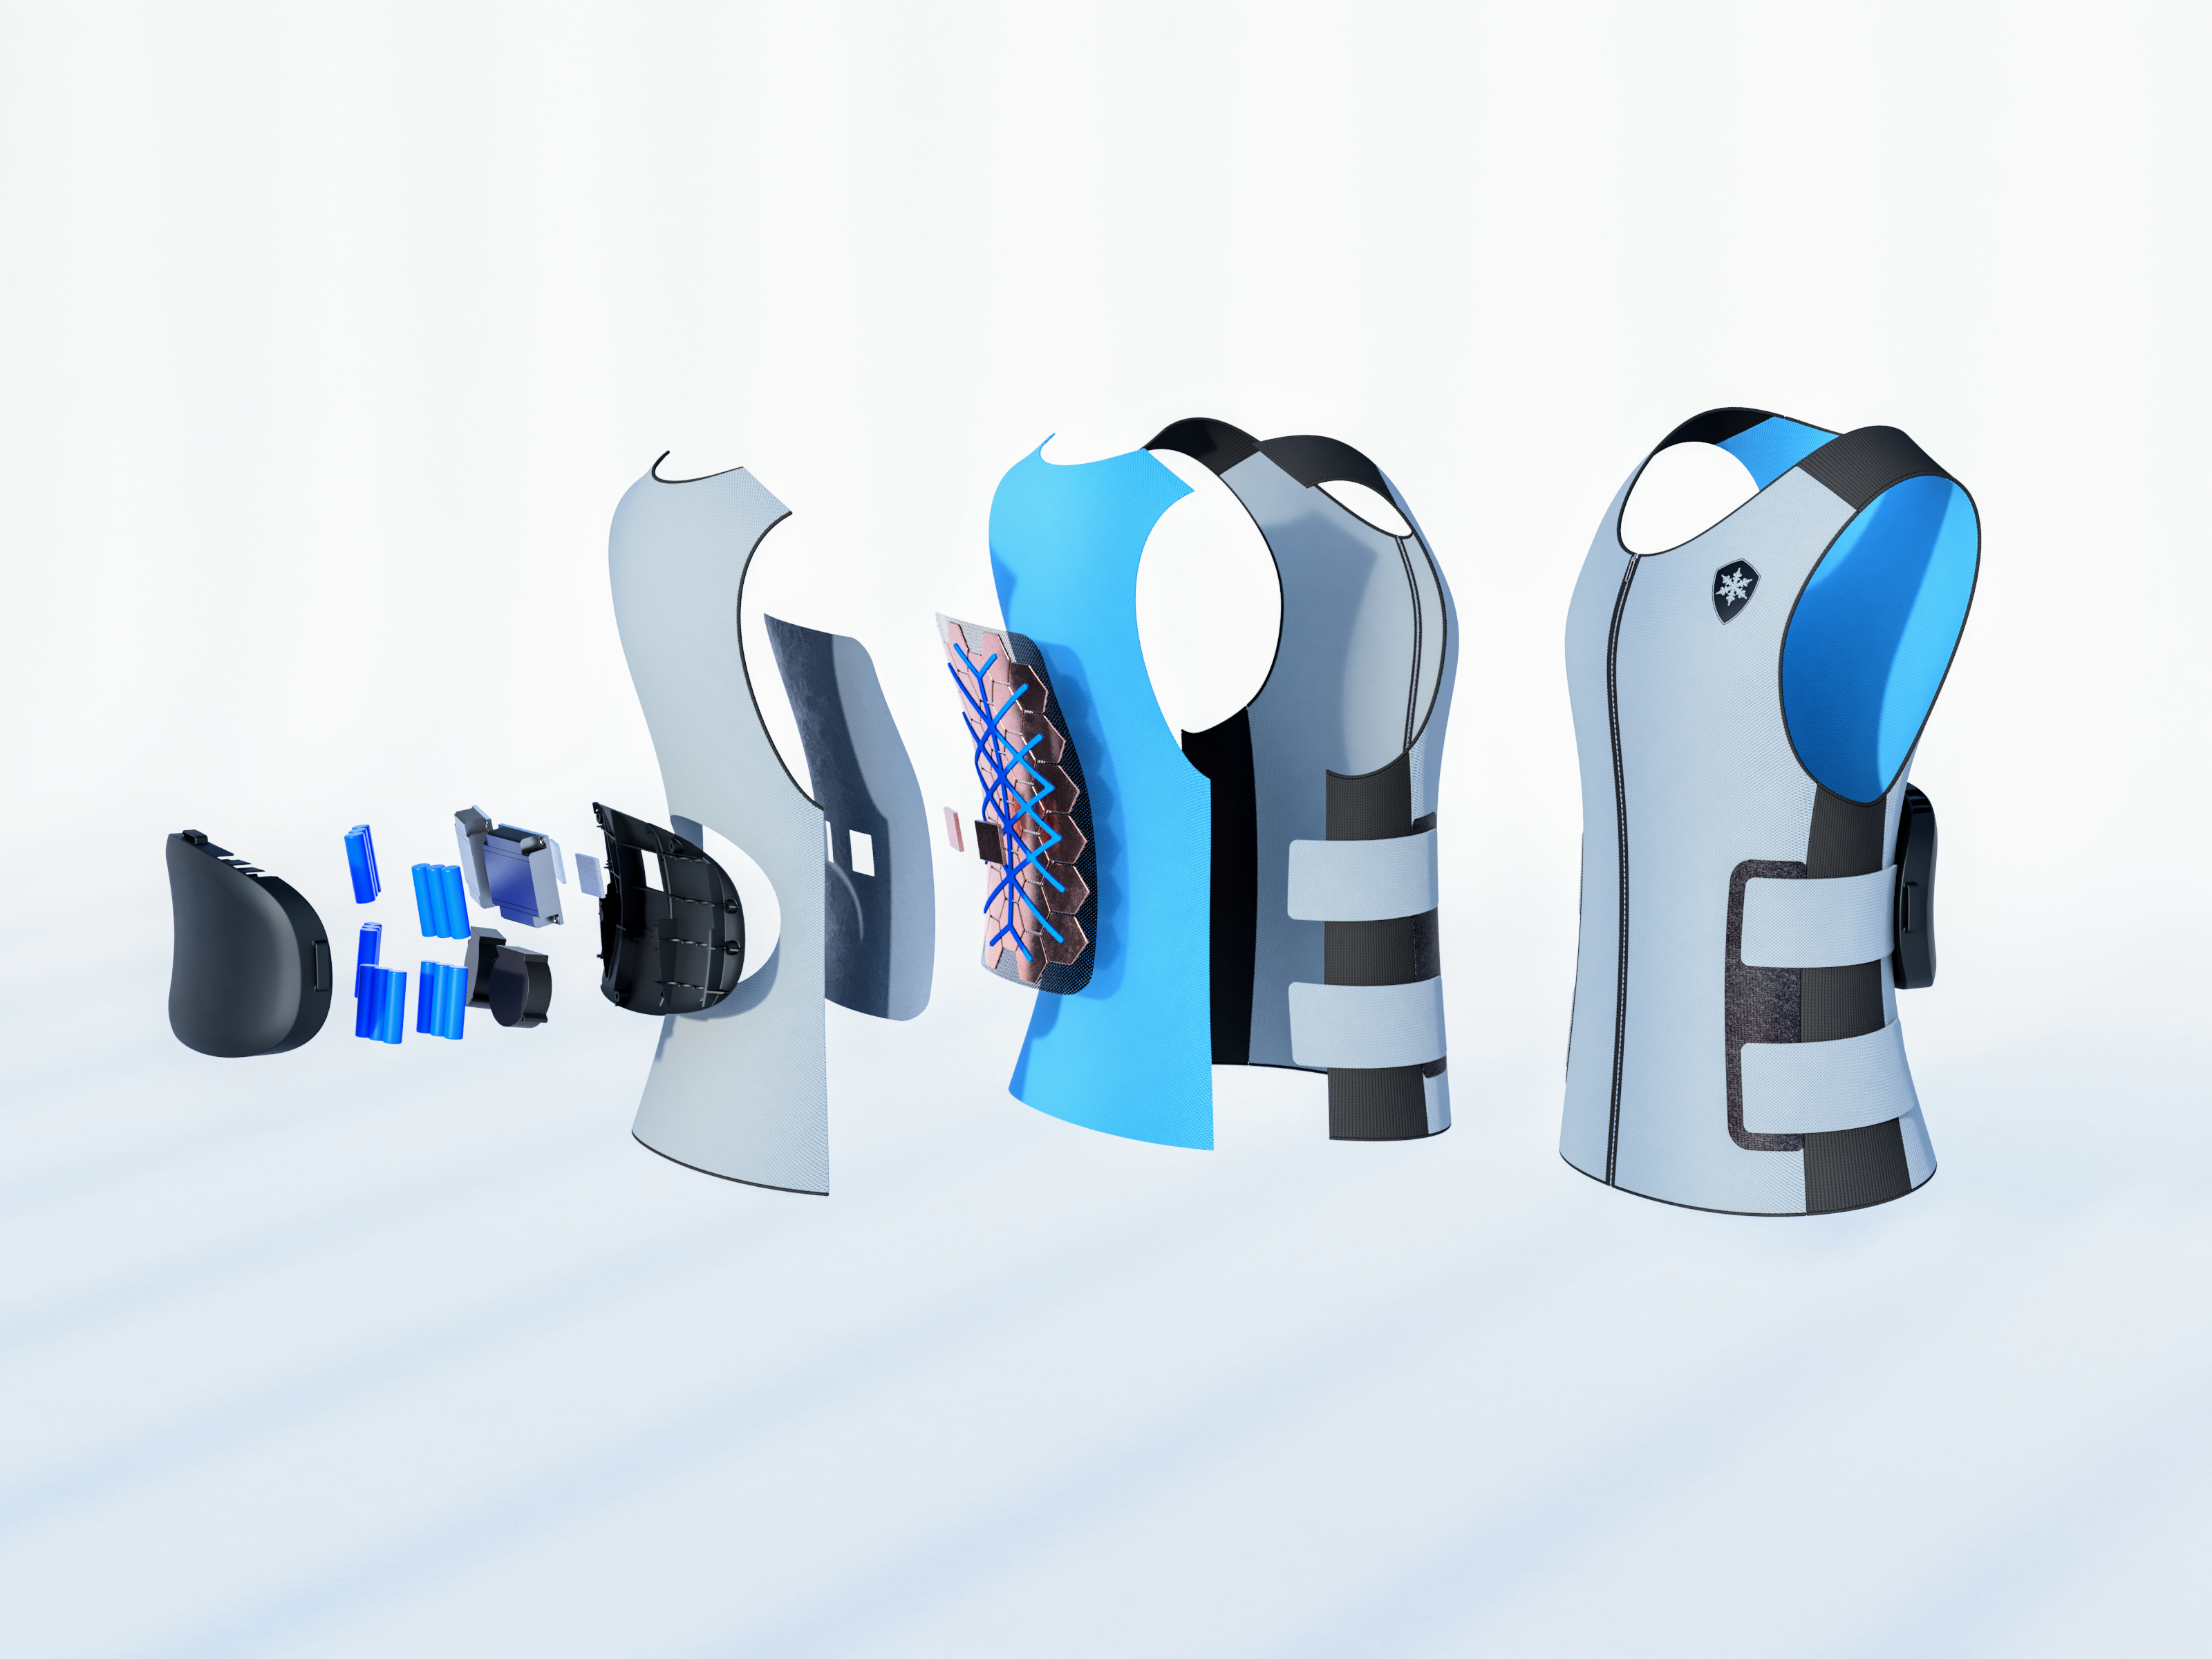
The system as a whole was collaboratively designed, with each team member leading a particular aspect of the project. The others spearheaded testing, fabrication, project management, simulation, and finances and BOM, while I lead the computer-aided design and handled rendering as well as the additive manufacturing and post processing of our rigid enclosure.
Competing in the New Venture Challenge at CU Boulder, we placed in the top 25 out of more than 200 teams.
Brainstorming
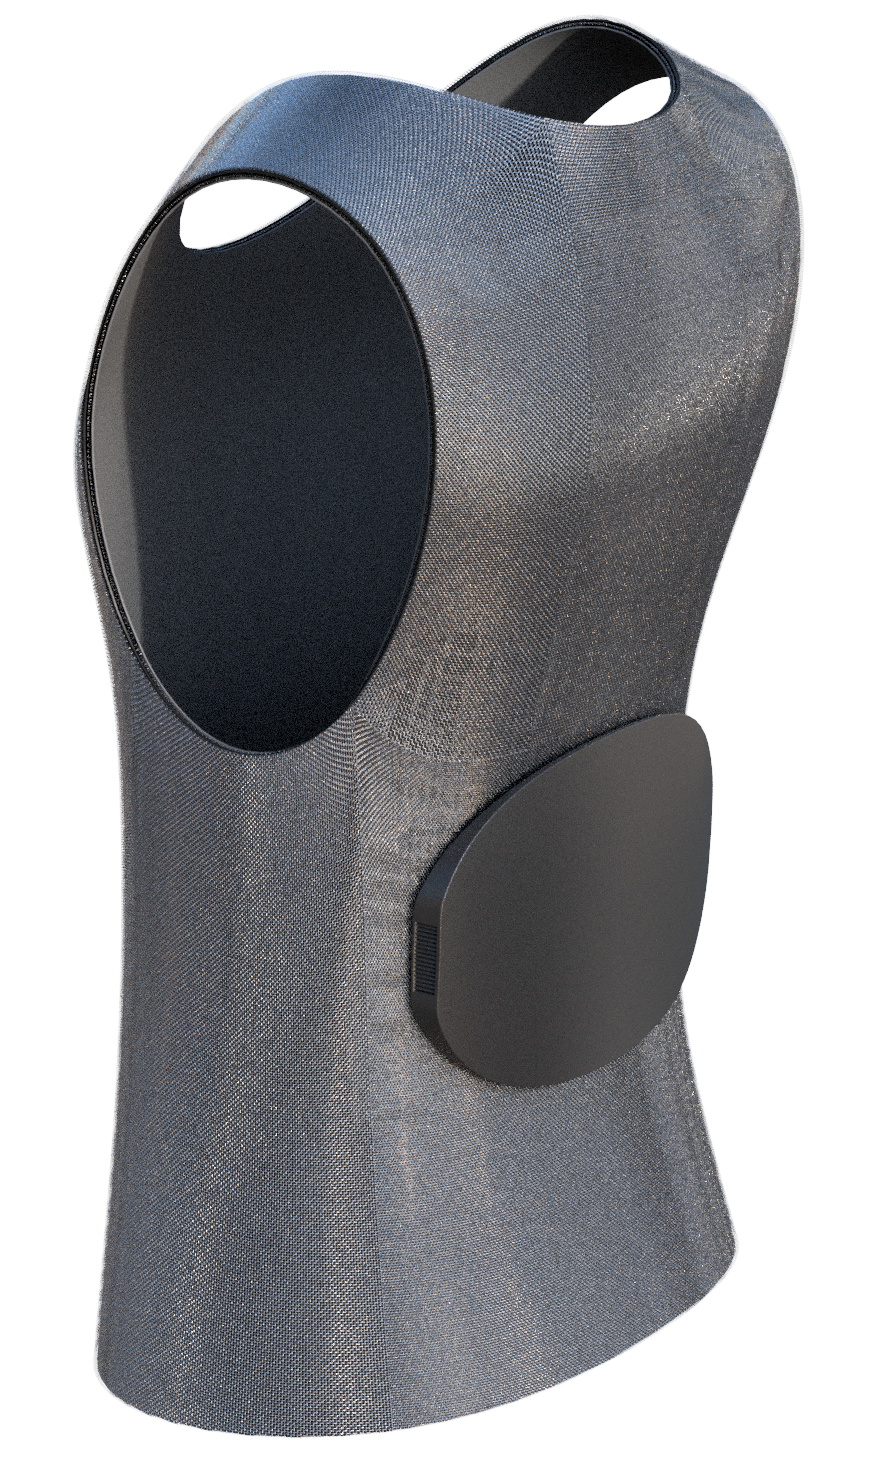
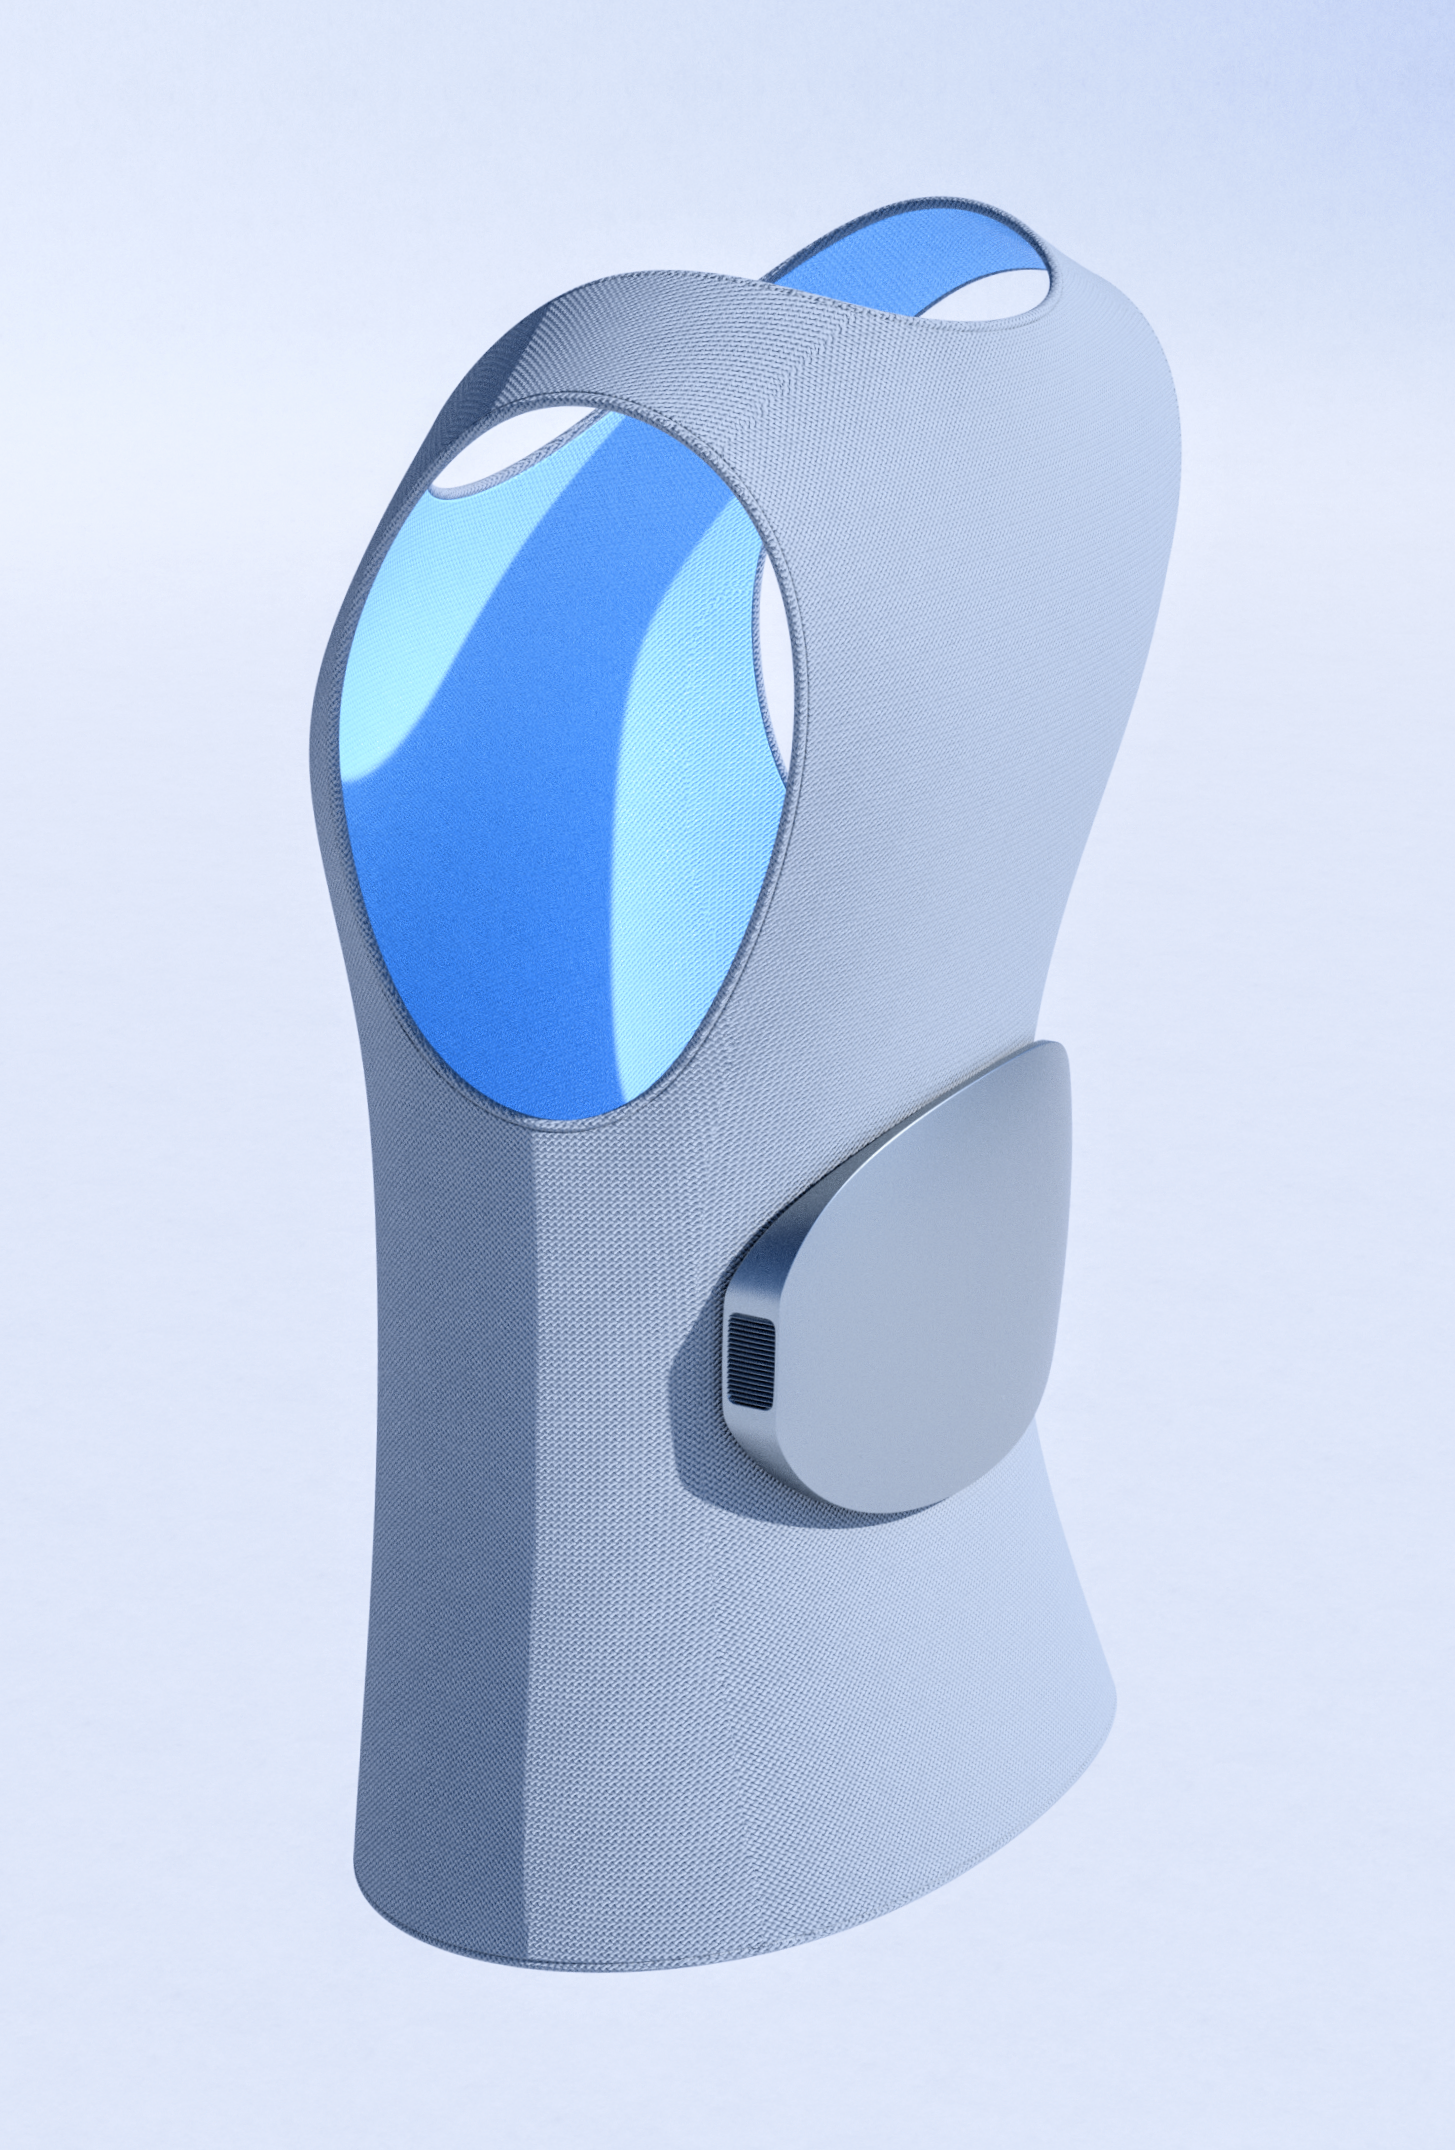
The project began with a simple goal: create a wearable replacement for air conditioning.
In particular, our focus was on creating a device that would ensure survivability in wet-bulb temperatures that are otherwise dangerously high. These conditions are becoming increasingly common as our climate changes.
Designing Version One
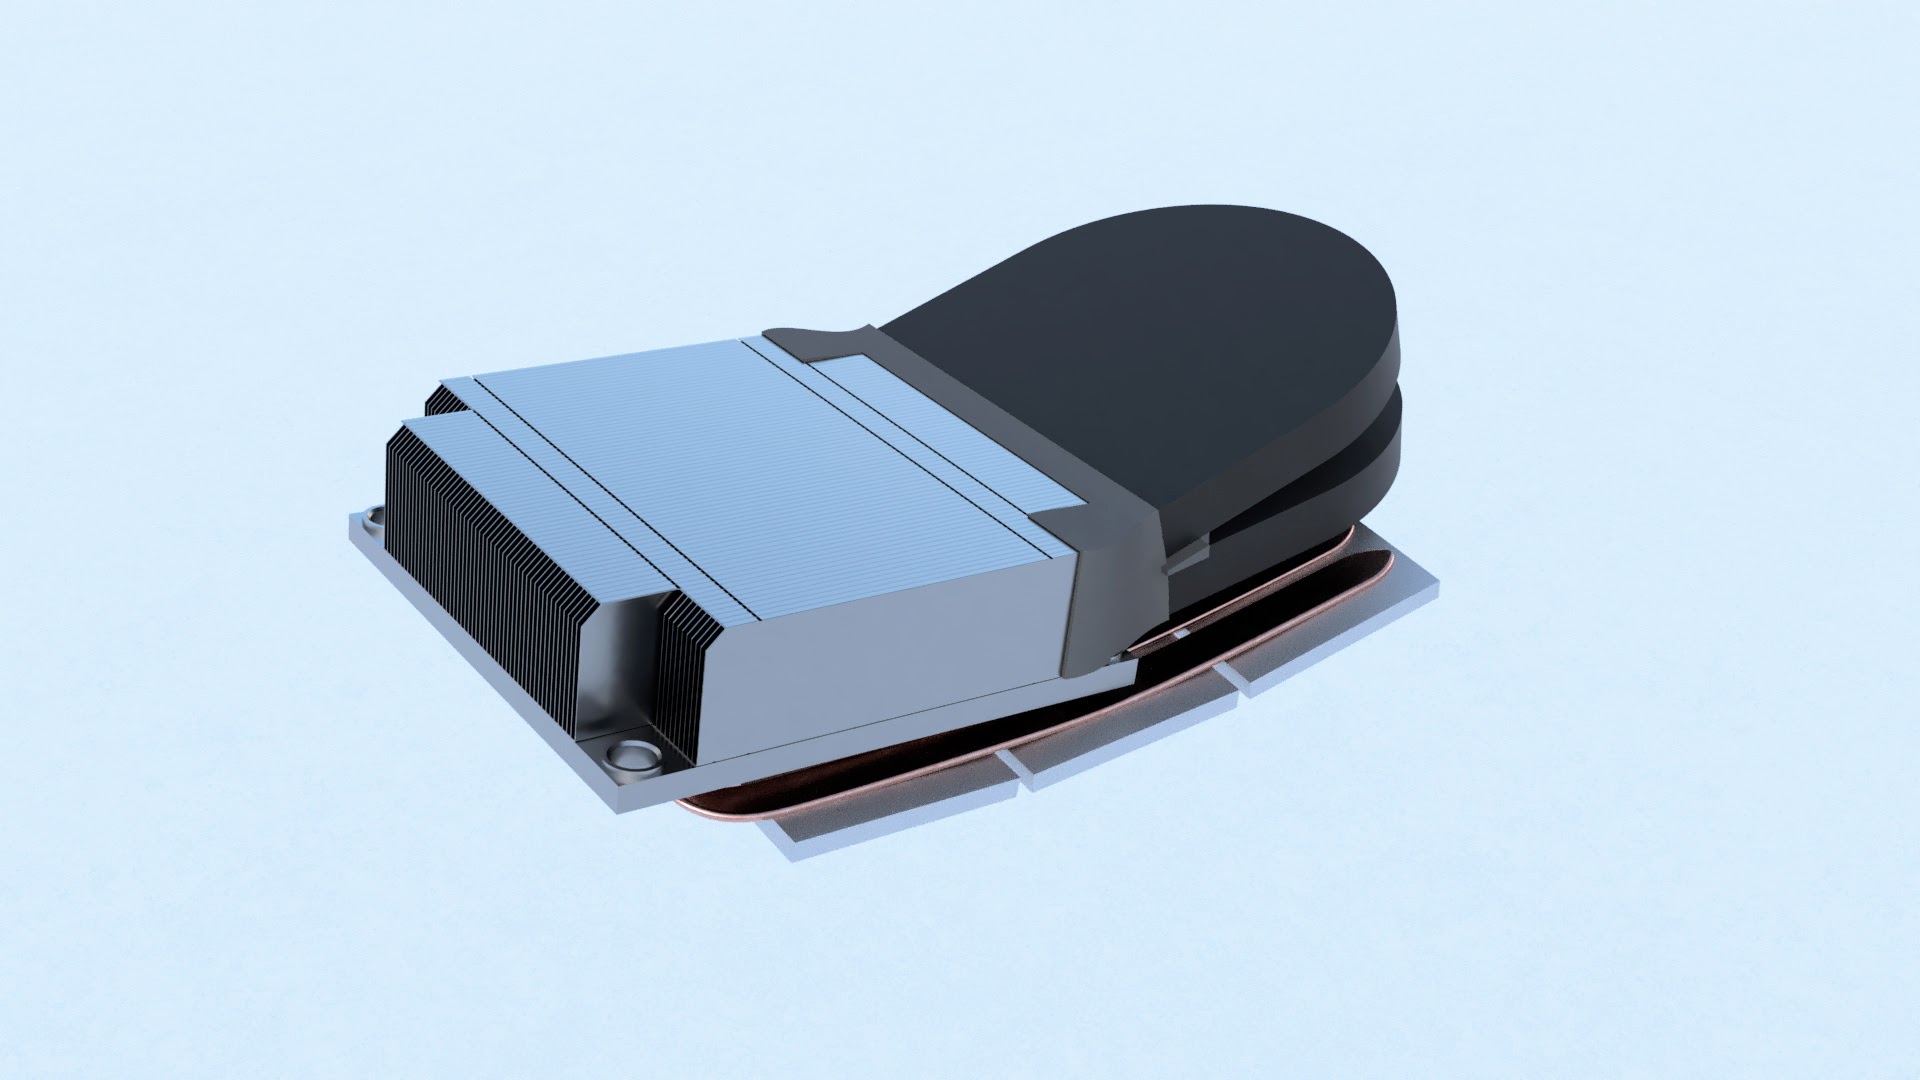
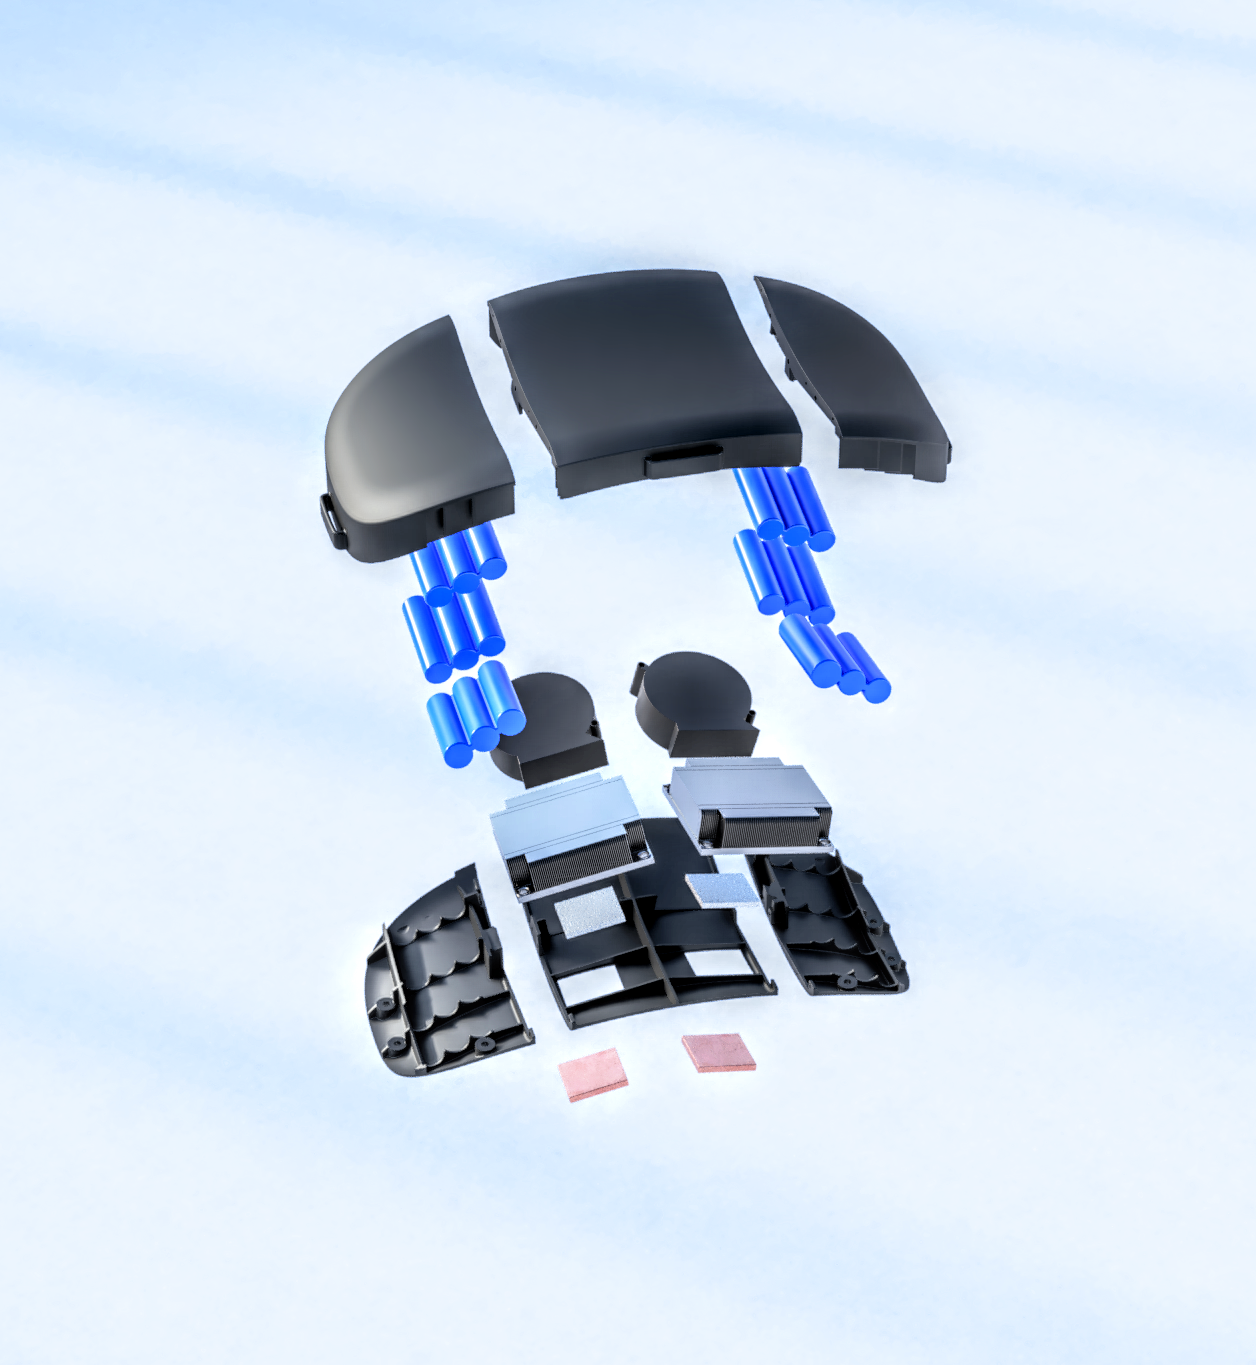
The heart of our design is a thermoelectric device known as a Peltier element; it uses an electric current to create a heat flux from one side of a thin plate to the other. In essence, the cold side of the peltier gathers heat from the wearer, this heat is then pulled through the peltier and deposited into a large heatsink, which in turn dissipates the heat with the help of two high-performance centrifugal fans. This version also includes a heat pipe interface between the peltiers and the heatsink, which allows the peltiers to be placed on a curve so as to better conform to the wearer’s back. It also includes a separate duct piece to direct air from the fans into the heatsink.
Designing, Building, and Testing Version Two
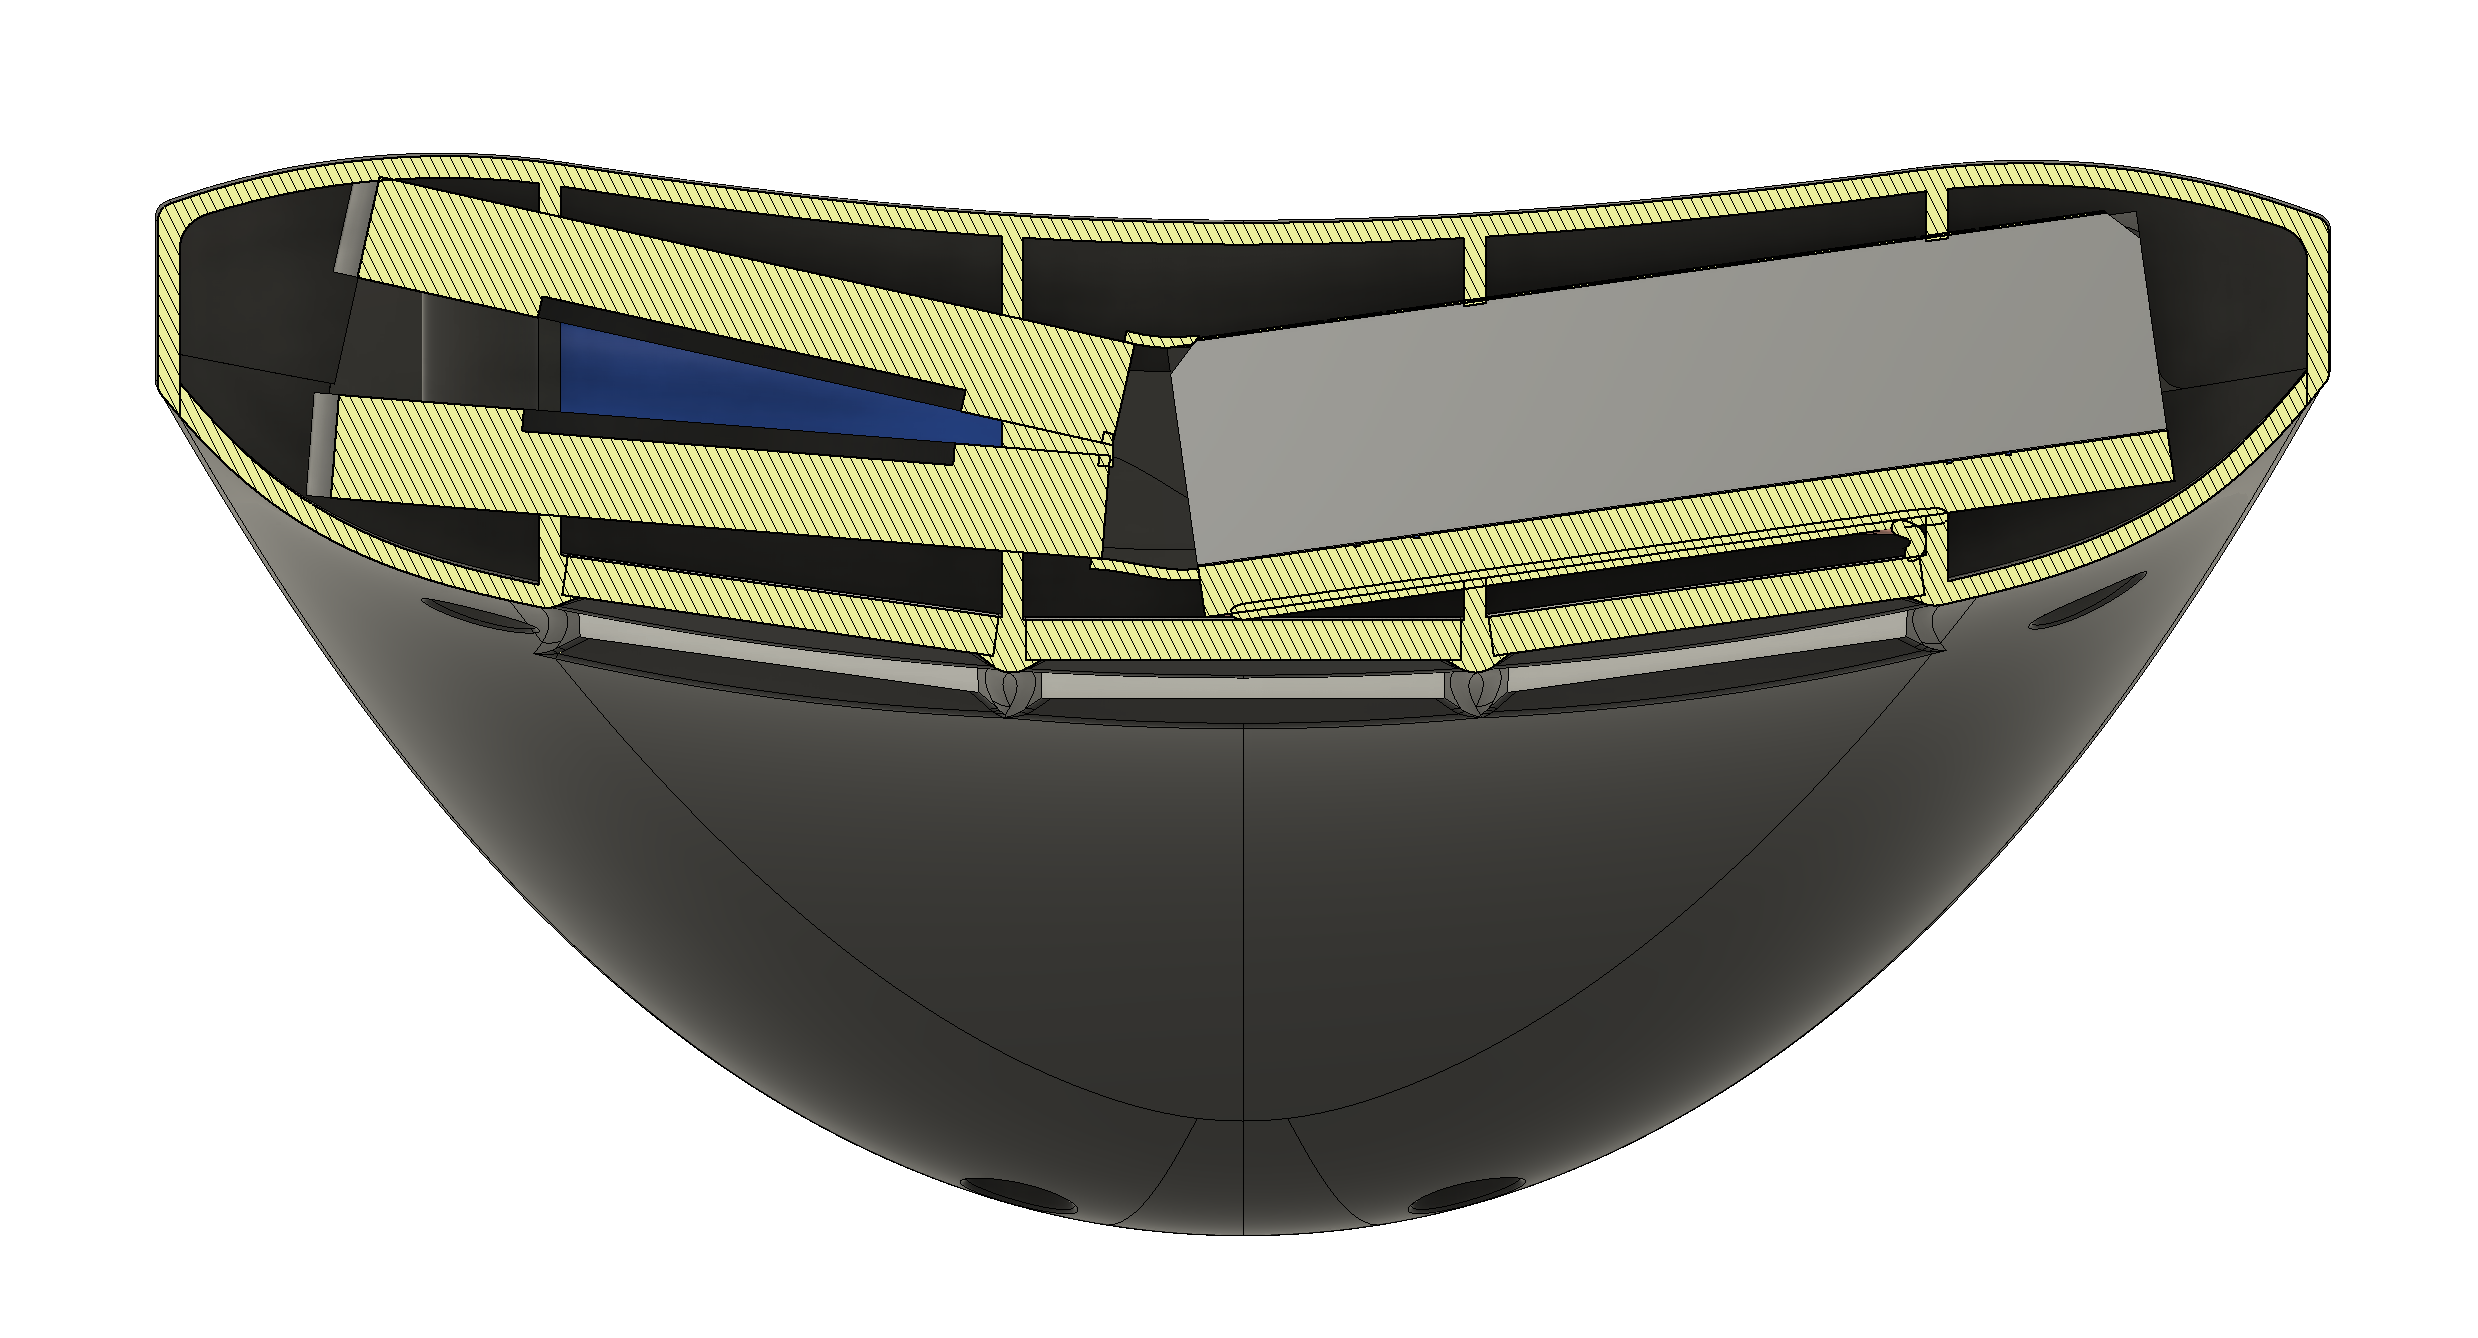
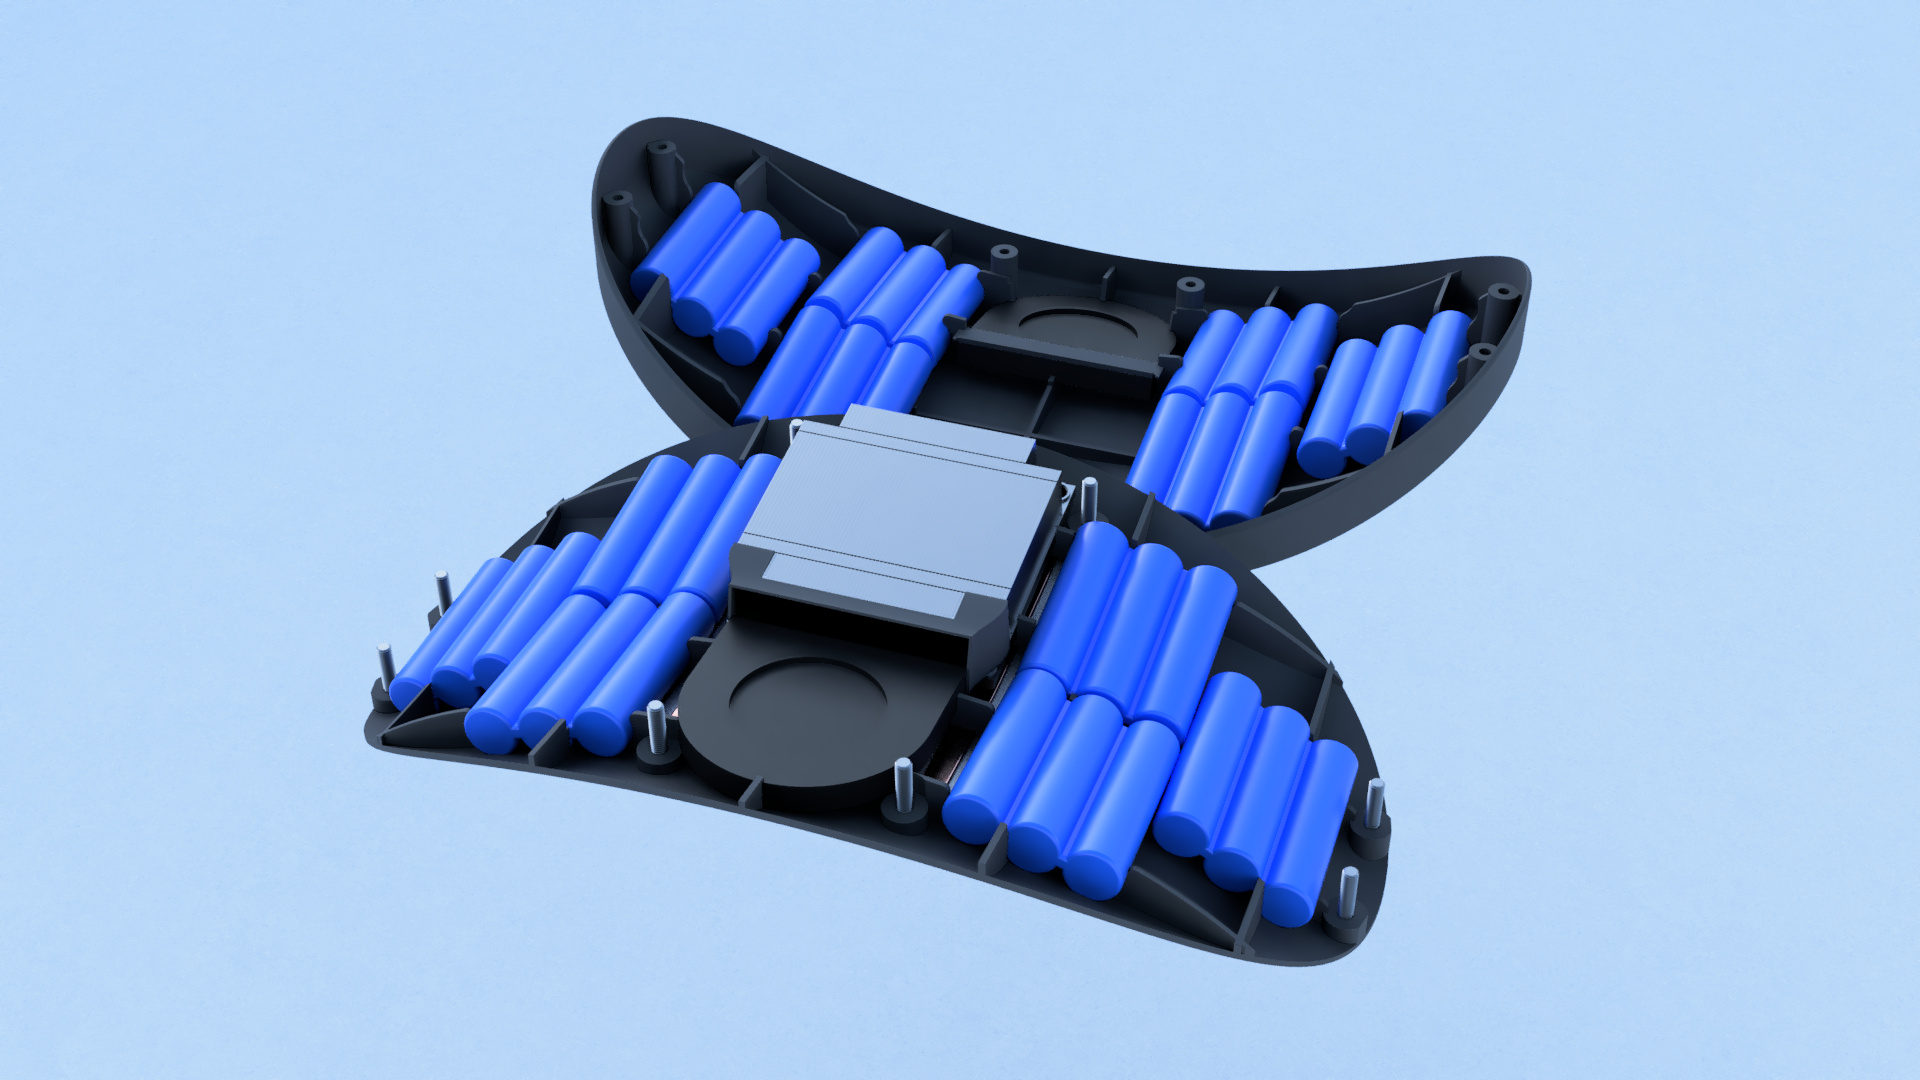
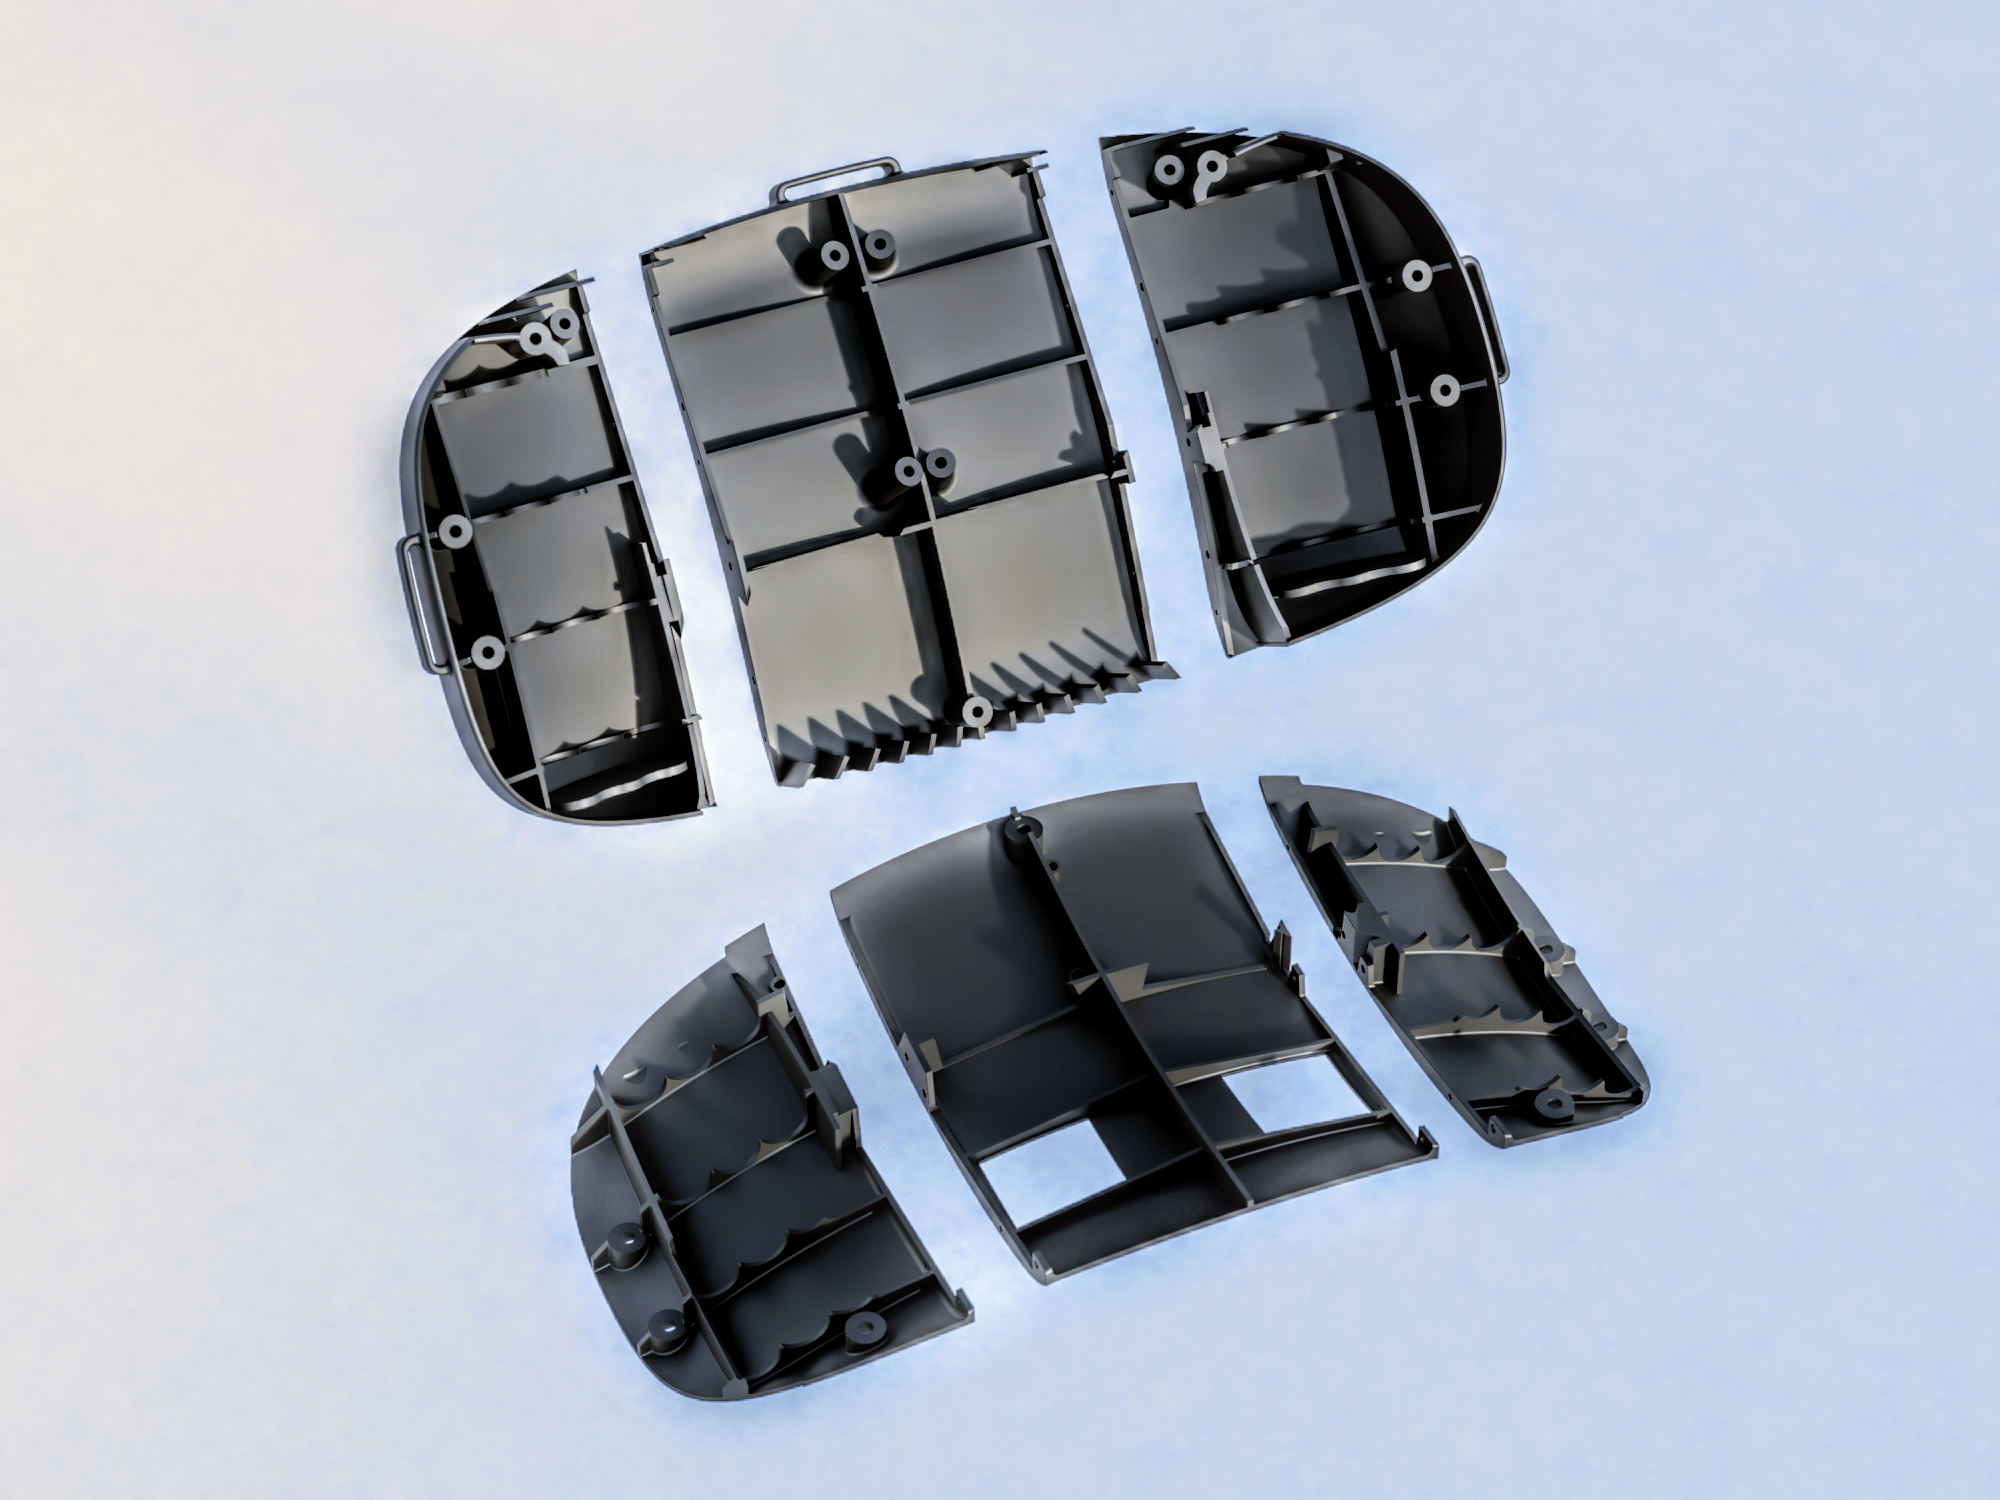
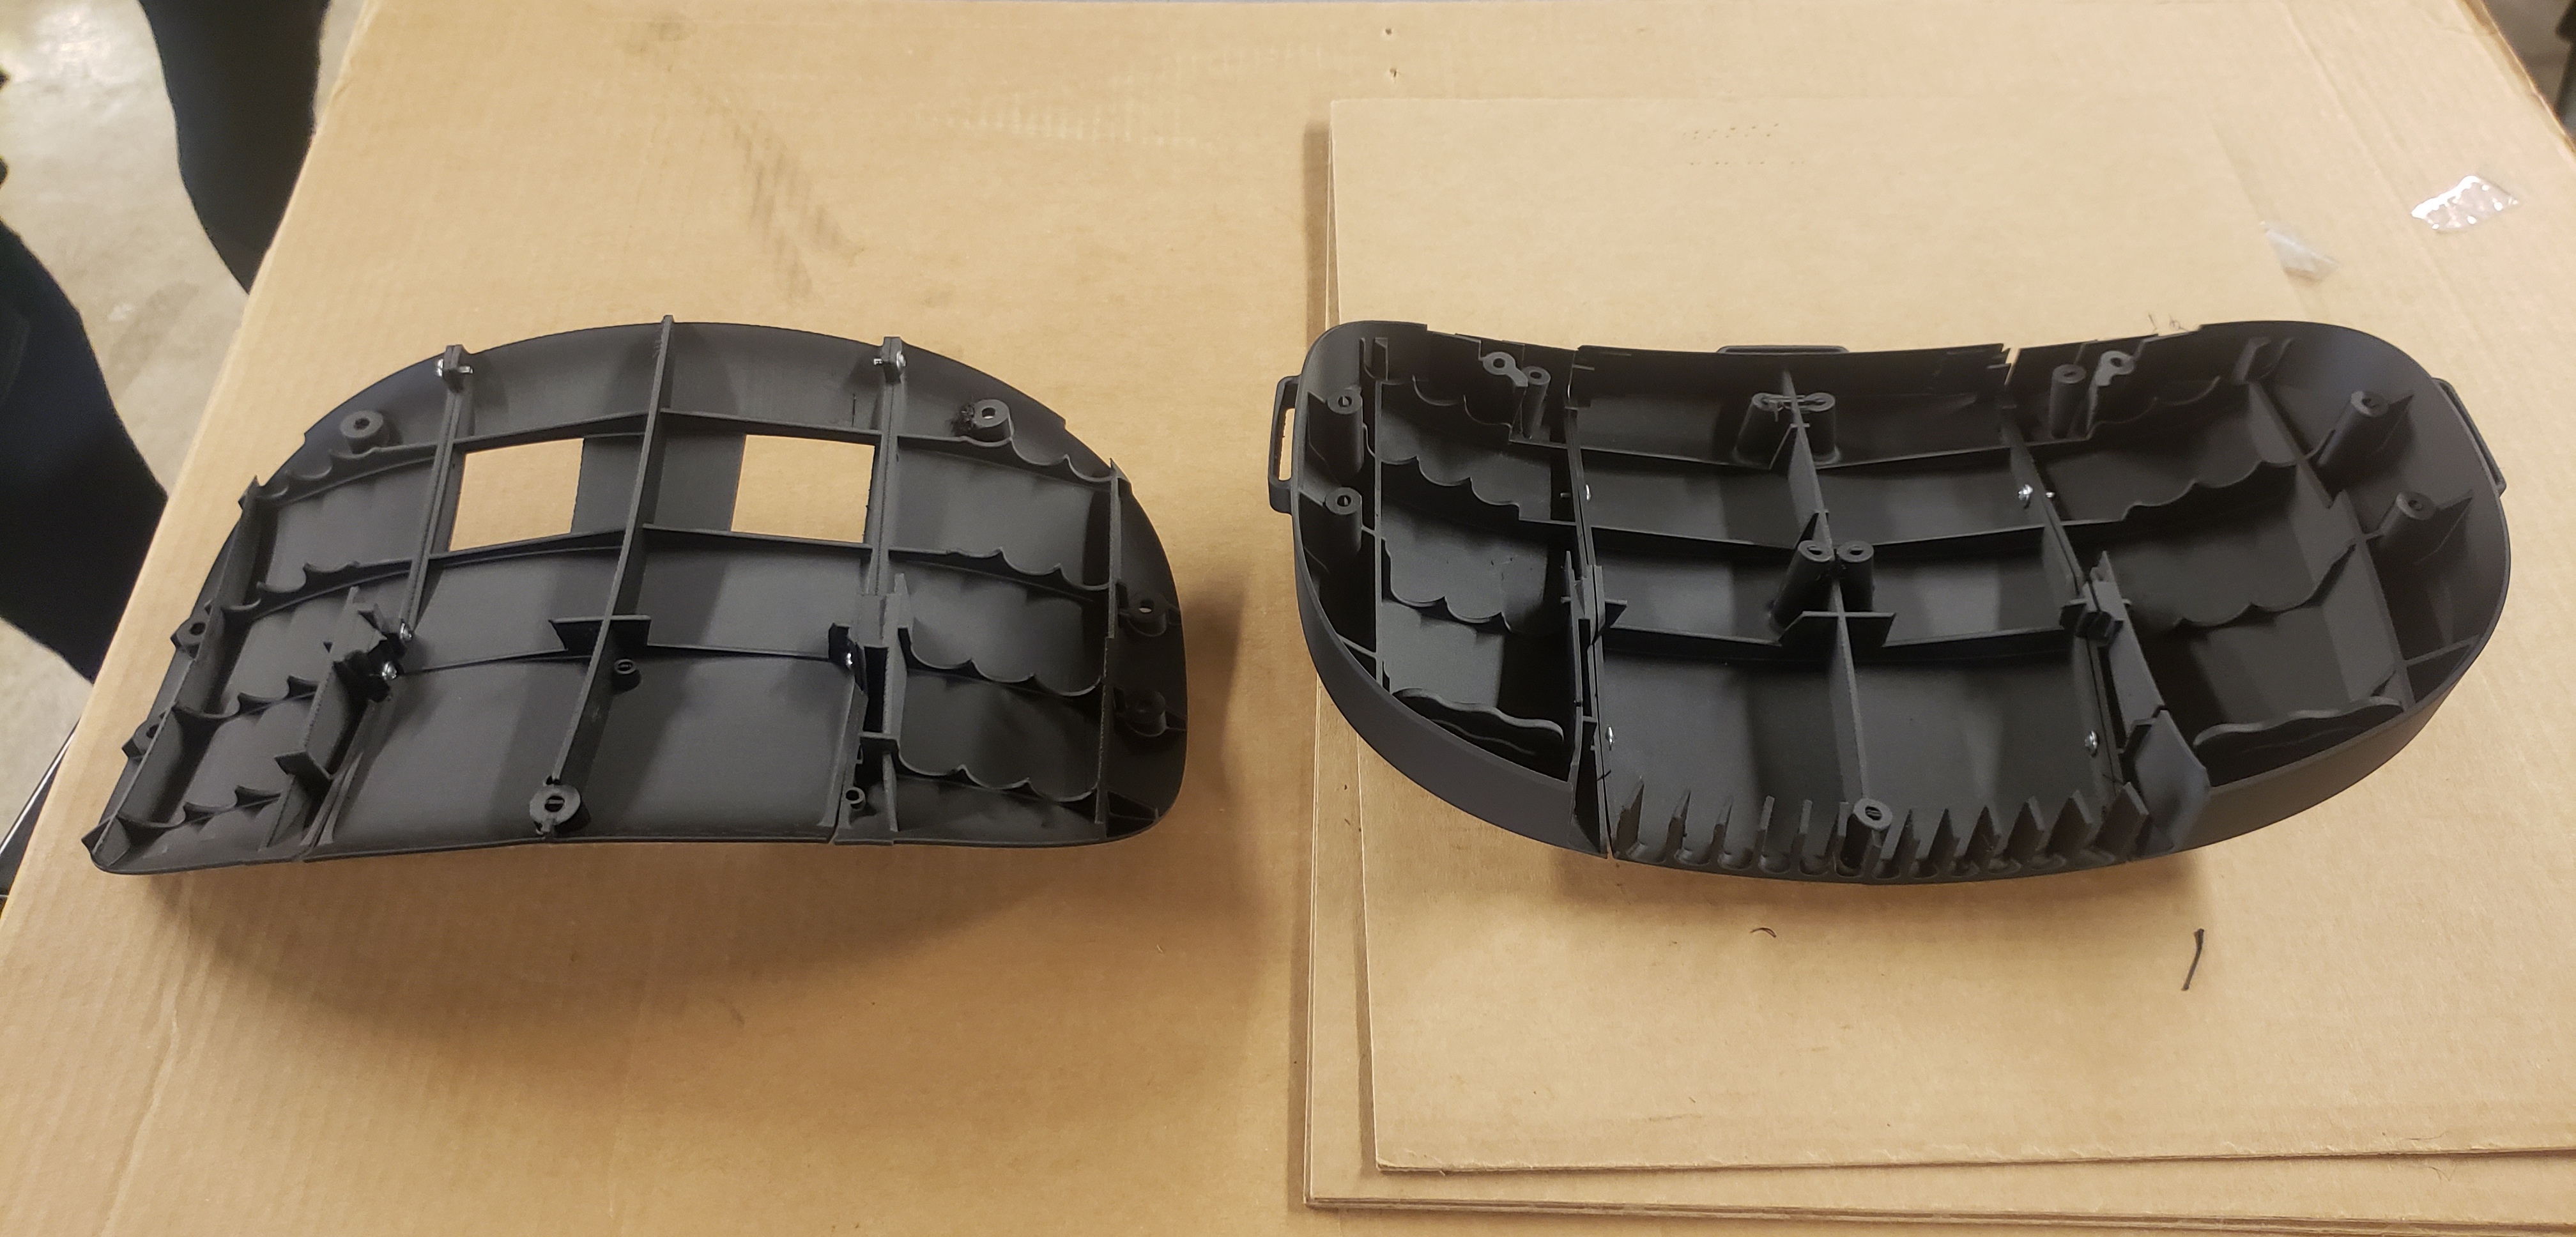
We consulted an expert in Peltiers and after learning more about their ideal operating conditions and running a more detailed simulation of our electrical system, we rebalanced the design by reducing our Peltier count from six to two, while doubling our batteries, heatsinks, and fans. Due to supply chain issues we later replaced the smaller fans, which would have totaled four in this version, with two larger ones, which also allowed me to more easily build the fan-heatsink duct connection into the two larger halves of the enclosure. Since we then had an equal number of peltiers and heatsinks, we also simplified our heat transfer architecture by removing the heat pipes in favor of a direct peltier-heatsink interface.
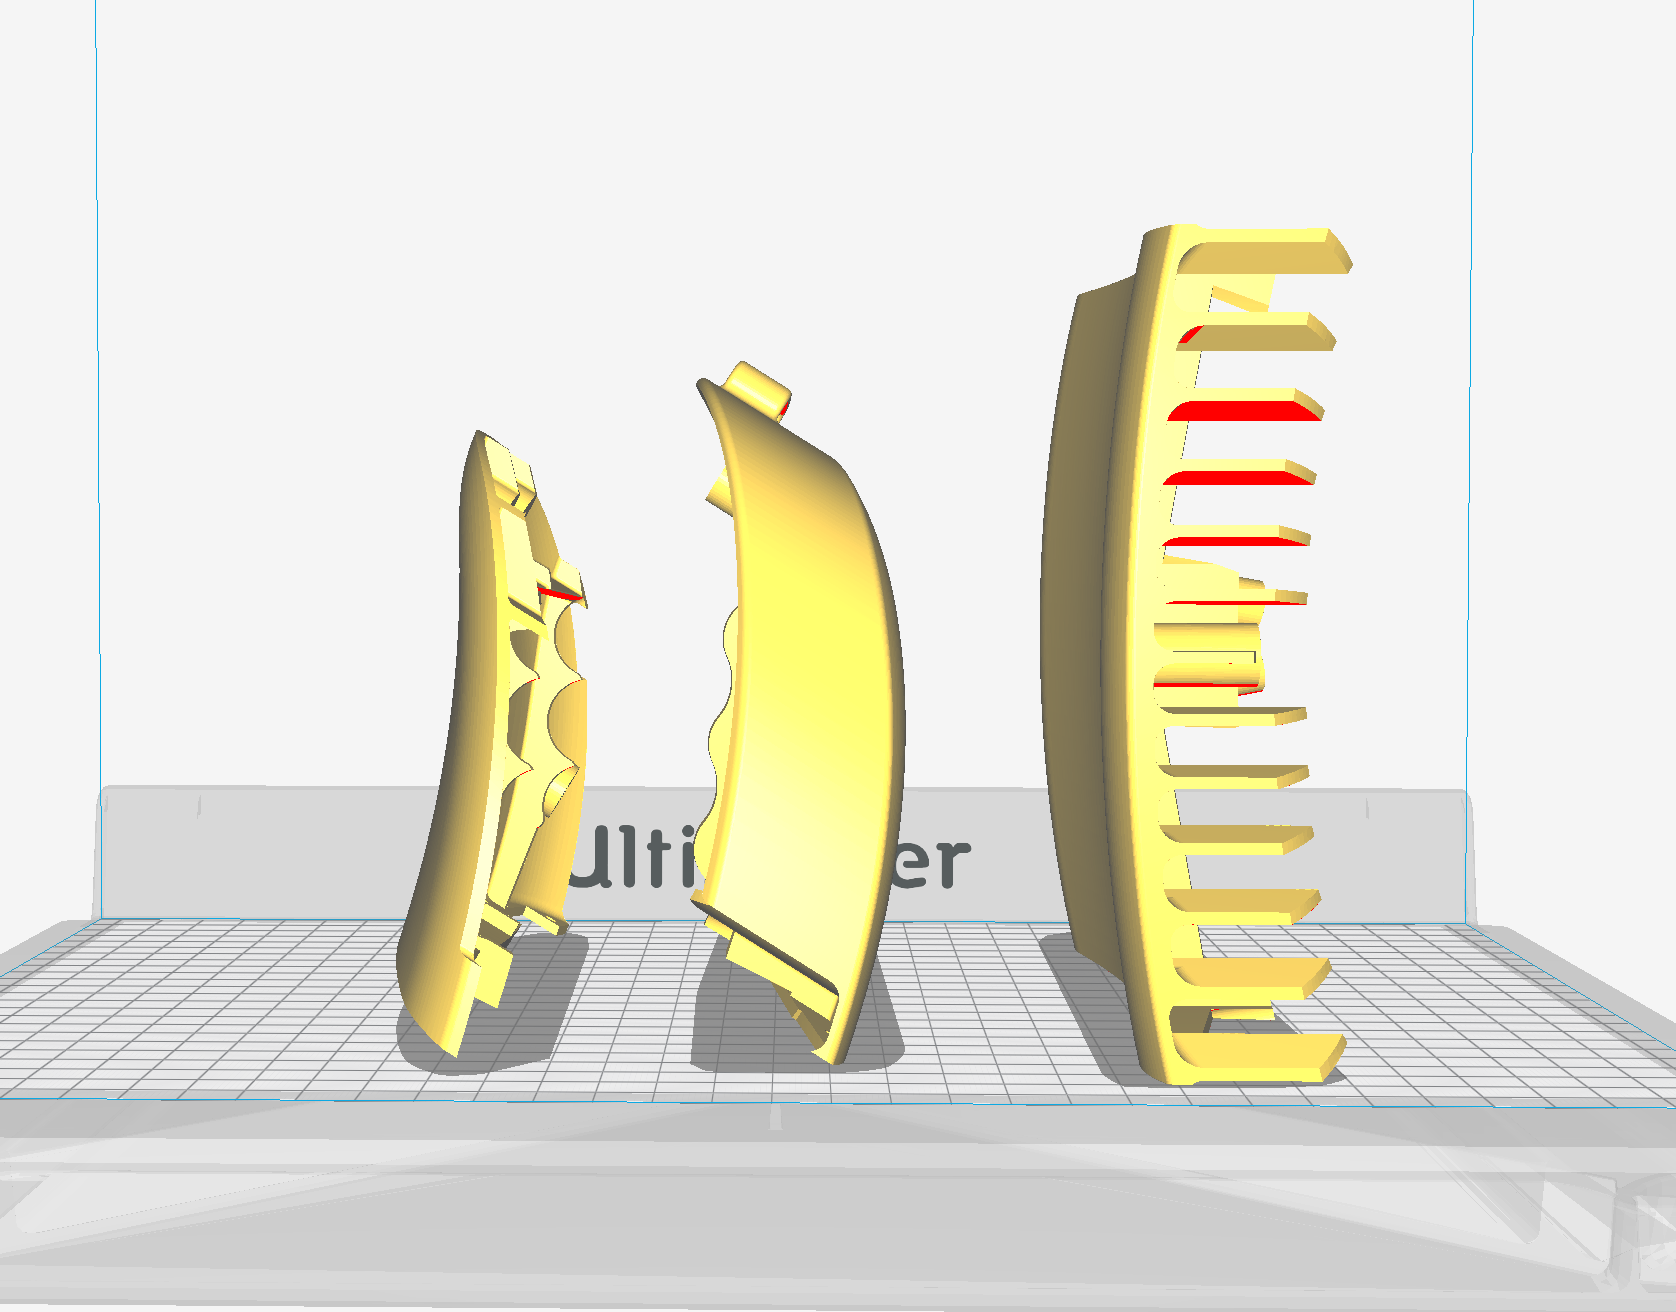
Printing Setup and Tests in PLA
Ensuring no issues are present in the design before moving to the Markforged, ‘plastic aluminum’ isn’t cheap
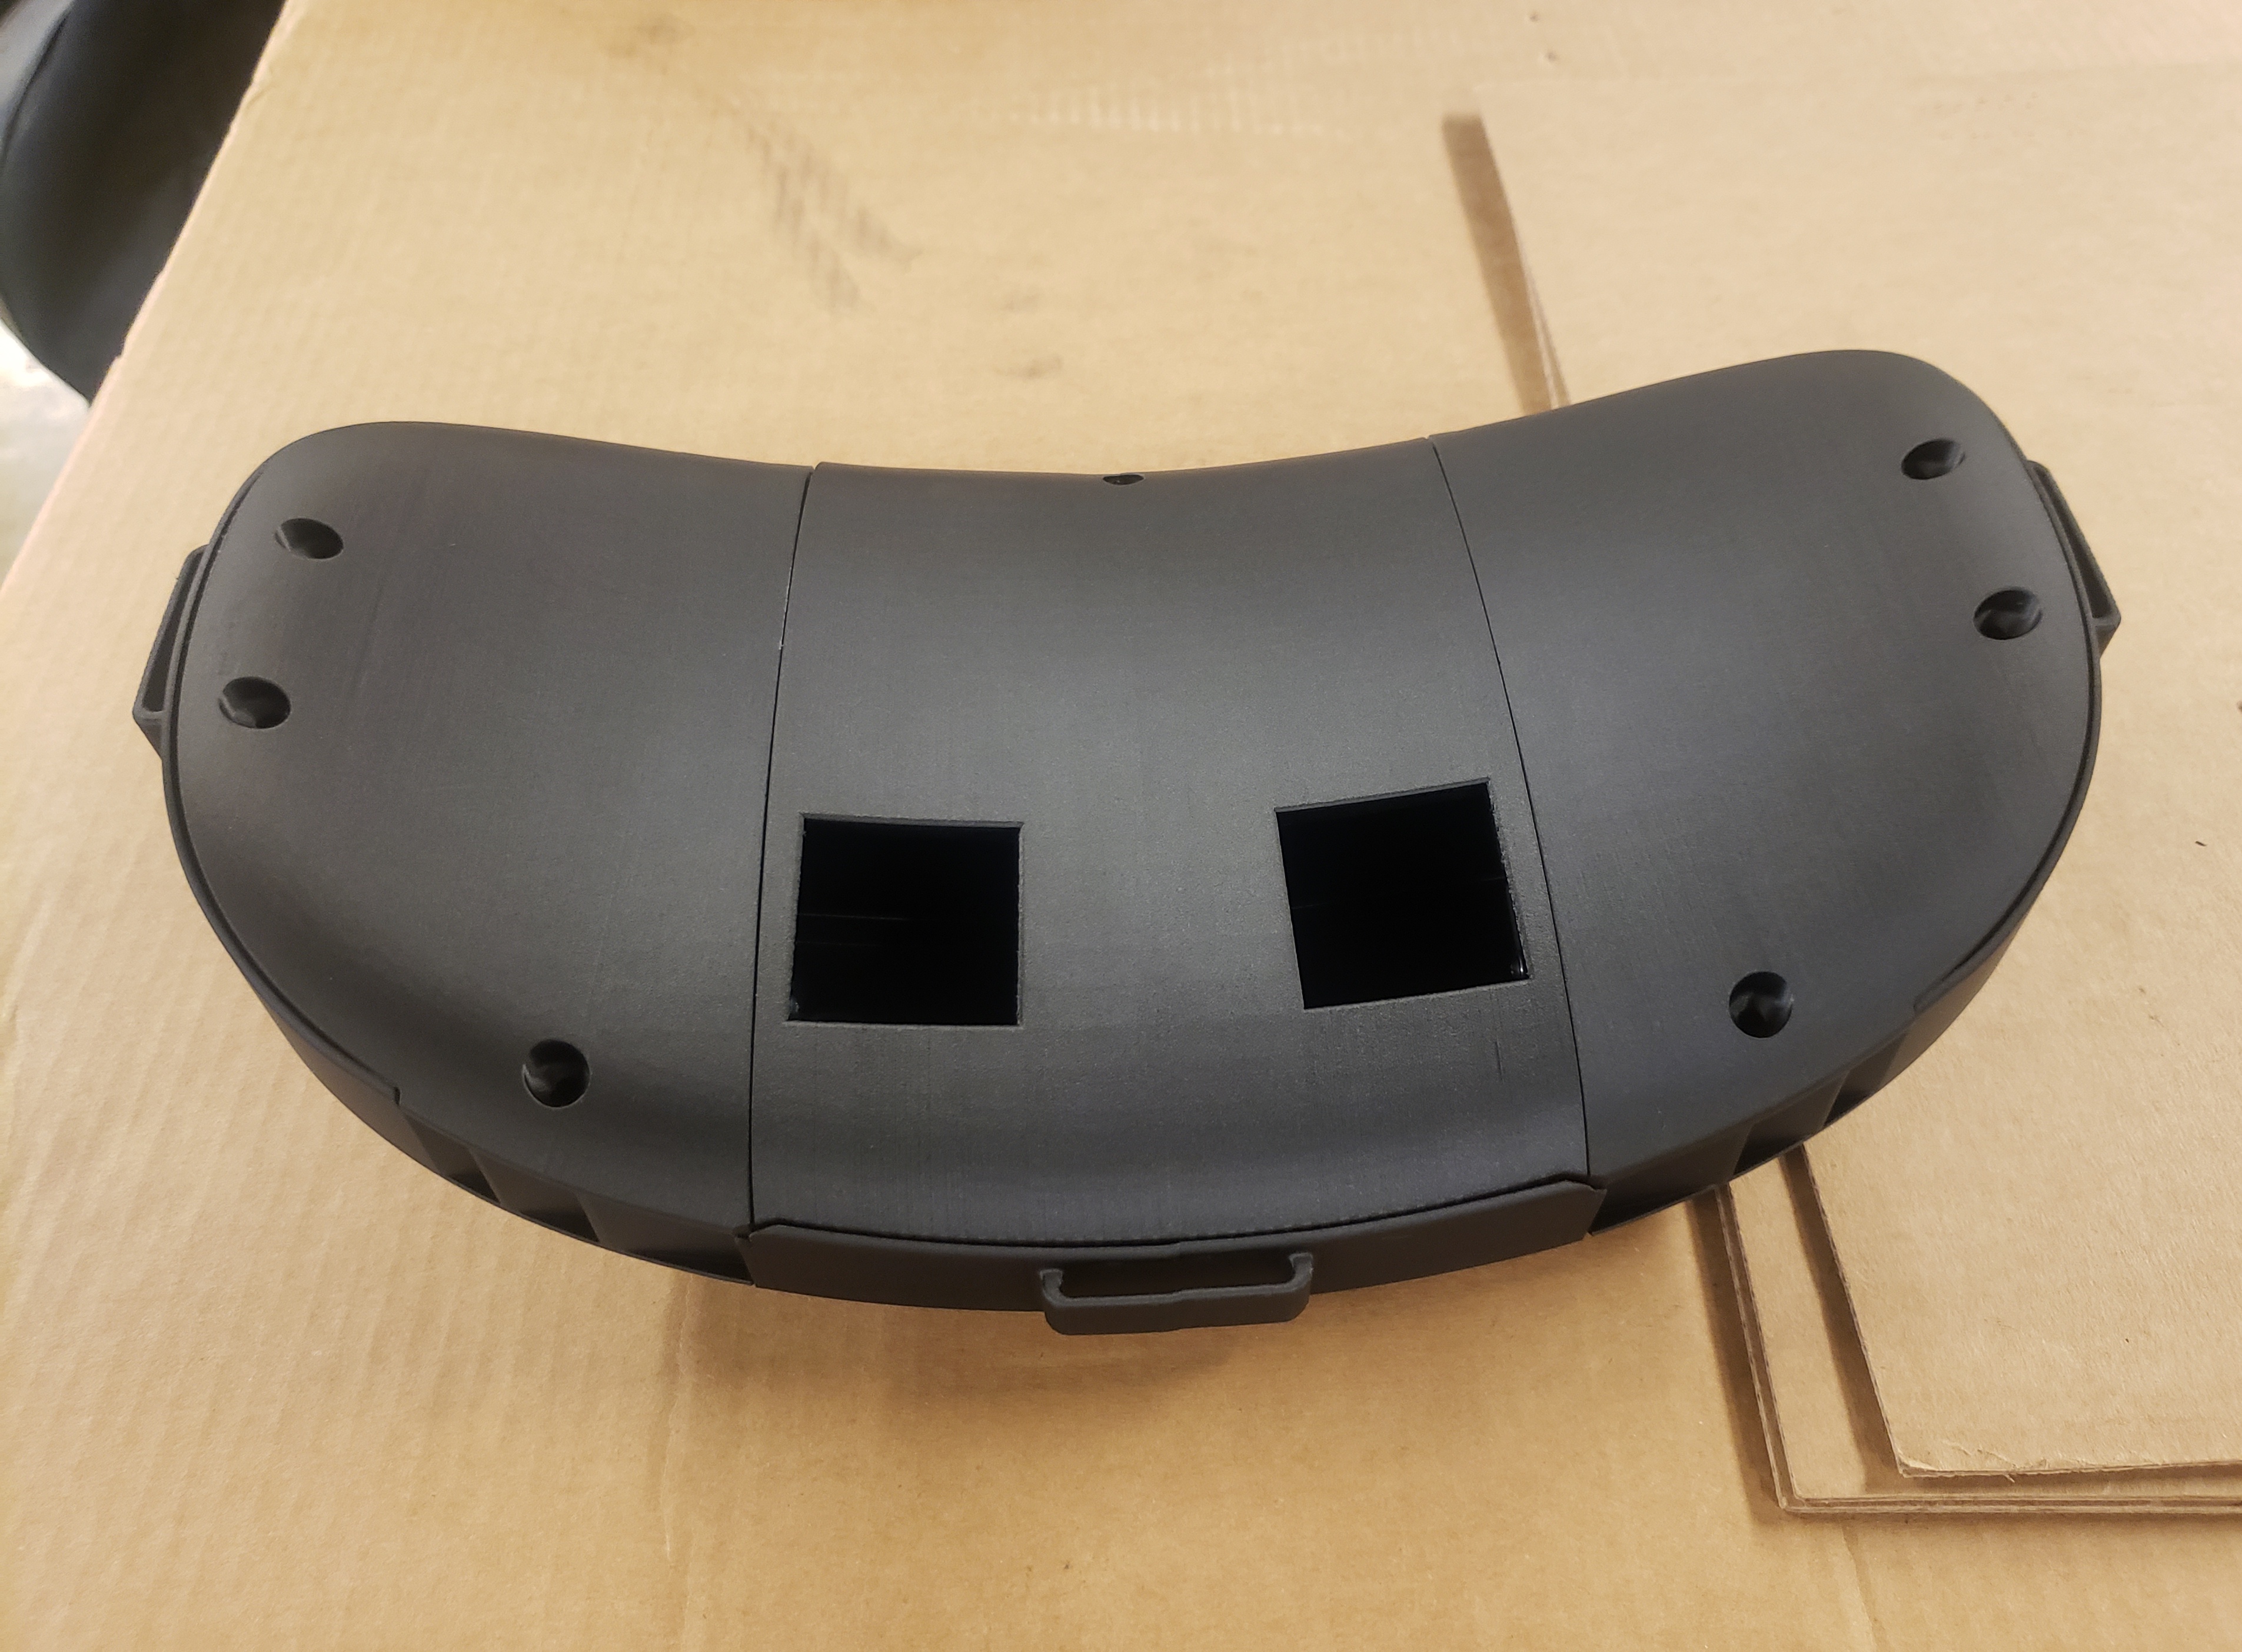
Final Markforged Print
We used this printer primarily for the thermal resiliance of the company’s Onyx material
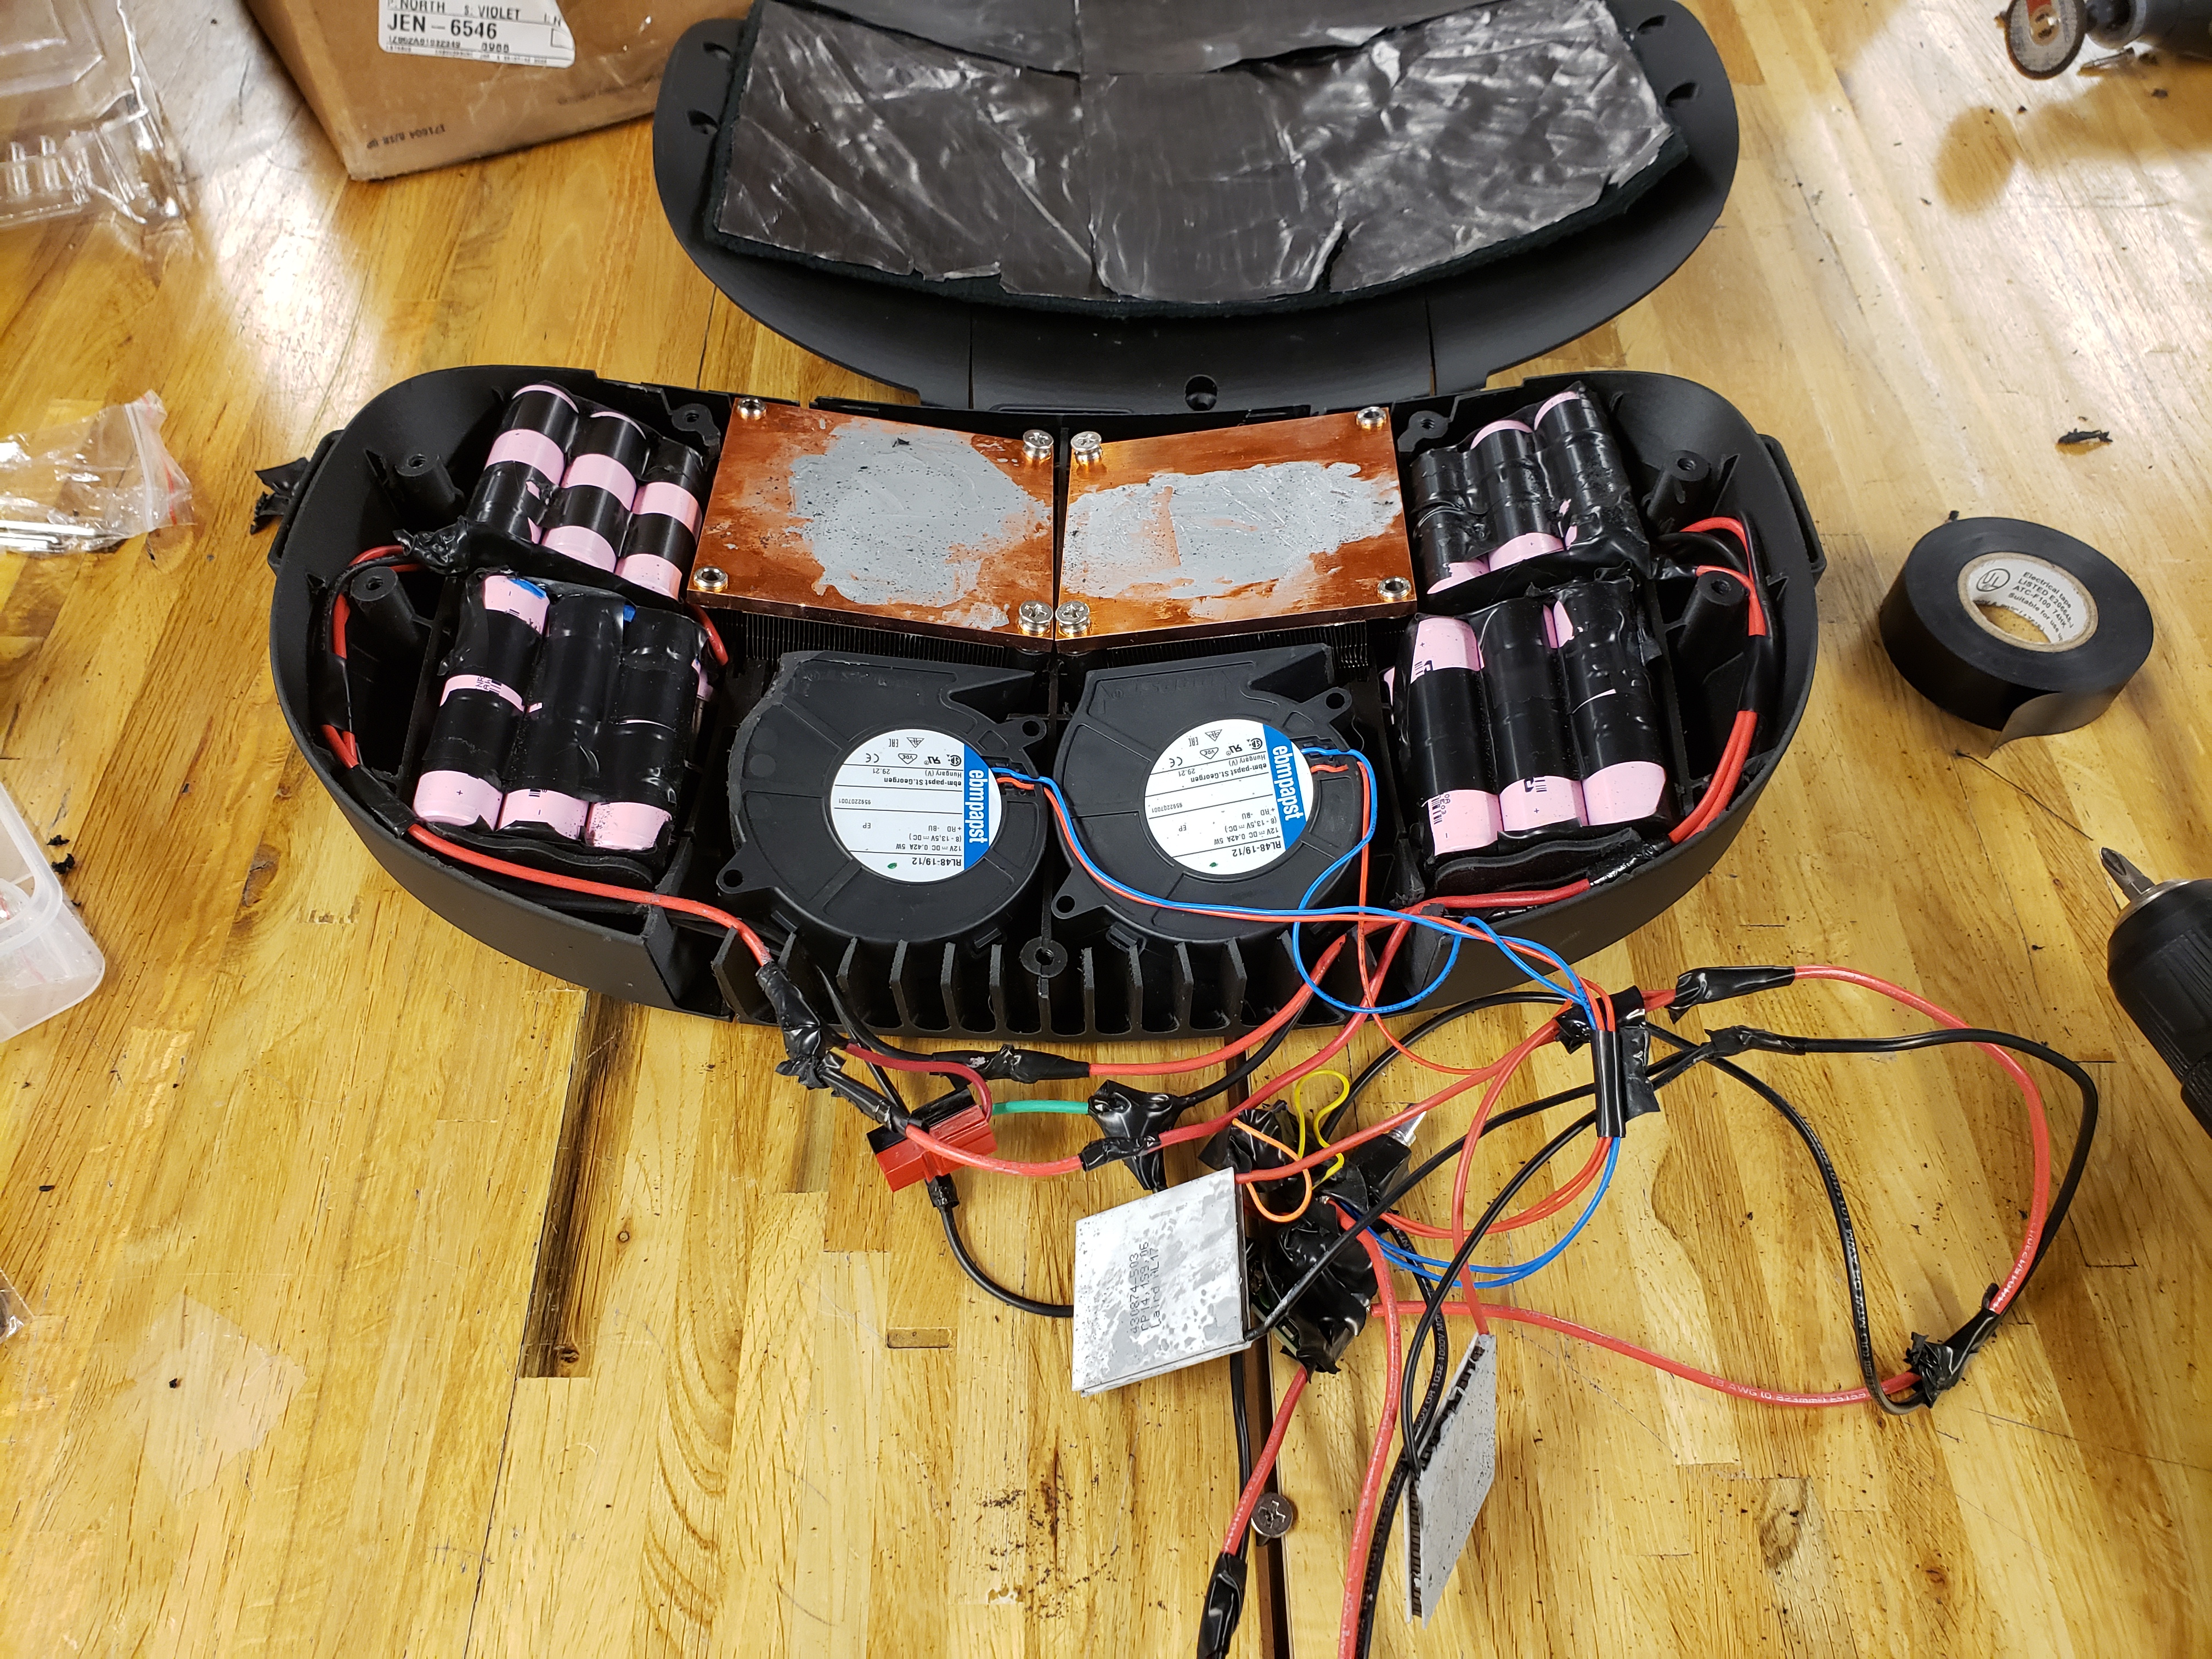
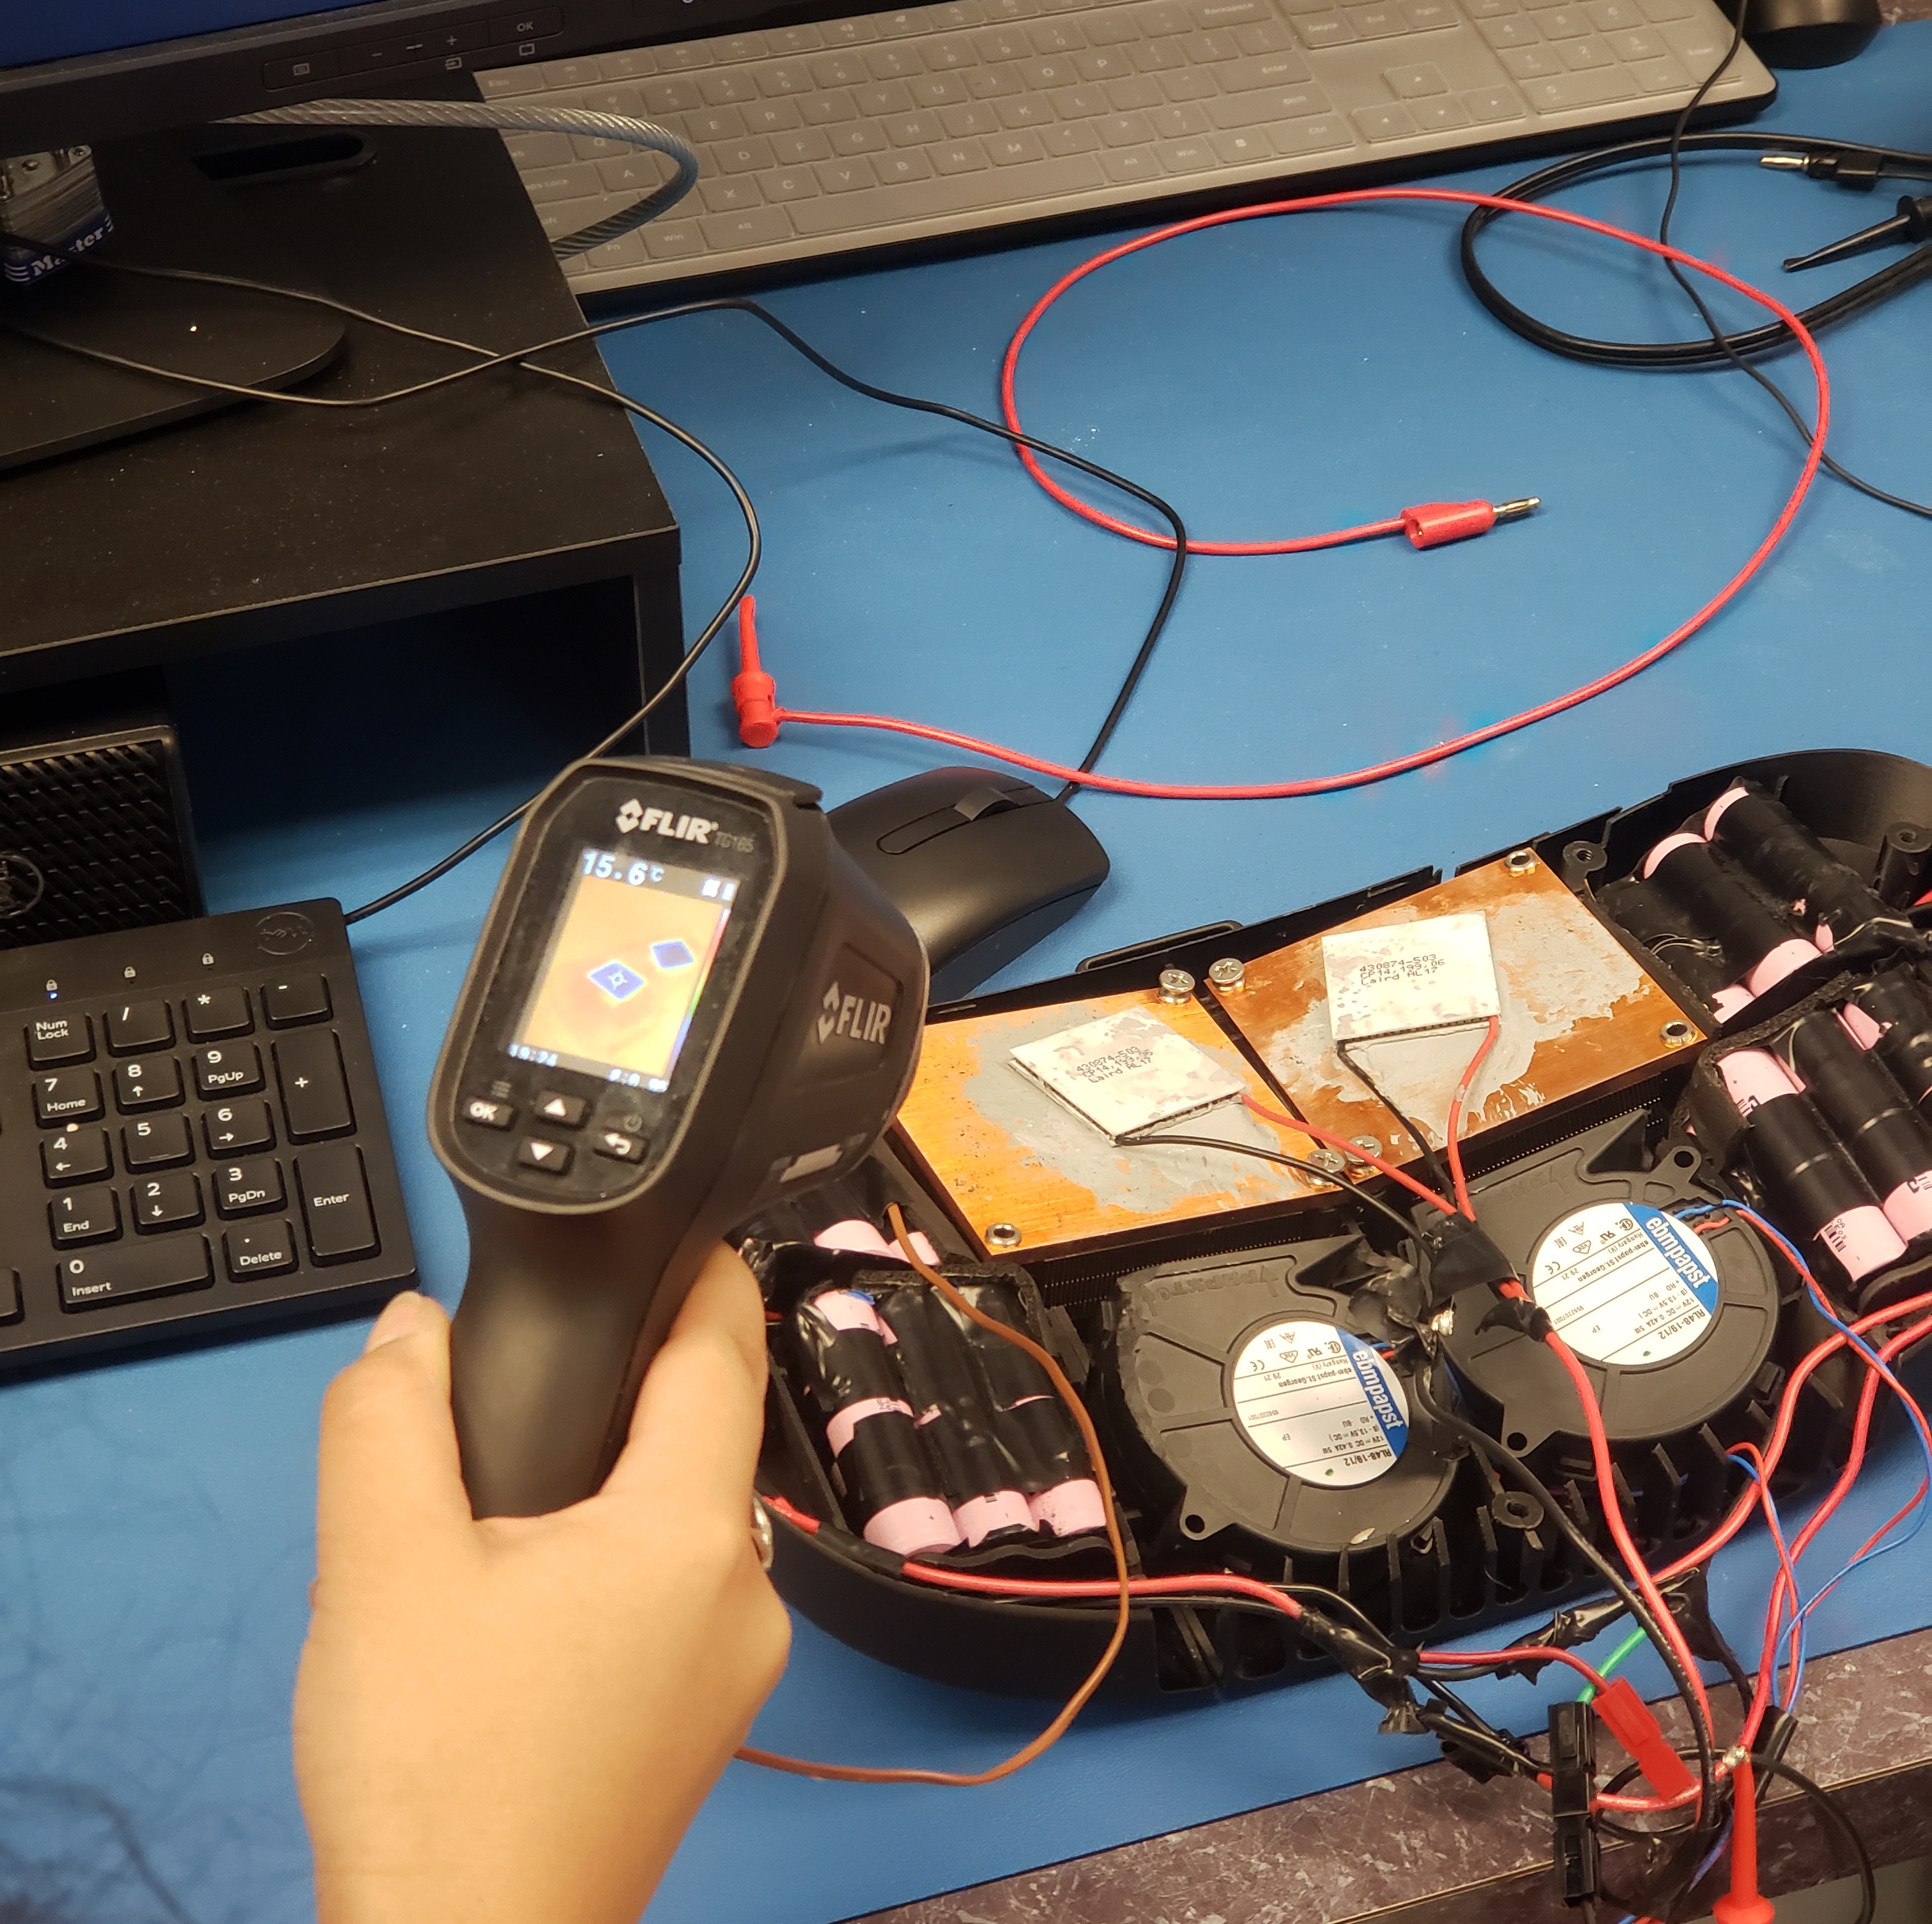
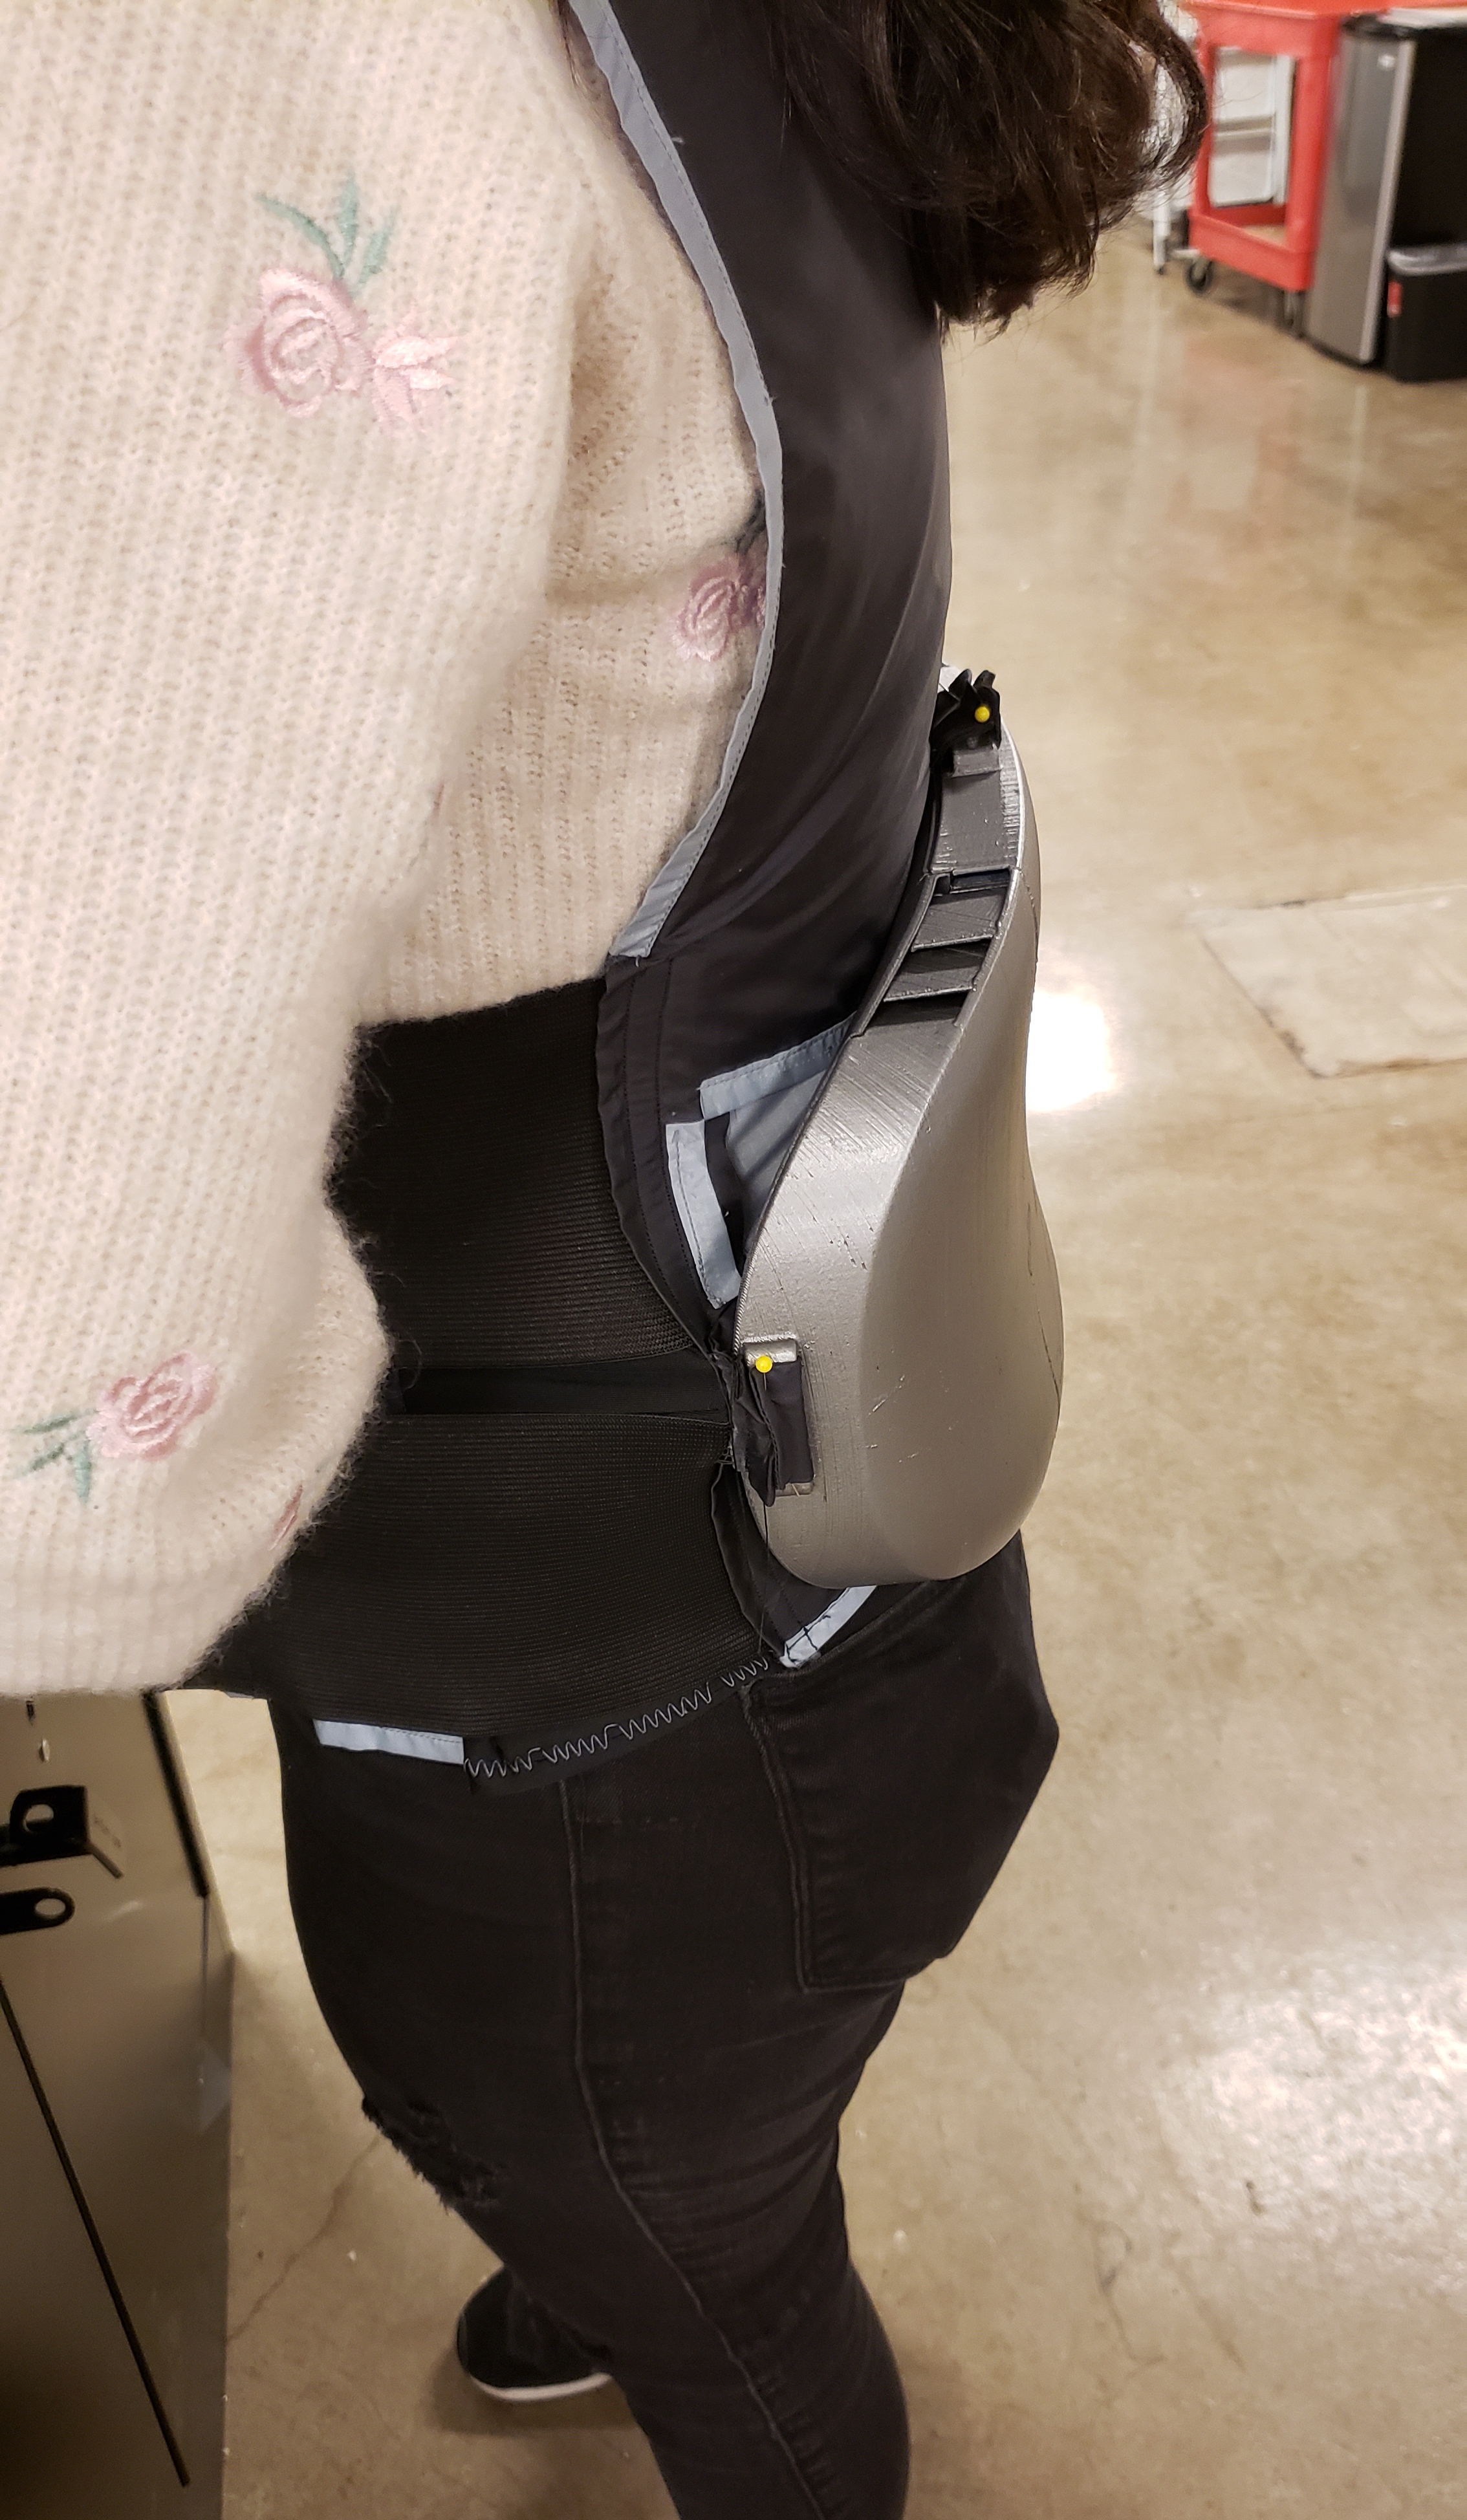
Assembly and Overall Performance Testing
(We cleaned that thermal paste up before final assembly, I promise)
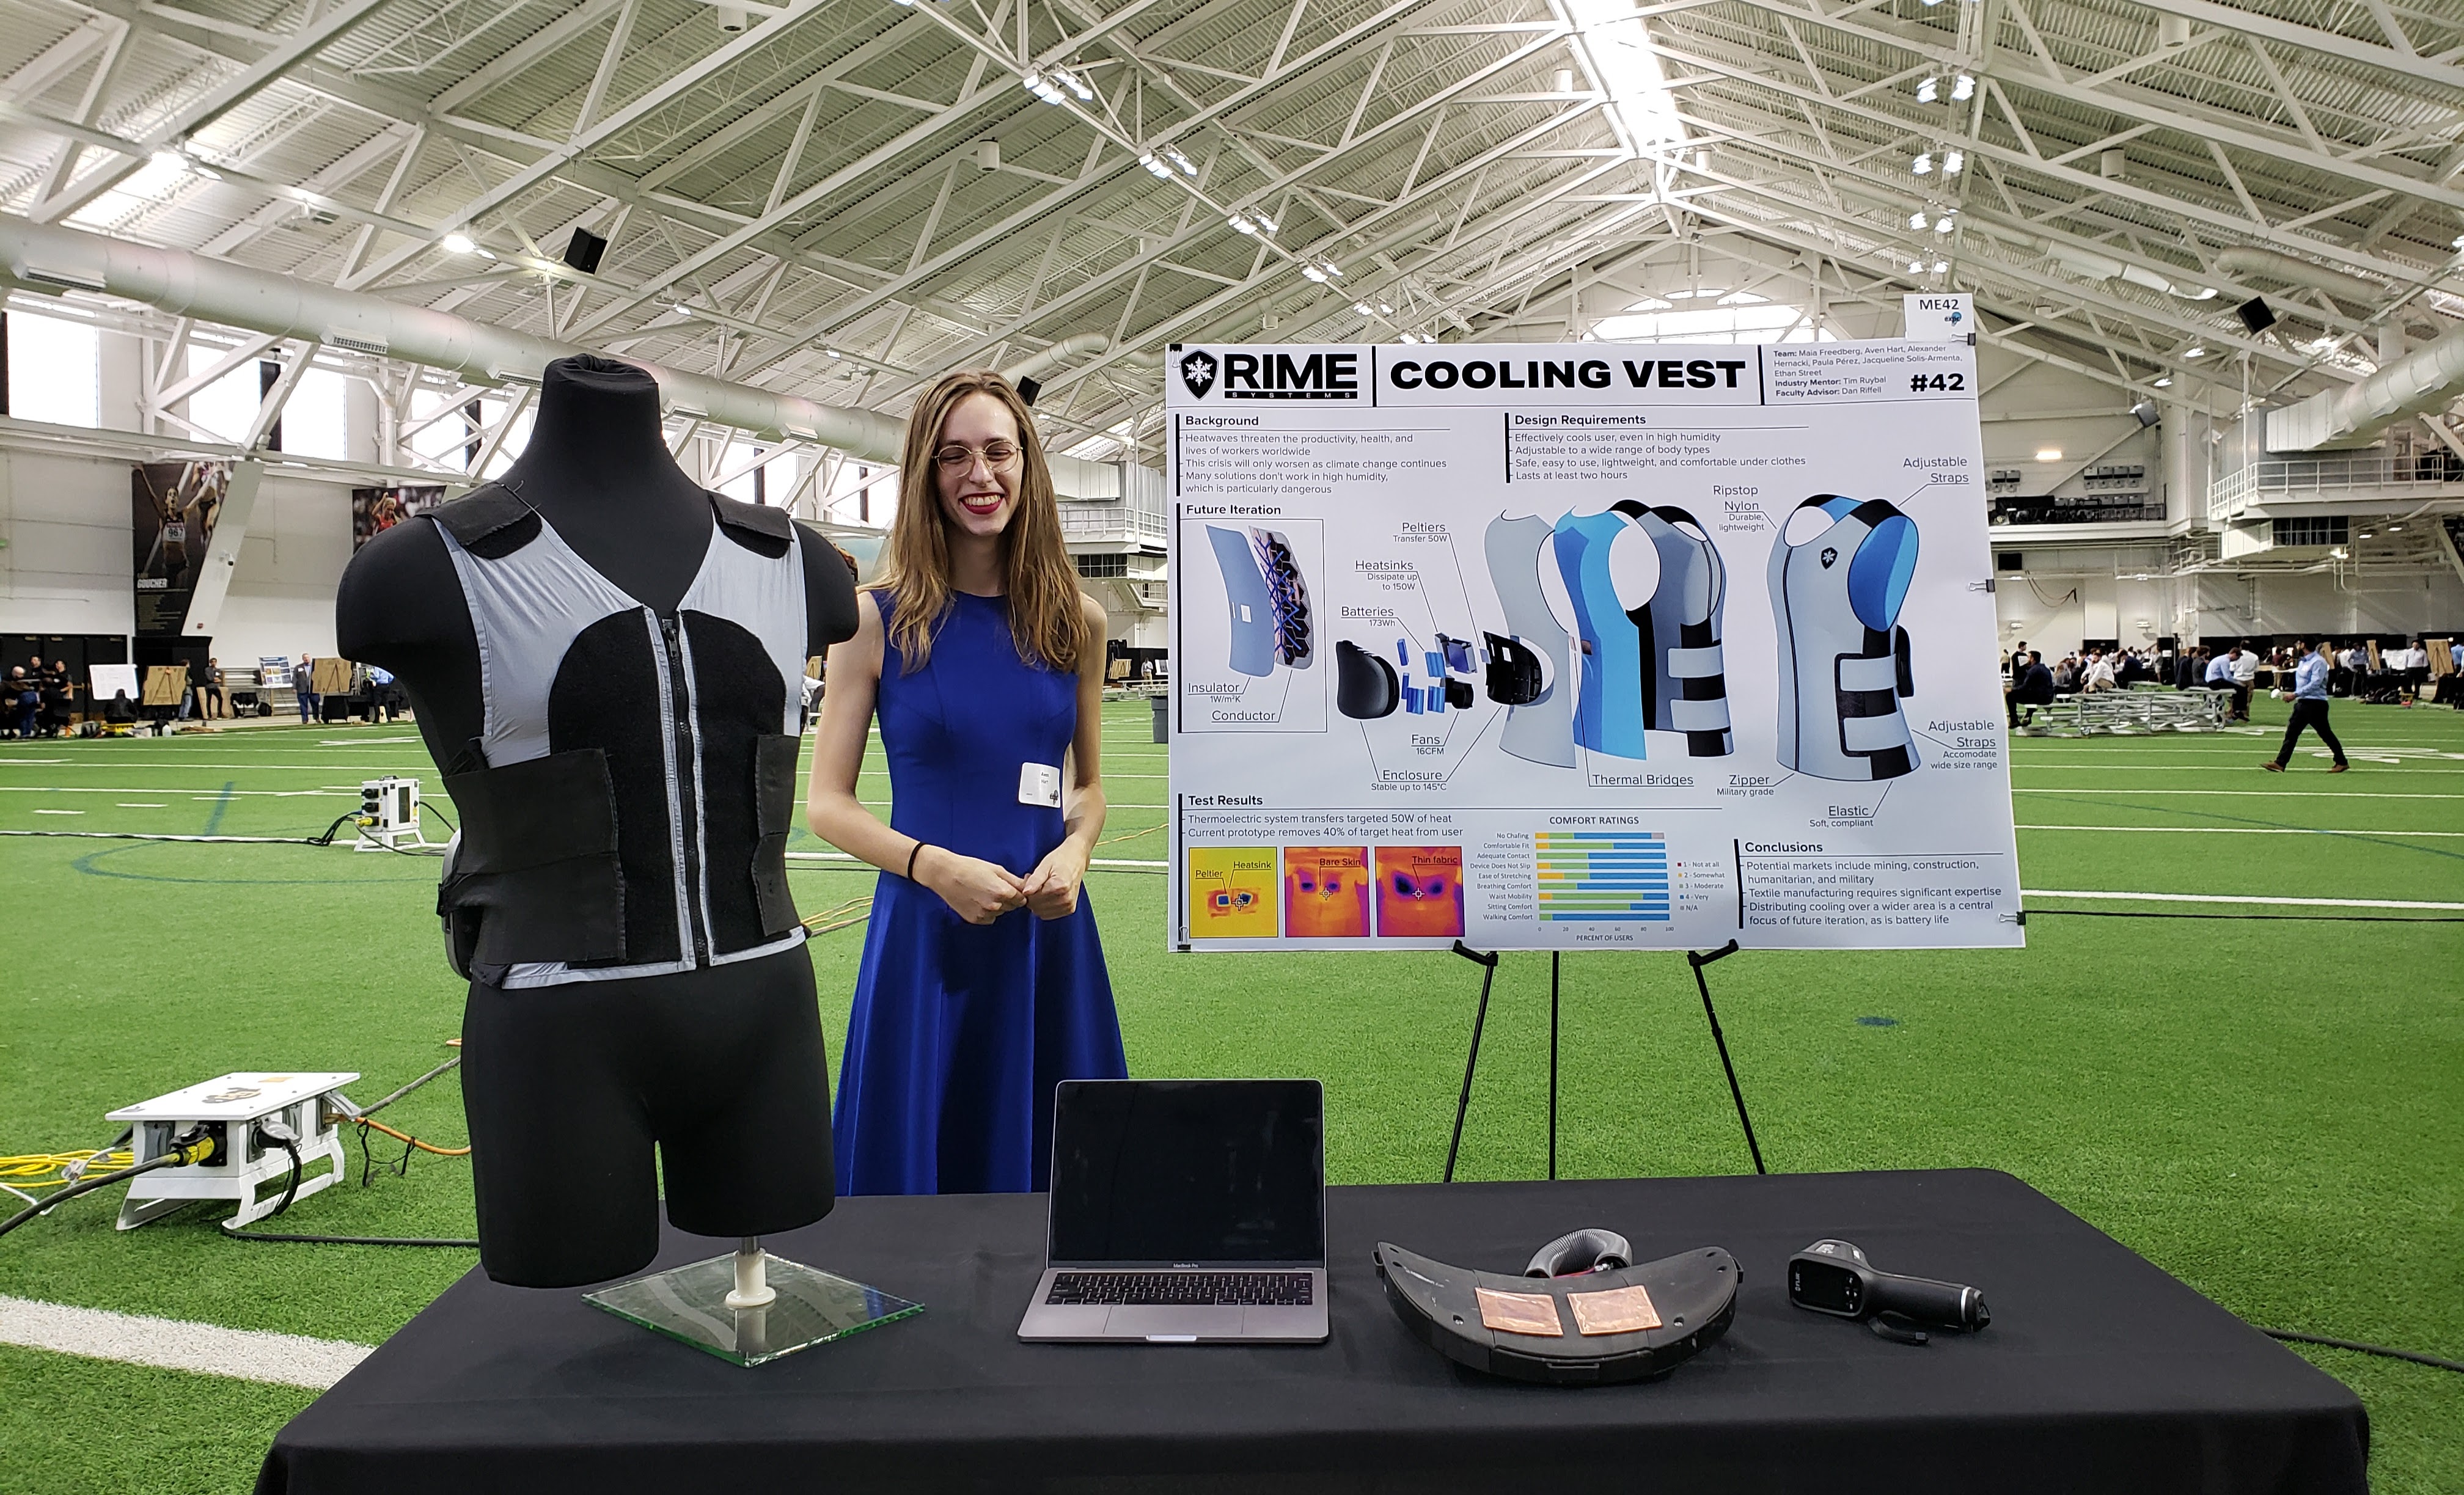
And here’s a picture of me presenting our final product with my eyes closed.
Thanks for looking!
