Warning
This page contains videos of flashing lights that may affect people with photosensitive epilepsy or other photosensitivities, please browse with discretion.
Also, please view this page on a desktop browser, as the aforementioned videos don’t load consistently on mobile.
Also, please view this page on a desktop browser, as the aforementioned videos don’t load consistently on mobile.
FireLight
One of my longest running projects, I created this lamp to mimic the fluttering, lambent ambiance of fire. The cage-like enclosure is designed to cast dancing shadows around a room, and the LED array at its heart is driven by a custom cellular automaton I developed from scratch. The lamp is adjustable both in absolute brightness and in flame ‘consistency’ or ‘solidity’, meaning the amplitude of the light’s waver can be adjusted to suit preference.
Cellular Automaton Development
To be a little too specific in case you’re interested, the automaton is one-dimensional, probabilistic, quasi-state-continuous, and outer-totalistic, with each cell incorporating the nearest 4 cells into its neighborhood and weighting their relevance by proximity. It’s approximately class three by Wolfram’s classification scheme, but with some overall structural characteristics persisting in the semi-long-term. Each color of the RGBW LED array is semi-bounded to a uniquely modified arctangent function of a single master brightness value; this produces both the bright, orange-white light of fire and the much dimmer red tones which imitate embers, as well as the entire continuum in between. Although the lights unfortunately don’t come across nearly as well on camera as they do in person, you can see a few videos of my iterations below.
1 • My earliest work focused on creating an overall balance of increasing and decreasing brightnesses within the cells. This was to achieve an approximately steady overall luminance without individual lights ever appearing stagnant. You can see that this one is unbalanced and quickly saturates after being ‘lit’.
5 • Experimenting with different colors.
6 • In later iterations I focused on calming the waver of the cells and further increasing interrelation, with groups of bright cells being brighter and more resiliant than solitary ones, and the resurrection of cells being largely confined to the edges of live ones.
2 • Significant progress has been made here towards maintaining a steady average state, but it still trends towards being too illuminated overall.
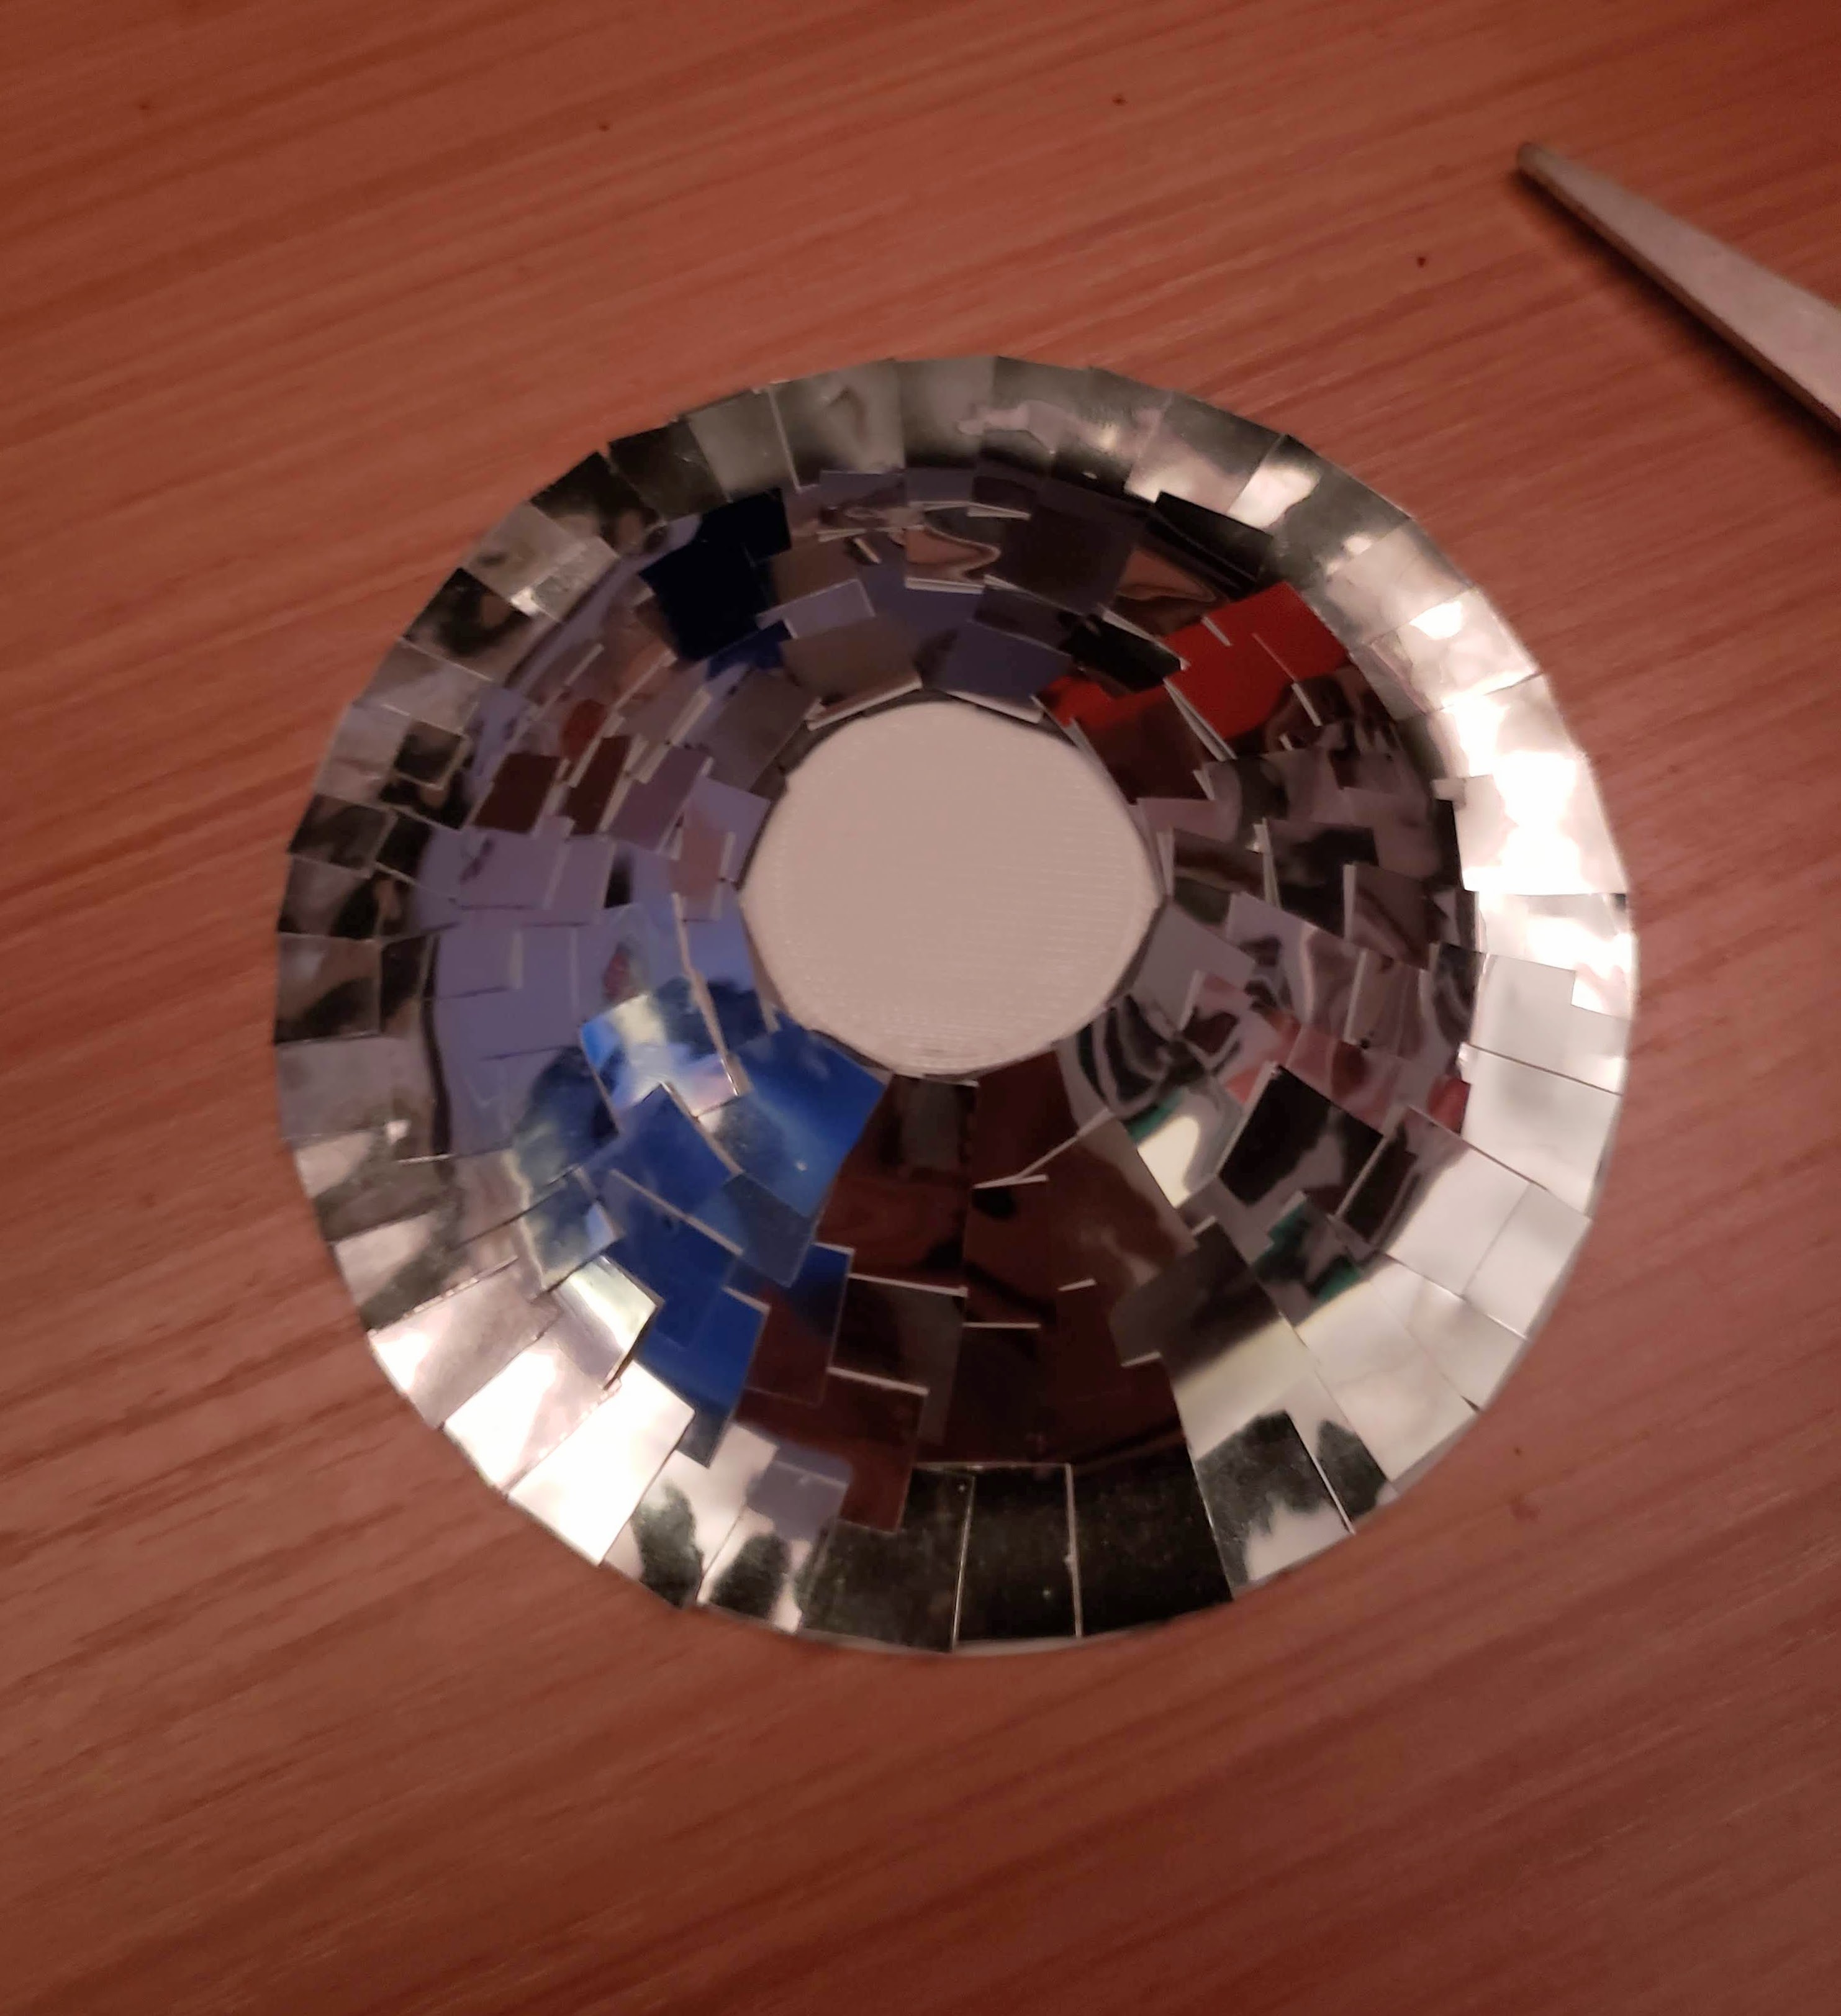
7 • Three views of the light reflected off silver hobby-paper attached to the reflector dish of my initial prototype. I enjoy the fractured, lightning-like patterns it creates, but it isn’t the best-suited effect for a calming mood light.
7 • Three views of the light reflected off silver hobby-paper attached to the reflector dish of my initial prototype. I enjoy the fractured, lightning-like patterns it creates, but it isn’t the best-suited effect for a calming mood light.
3 • This iteration achieves a decent, stable balance of ‘lit’ and ‘unlit’ cells, but they’re still changing very chaotically and have little relationship to one another.
8 • This is a pen holder I designed separately that I tried out as a lamp shade of sorts for the array. I liked how it looked and decided to design another lamp concept around it.
8 • This is a pen holder I designed separately that I tried out as a lamp shade of sorts for the array. I liked how it looked and decided to design another lamp concept around it.
4 •
In intermediate iterations like this one I focused on making the lights appear more ‘analog’, i.e. increasing the prevalence of cells with midtone lighting conditions. To increase interrelation between the cells and their neighbors, I also increased each cell’s neighborhood size from 2 to 4, and increased the significance of these neighbors in the rules determining the cells’ evolutions.
9 • My final work focused on further smoothing the luminosity changes by replacing most single-frame rises and falls with multi-frame ones, while preserving the occassional quick flutter. I also increased the long-term dynamism of the lamp by tweaking the rules to foster the meandering of the population as a whole across a wider range of possible brightnesses. Finally, I added four button inputs, two to change the lamp brightness with a simple scale factor attached to the automaton’s output, and two to alter the rule probabilities within the automaton and thereby the relative prevalence of bright and dim cells.
9 • My final work focused on further smoothing the luminosity changes by replacing most single-frame rises and falls with multi-frame ones, while preserving the occassional quick flutter. I also increased the long-term dynamism of the lamp by tweaking the rules to foster the meandering of the population as a whole across a wider range of possible brightnesses. Finally, I added four button inputs, two to change the lamp brightness with a simple scale factor attached to the automaton’s output, and two to alter the rule probabilities within the automaton and thereby the relative prevalence of bright and dim cells.
Enclosure Development
This project began as a wall-mounted concept that reflected the light of the LED array outwards and back onto the wall in a radial pattern. I like the concept and plan to revisit it to create a more polished design, but for now I’m focusing on the shadow-casting sculptural concept below.
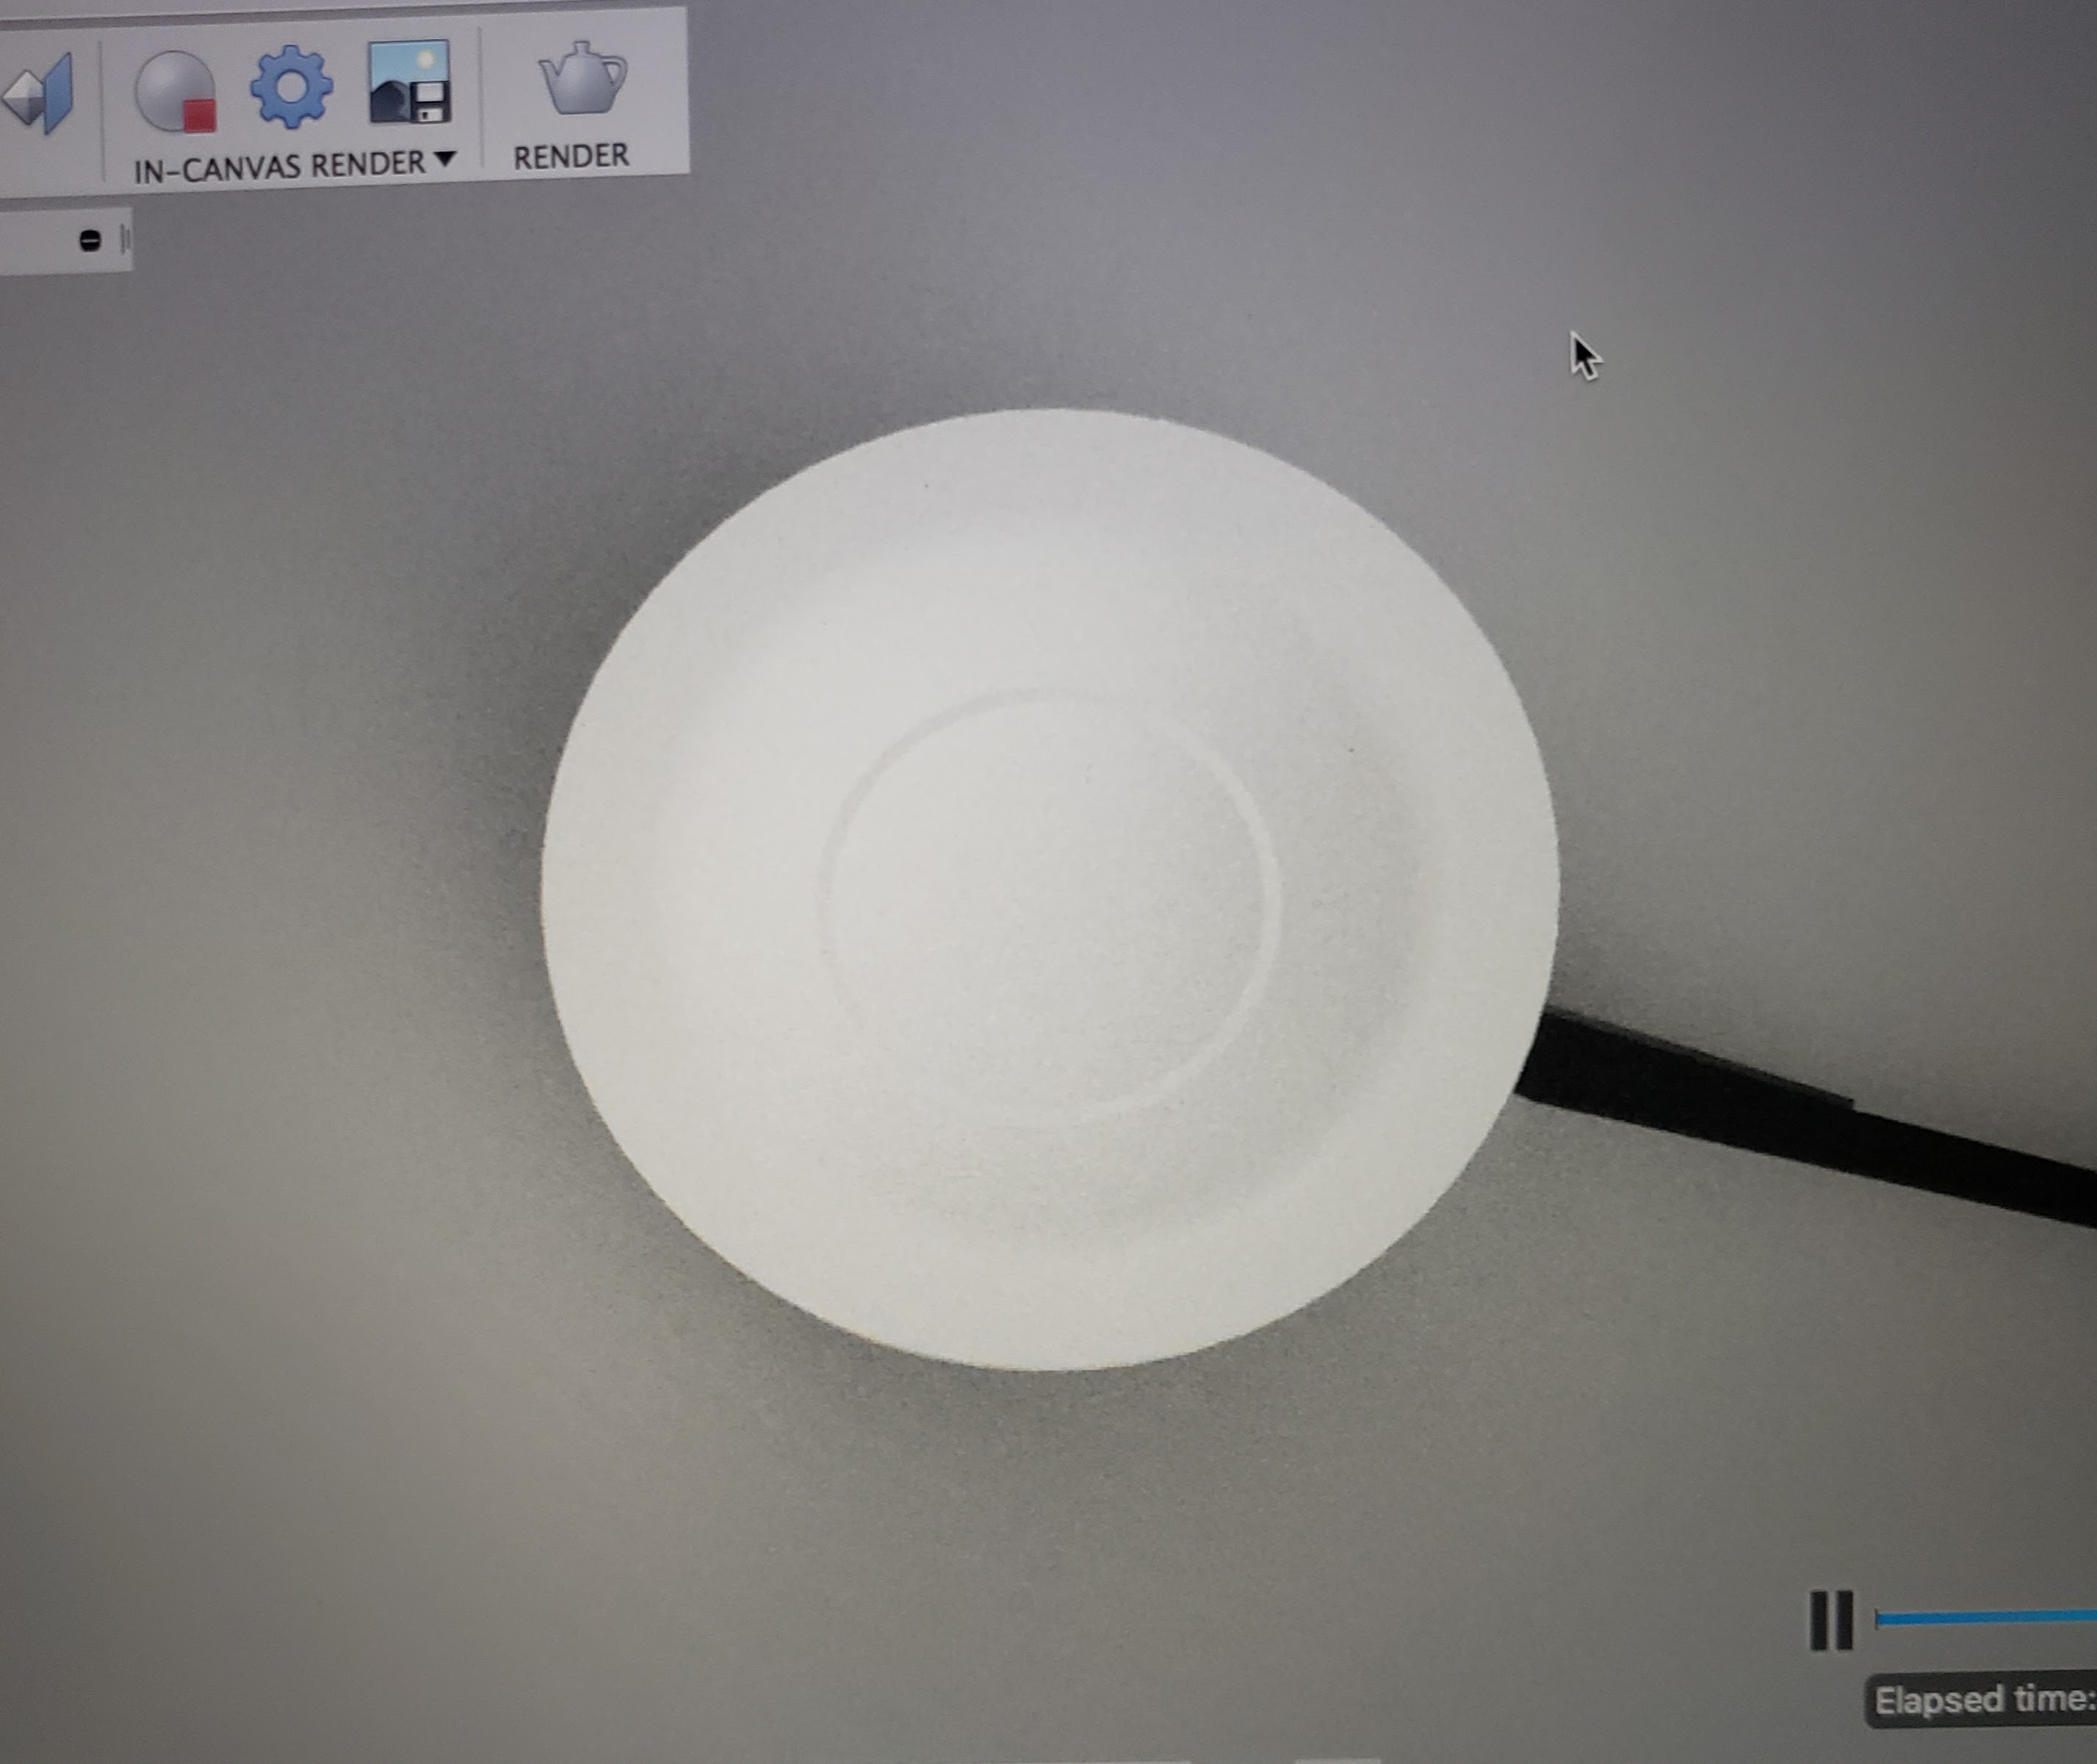
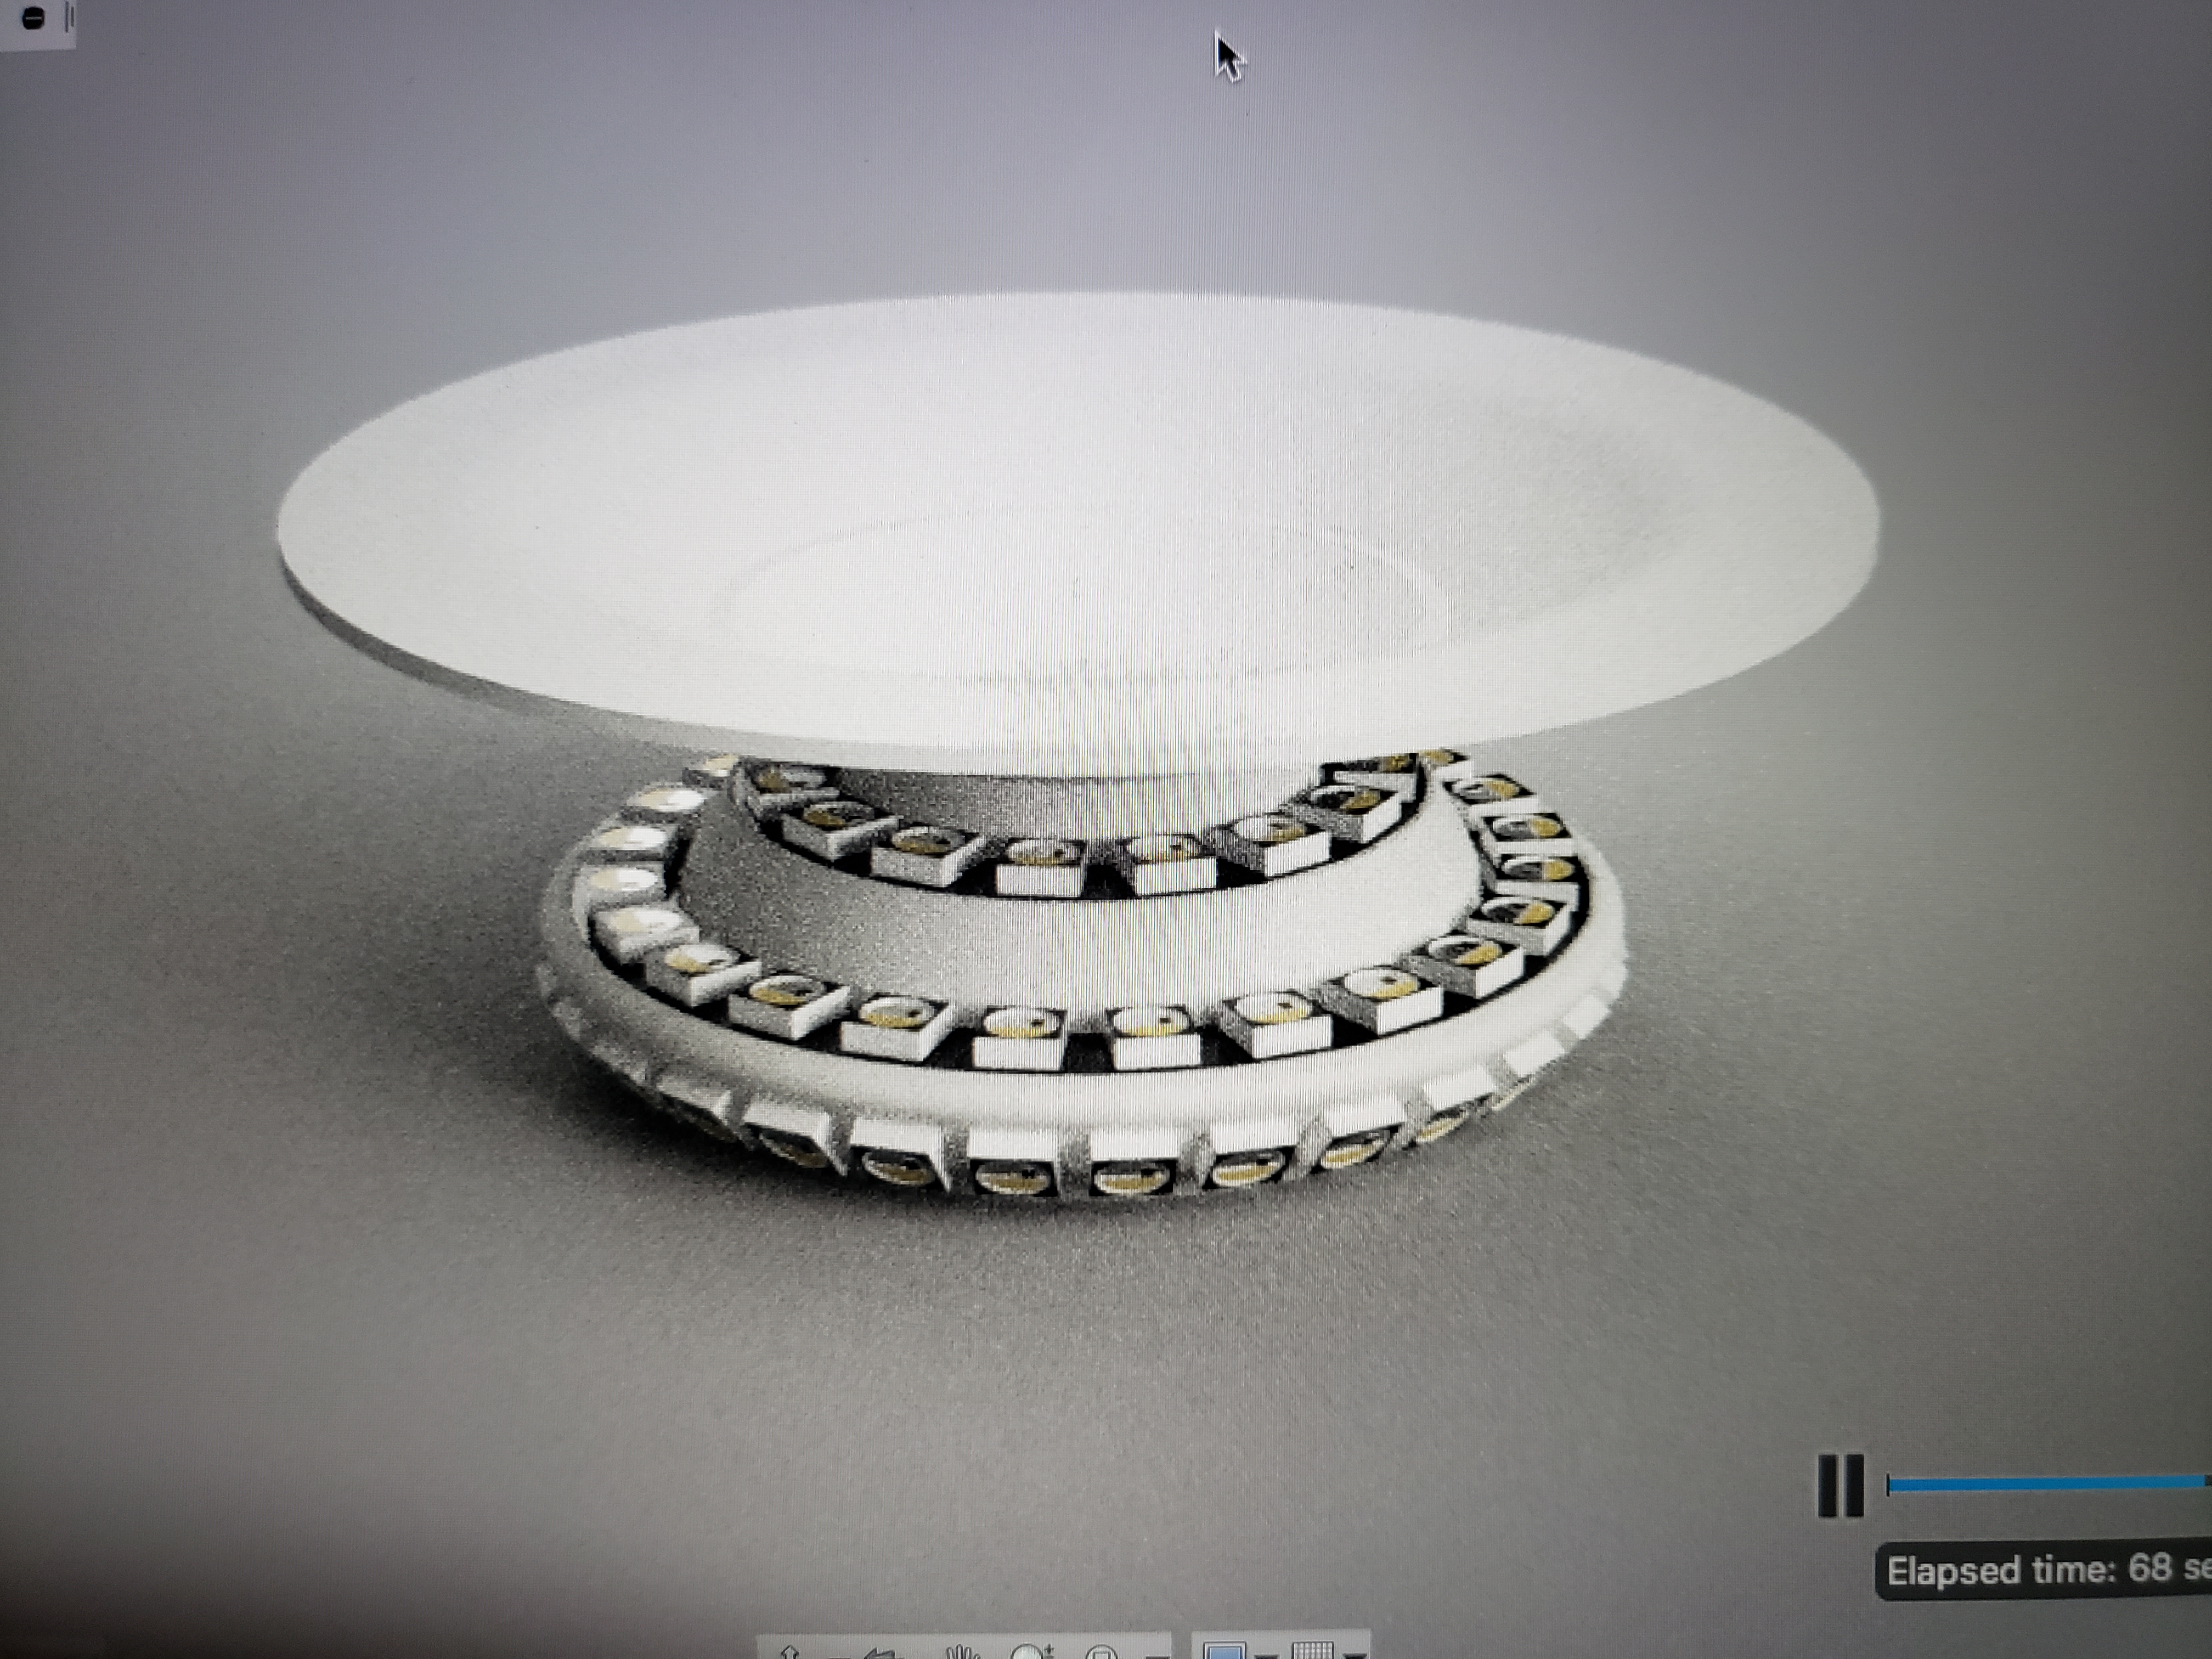

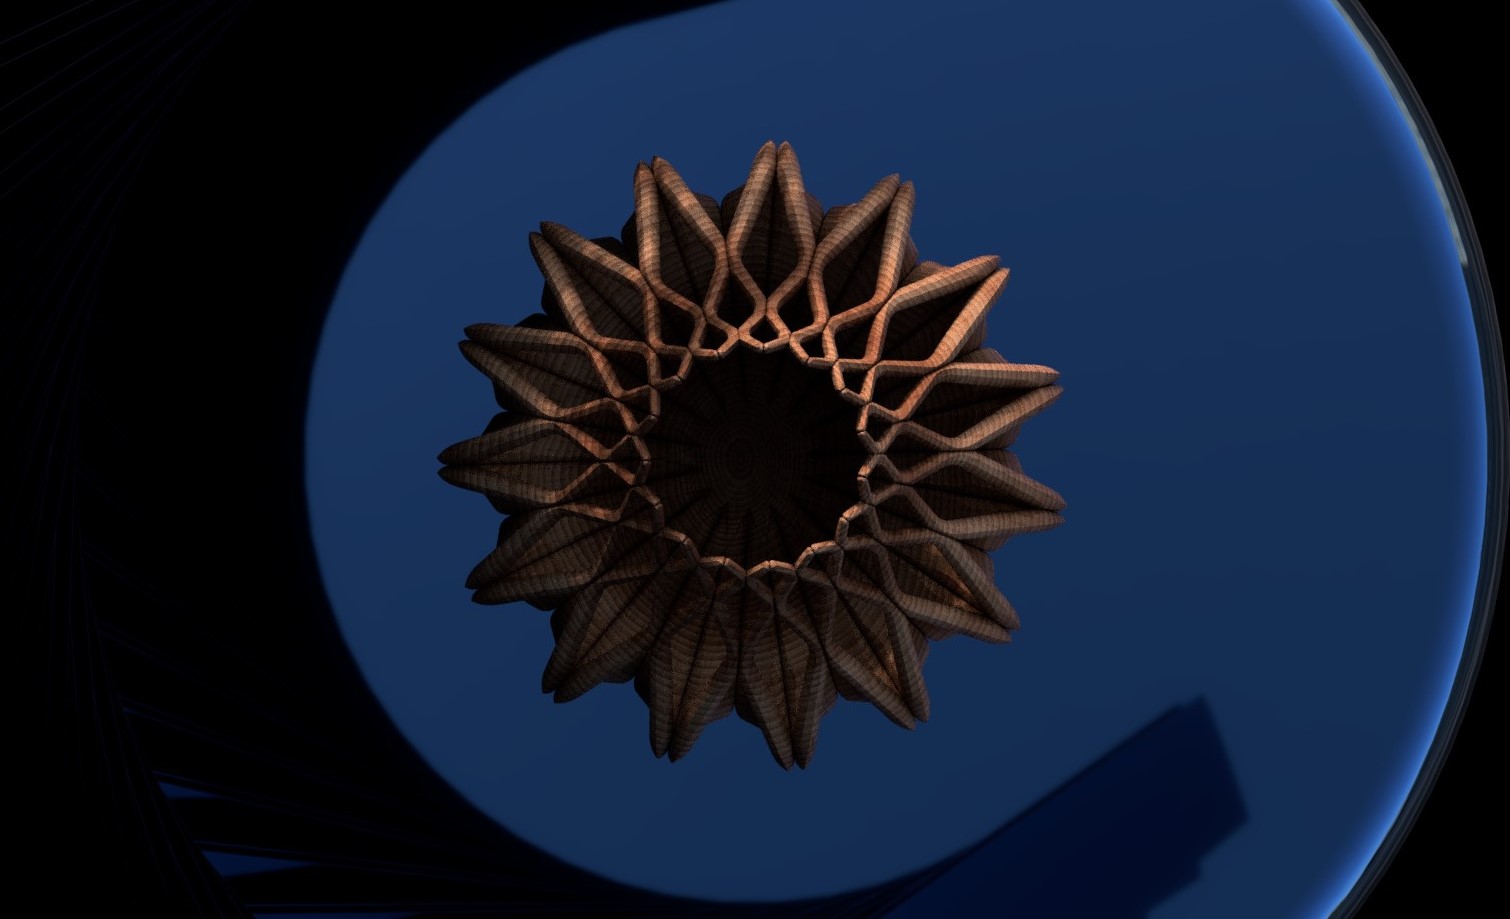
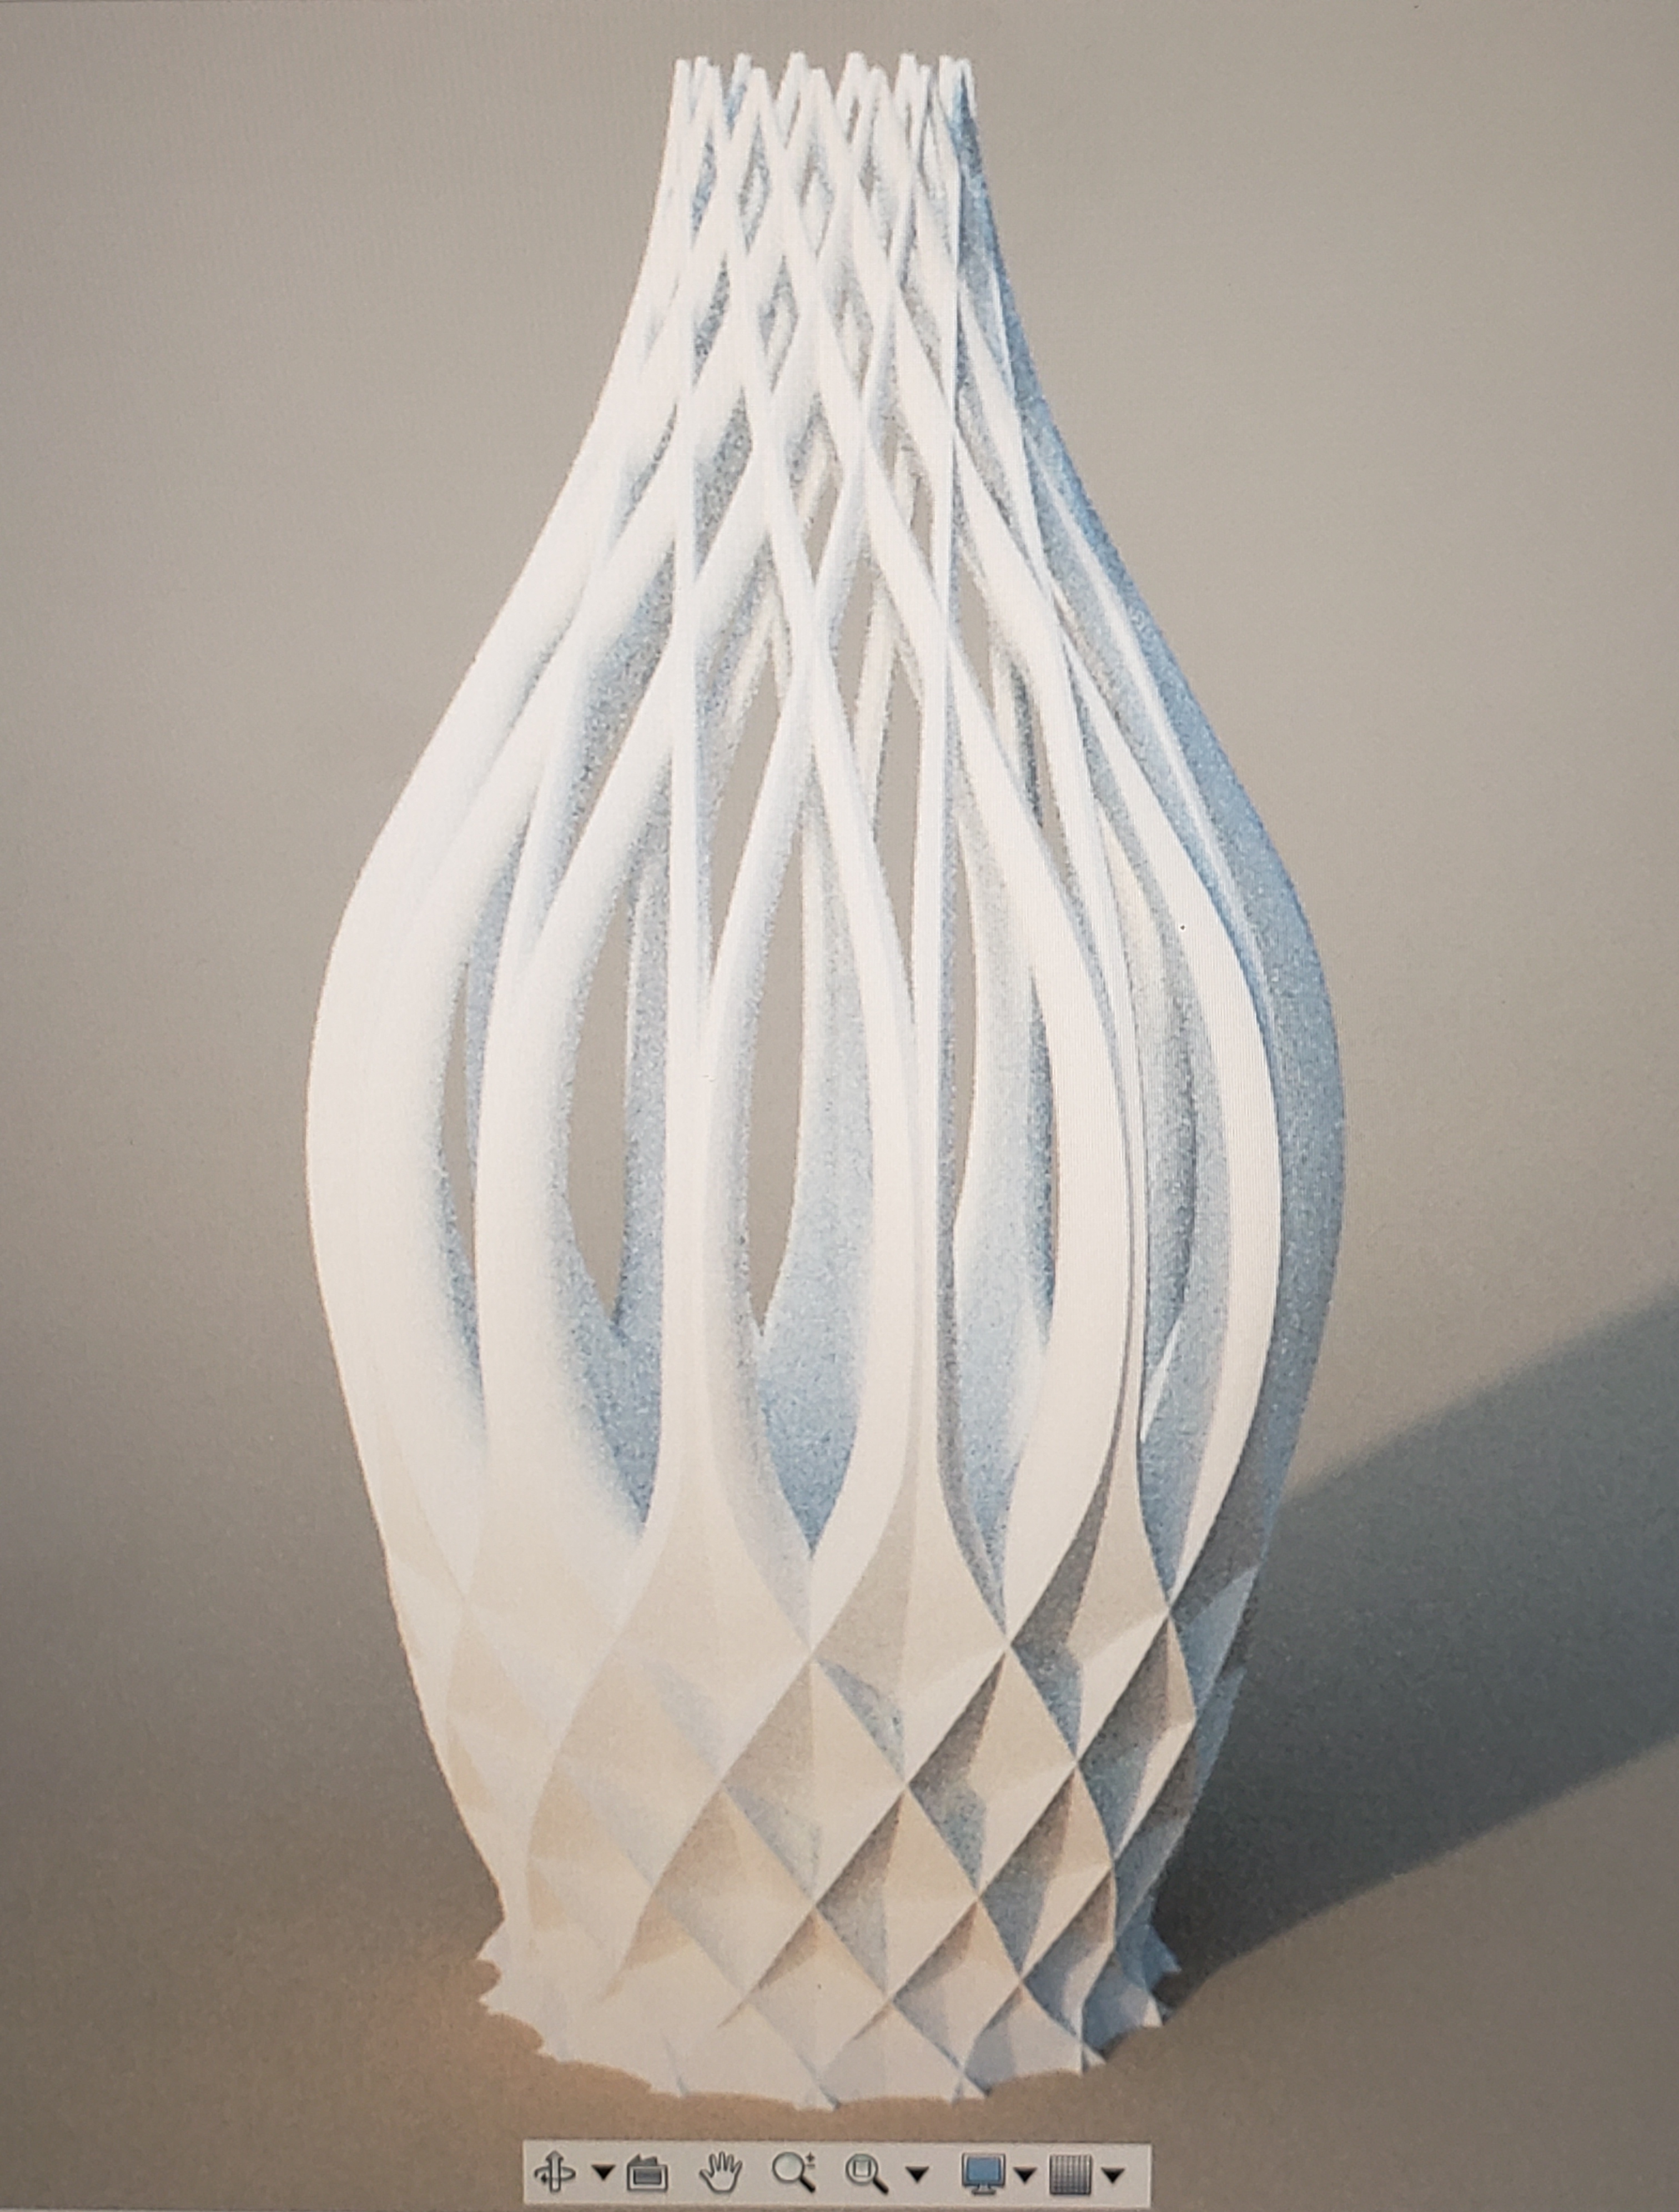
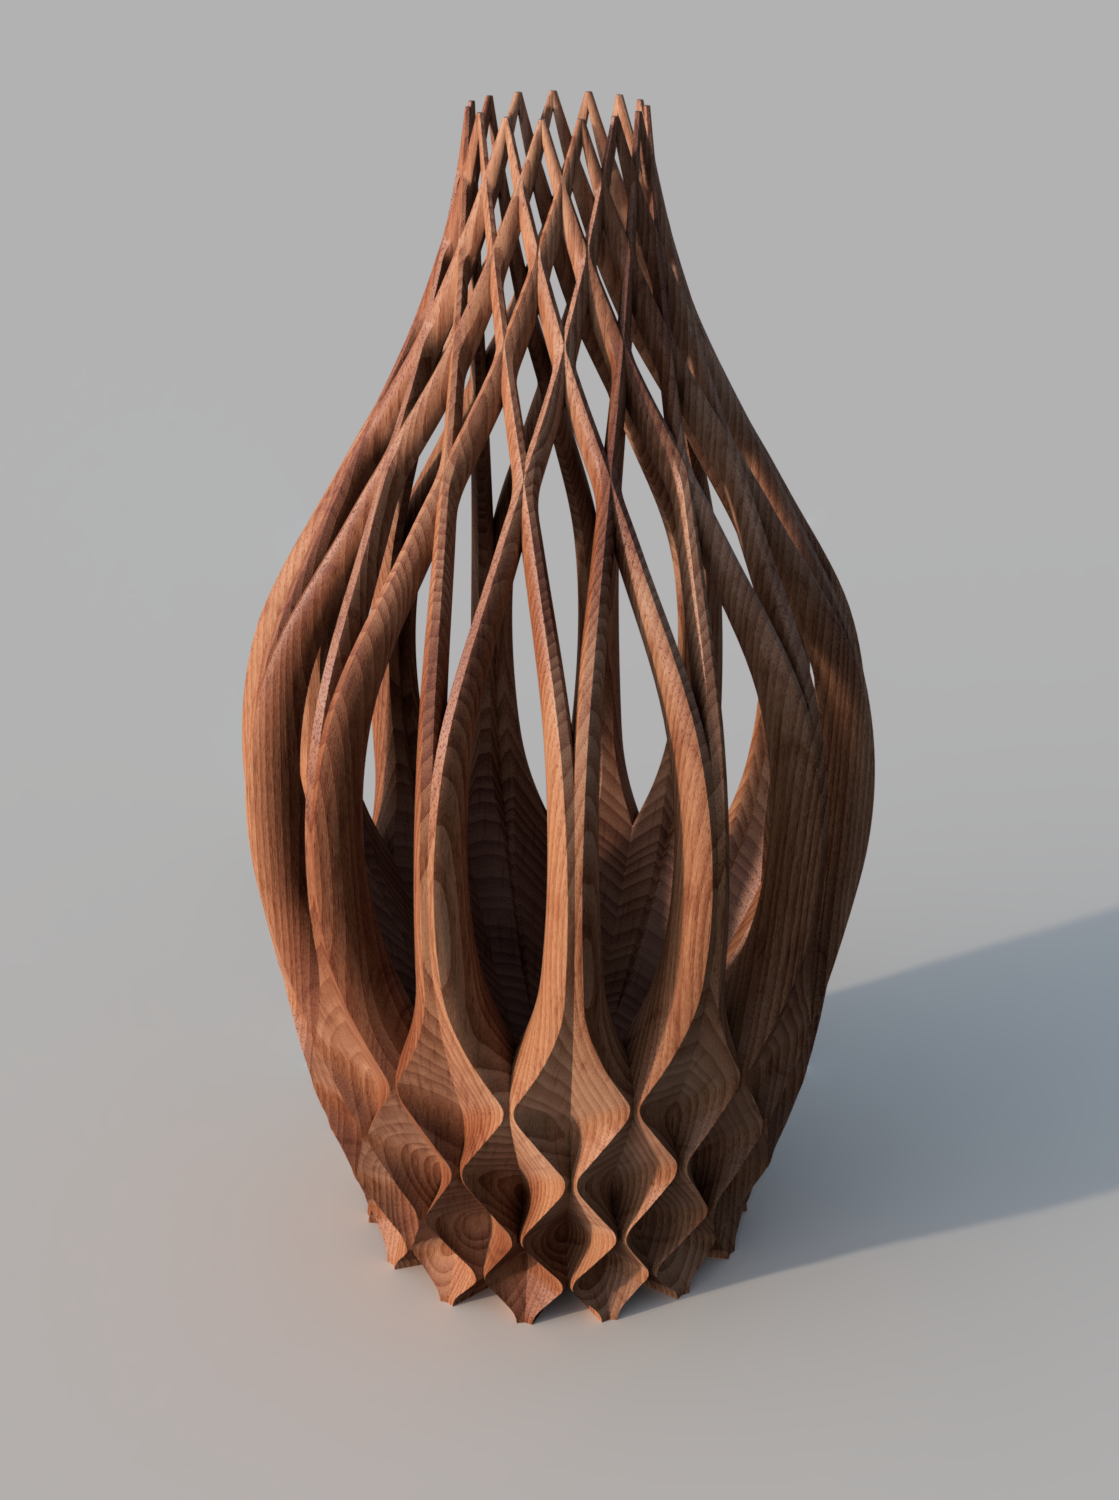
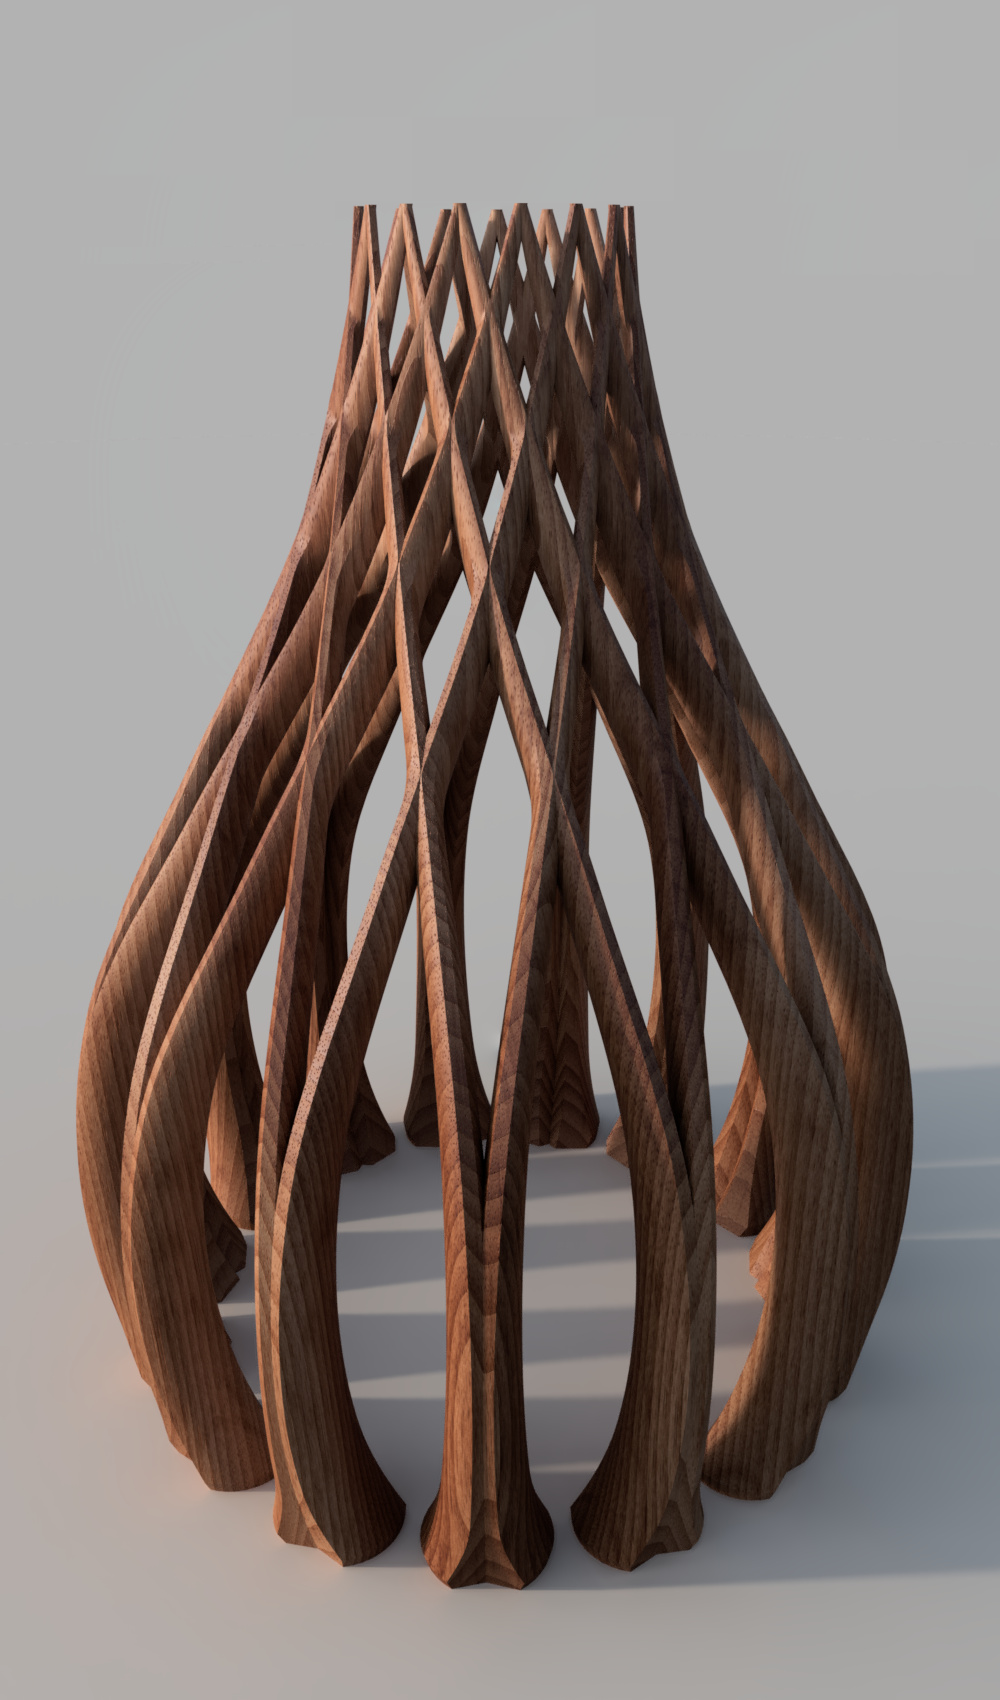
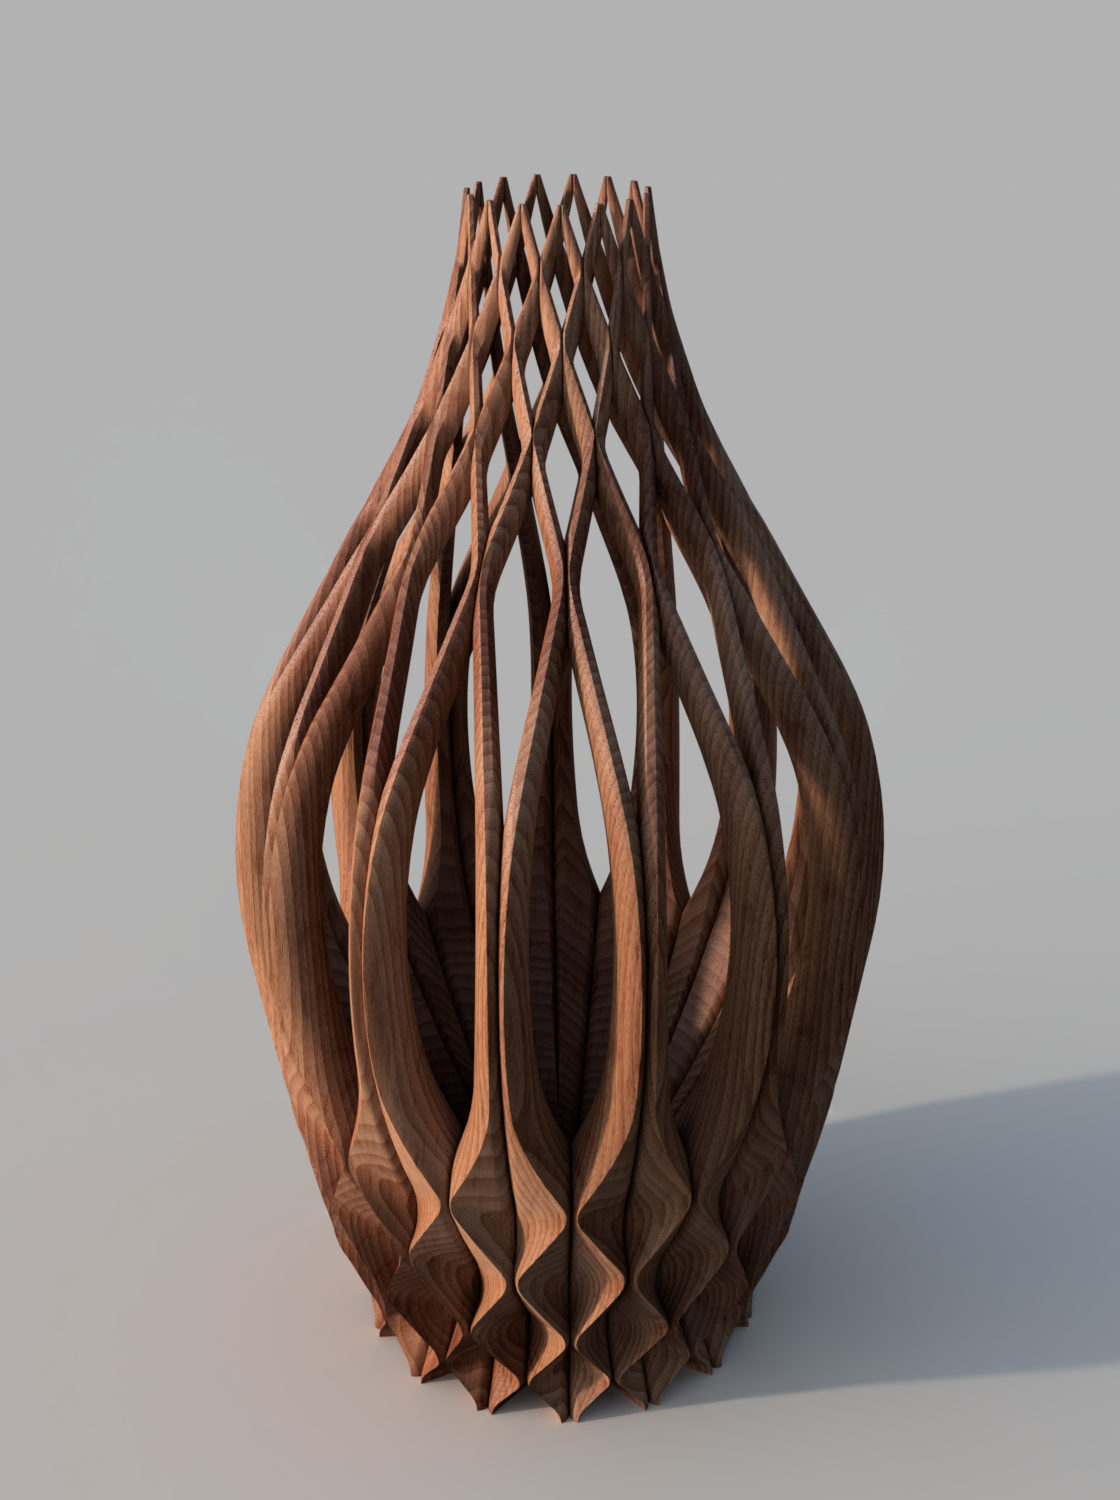
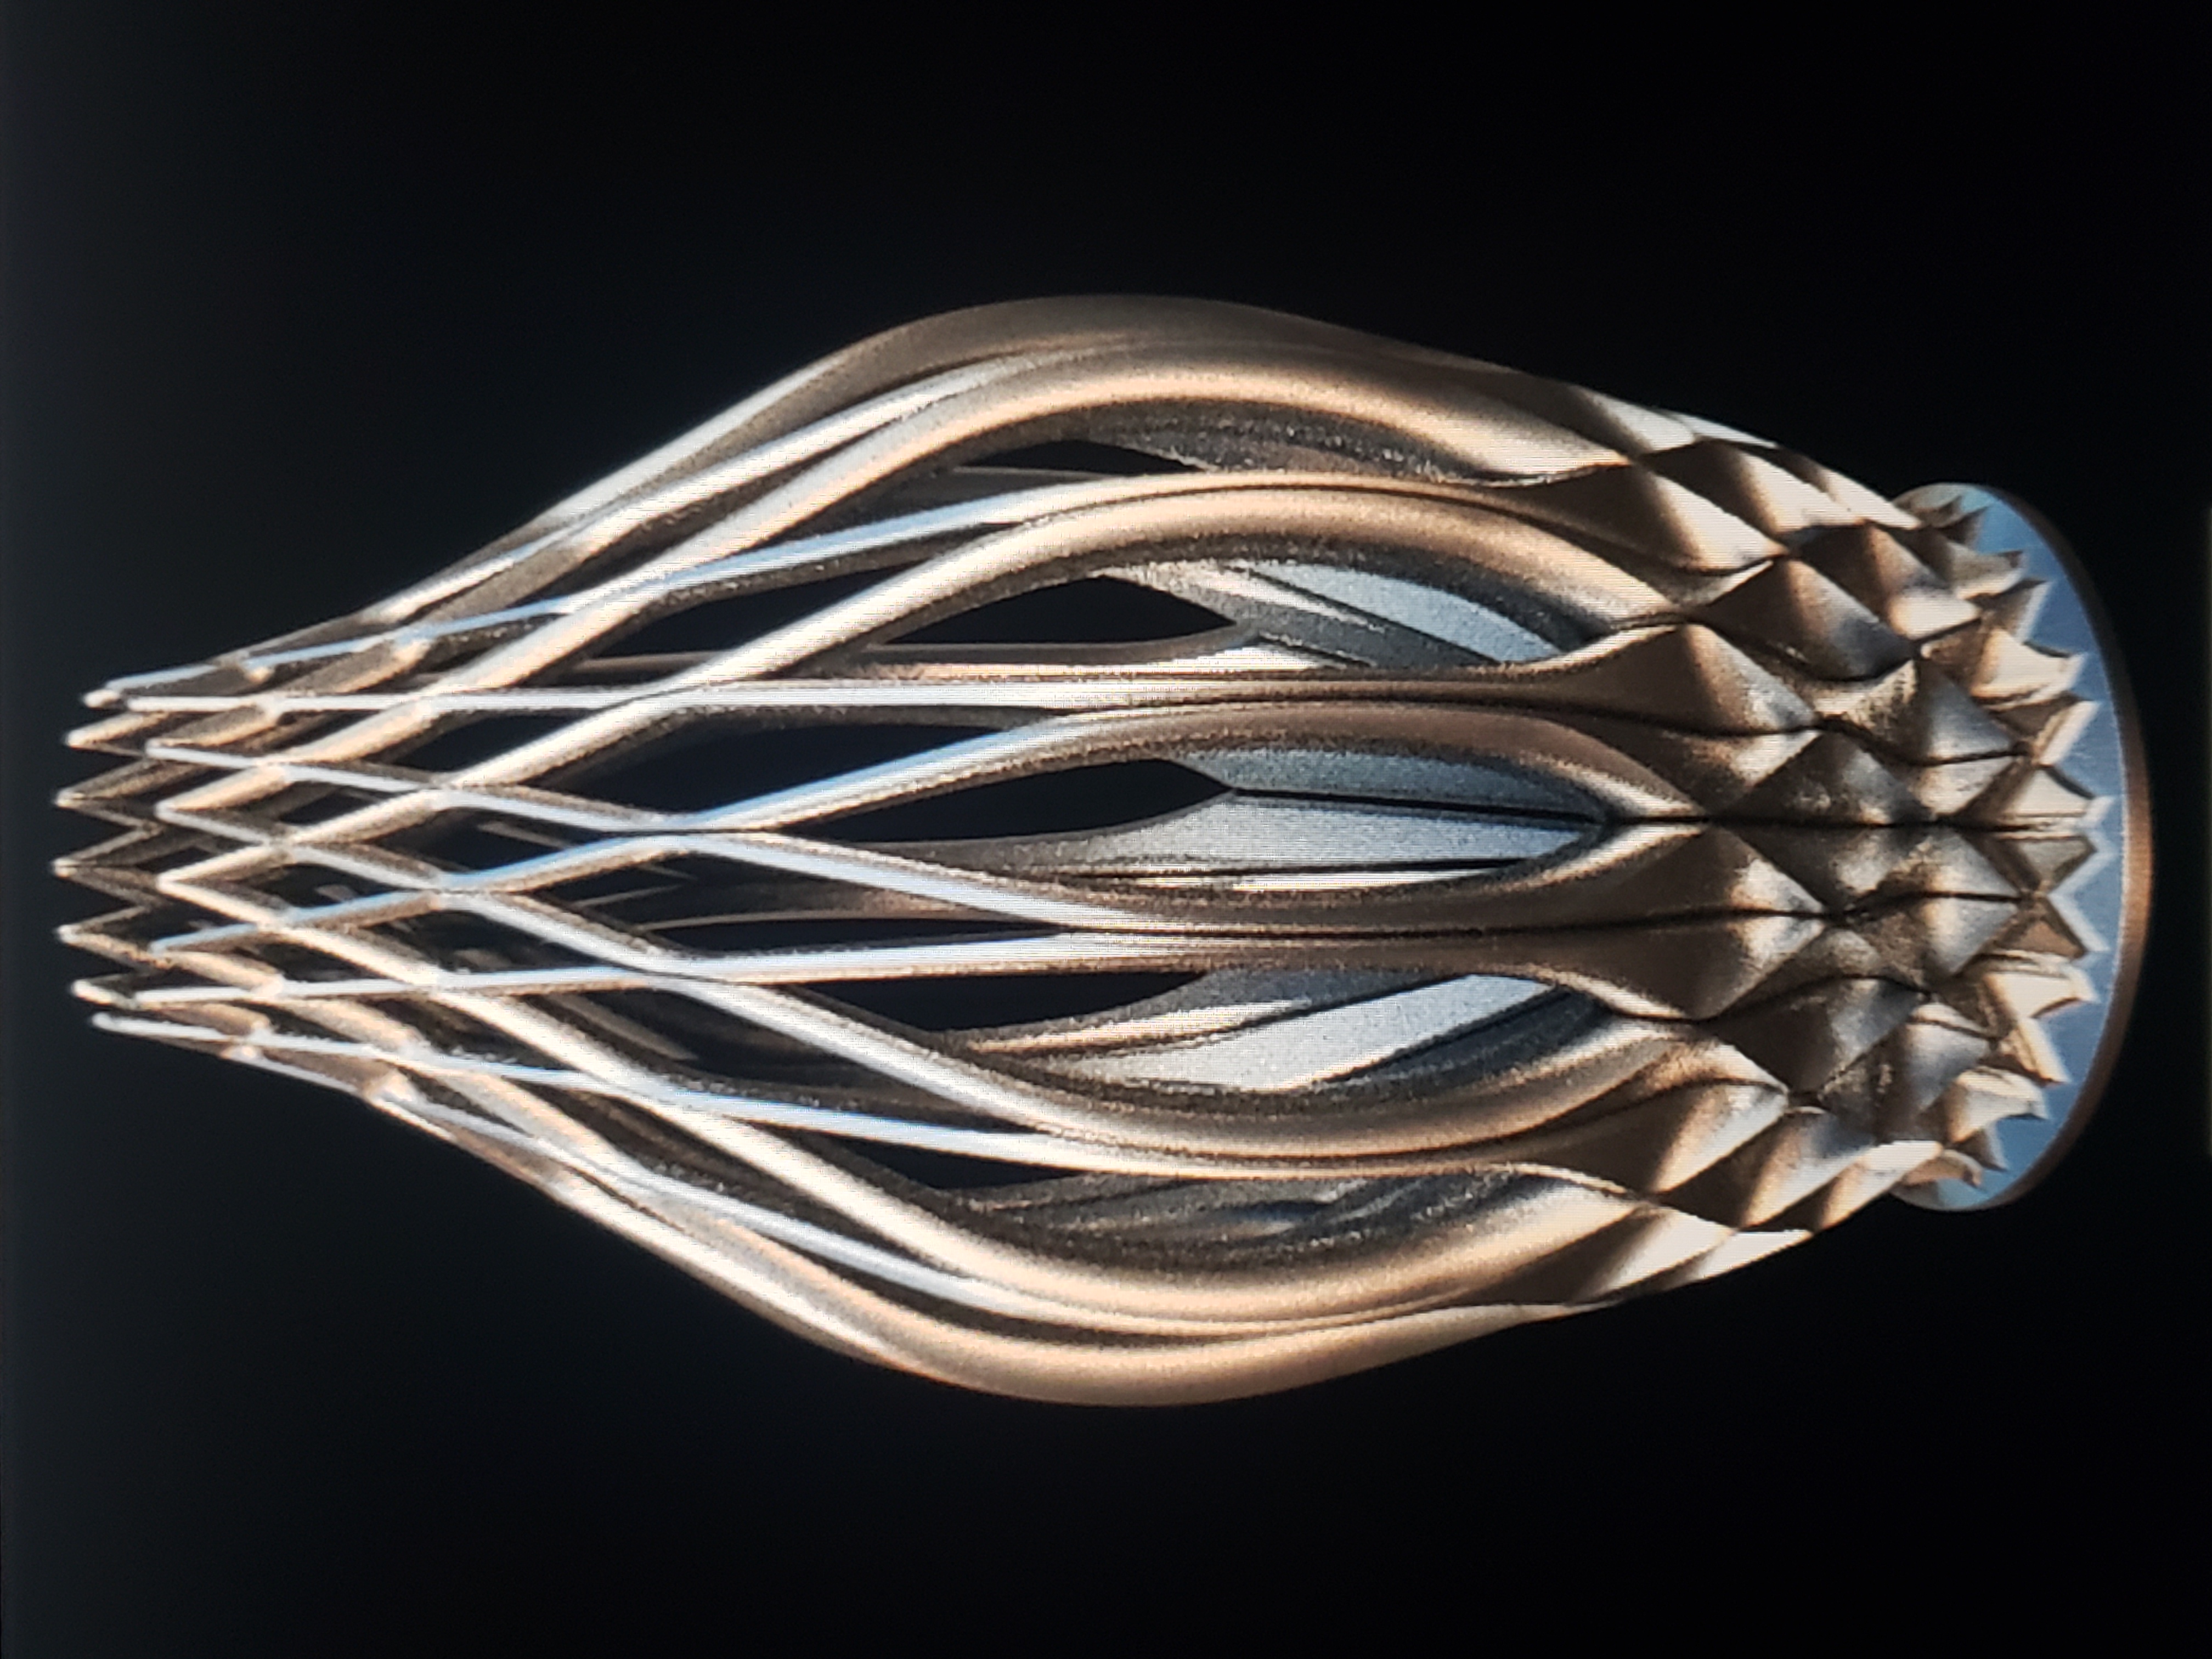
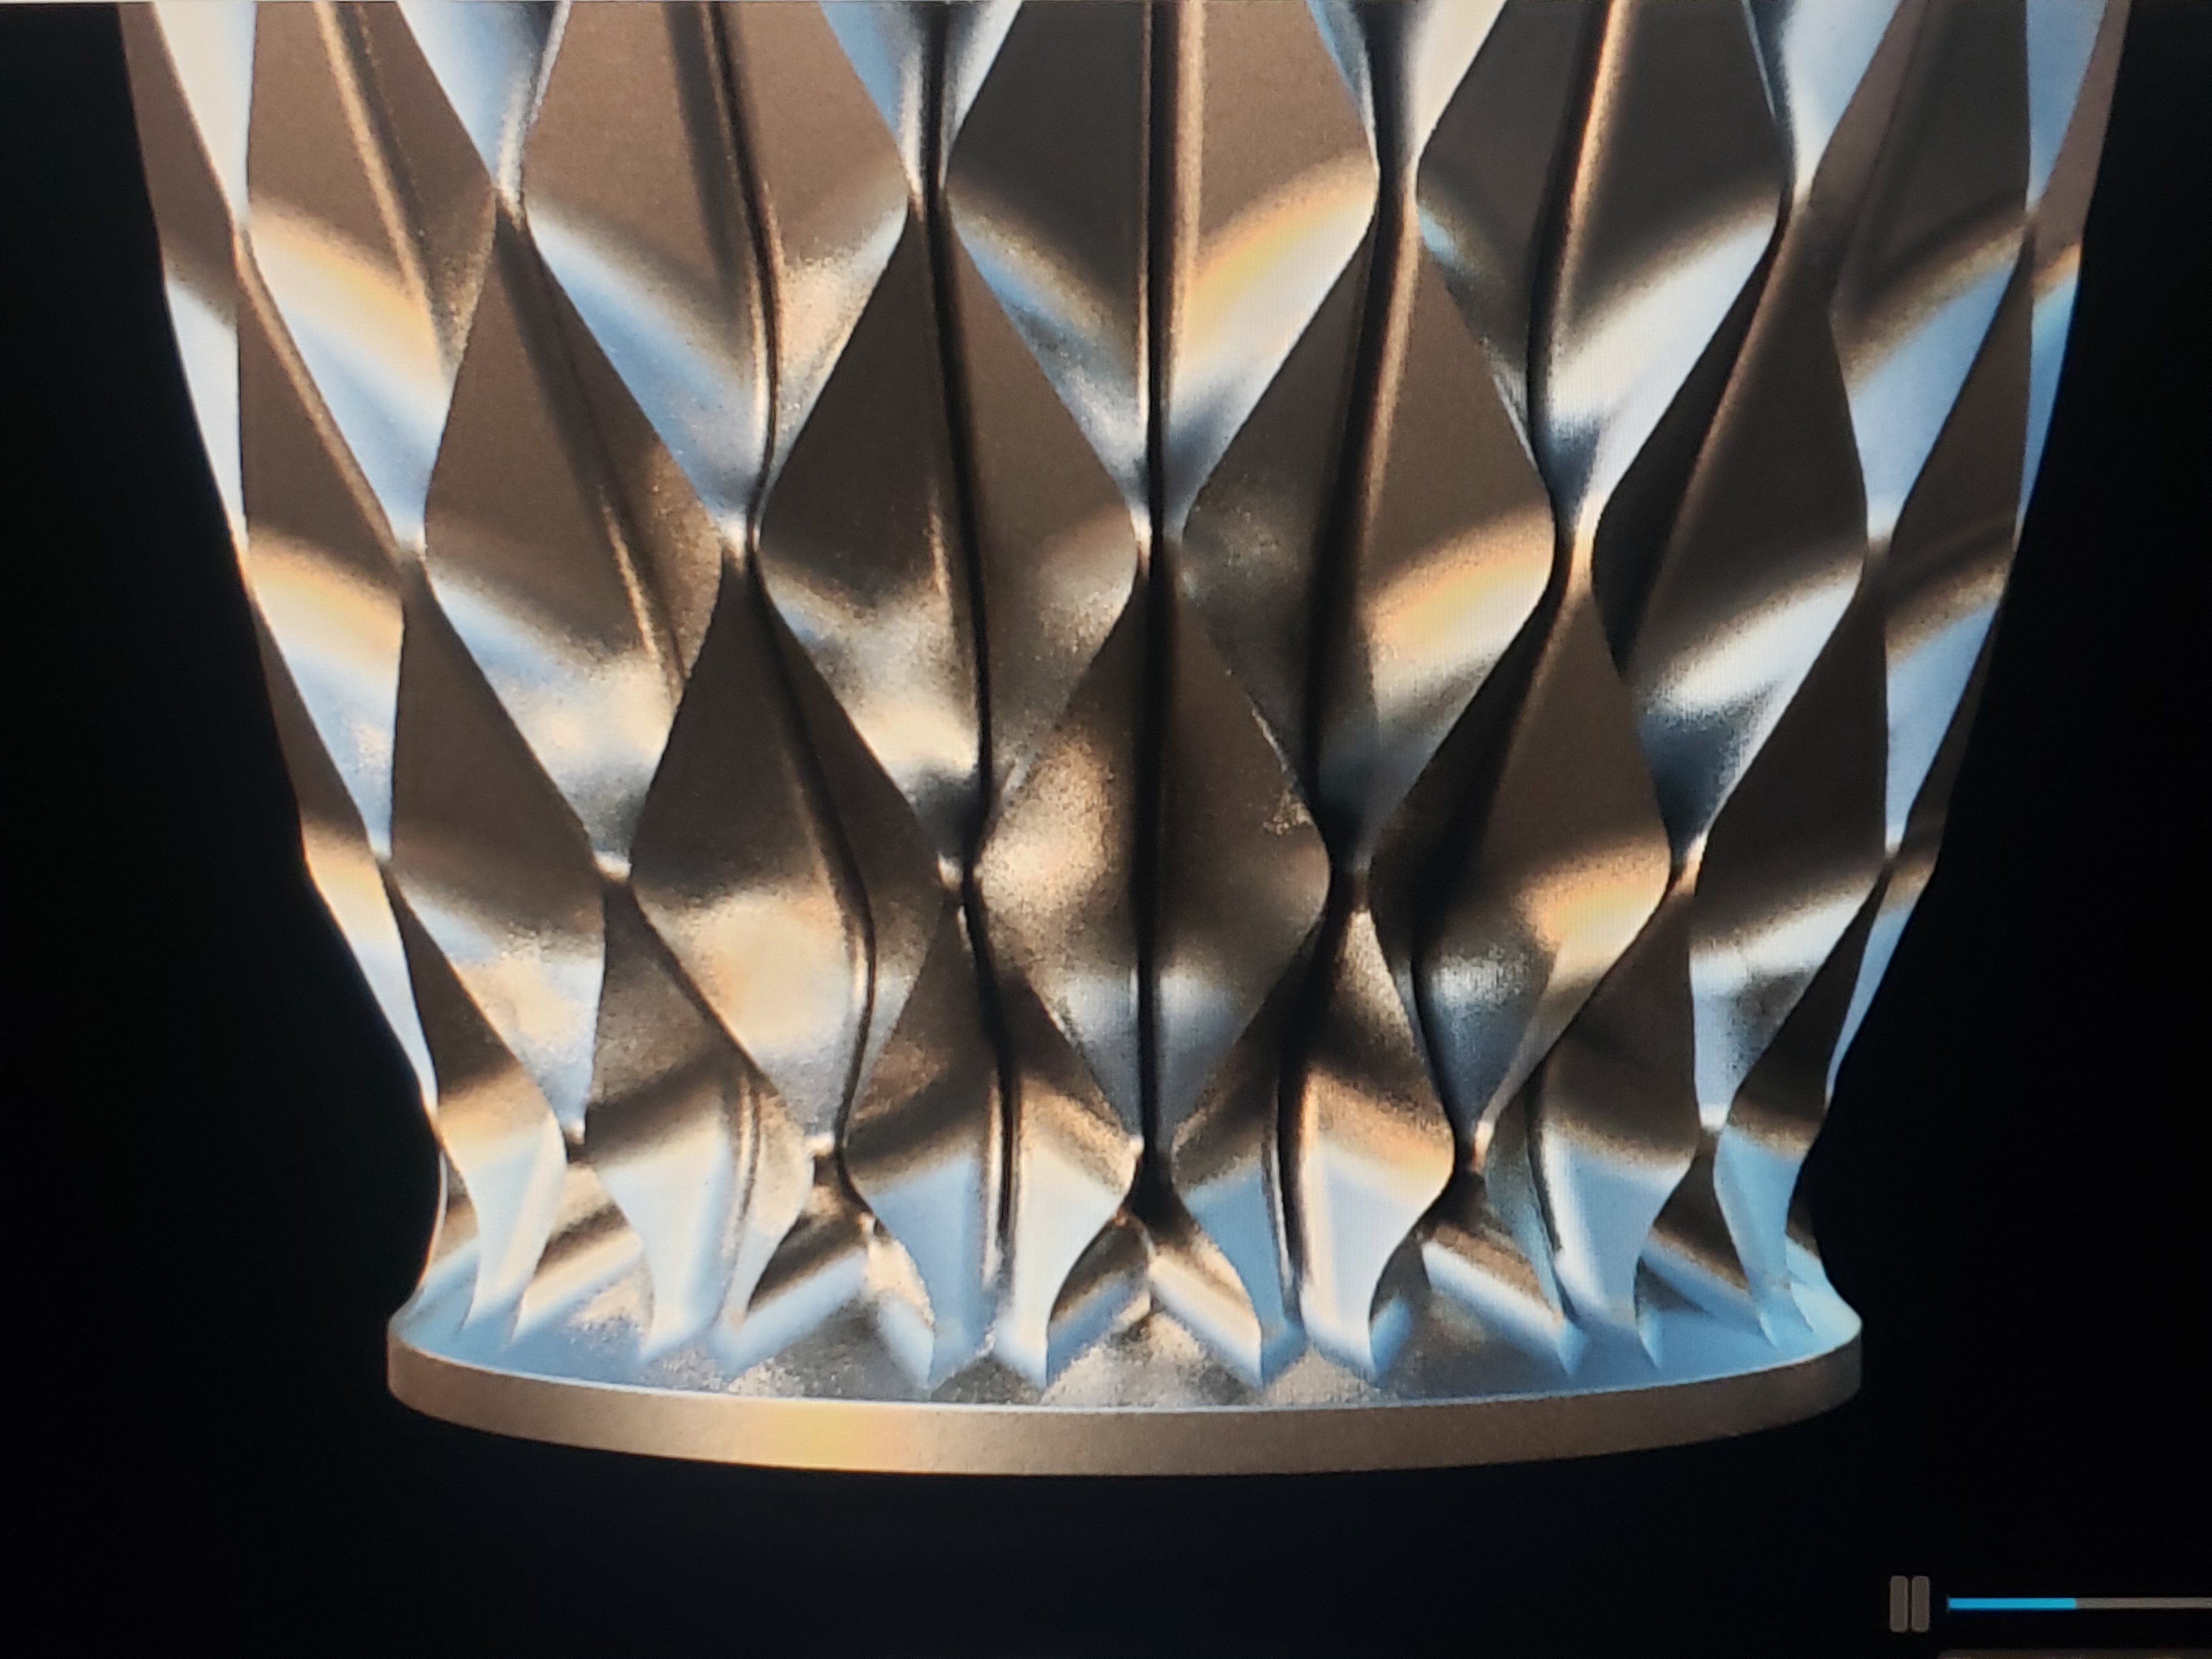
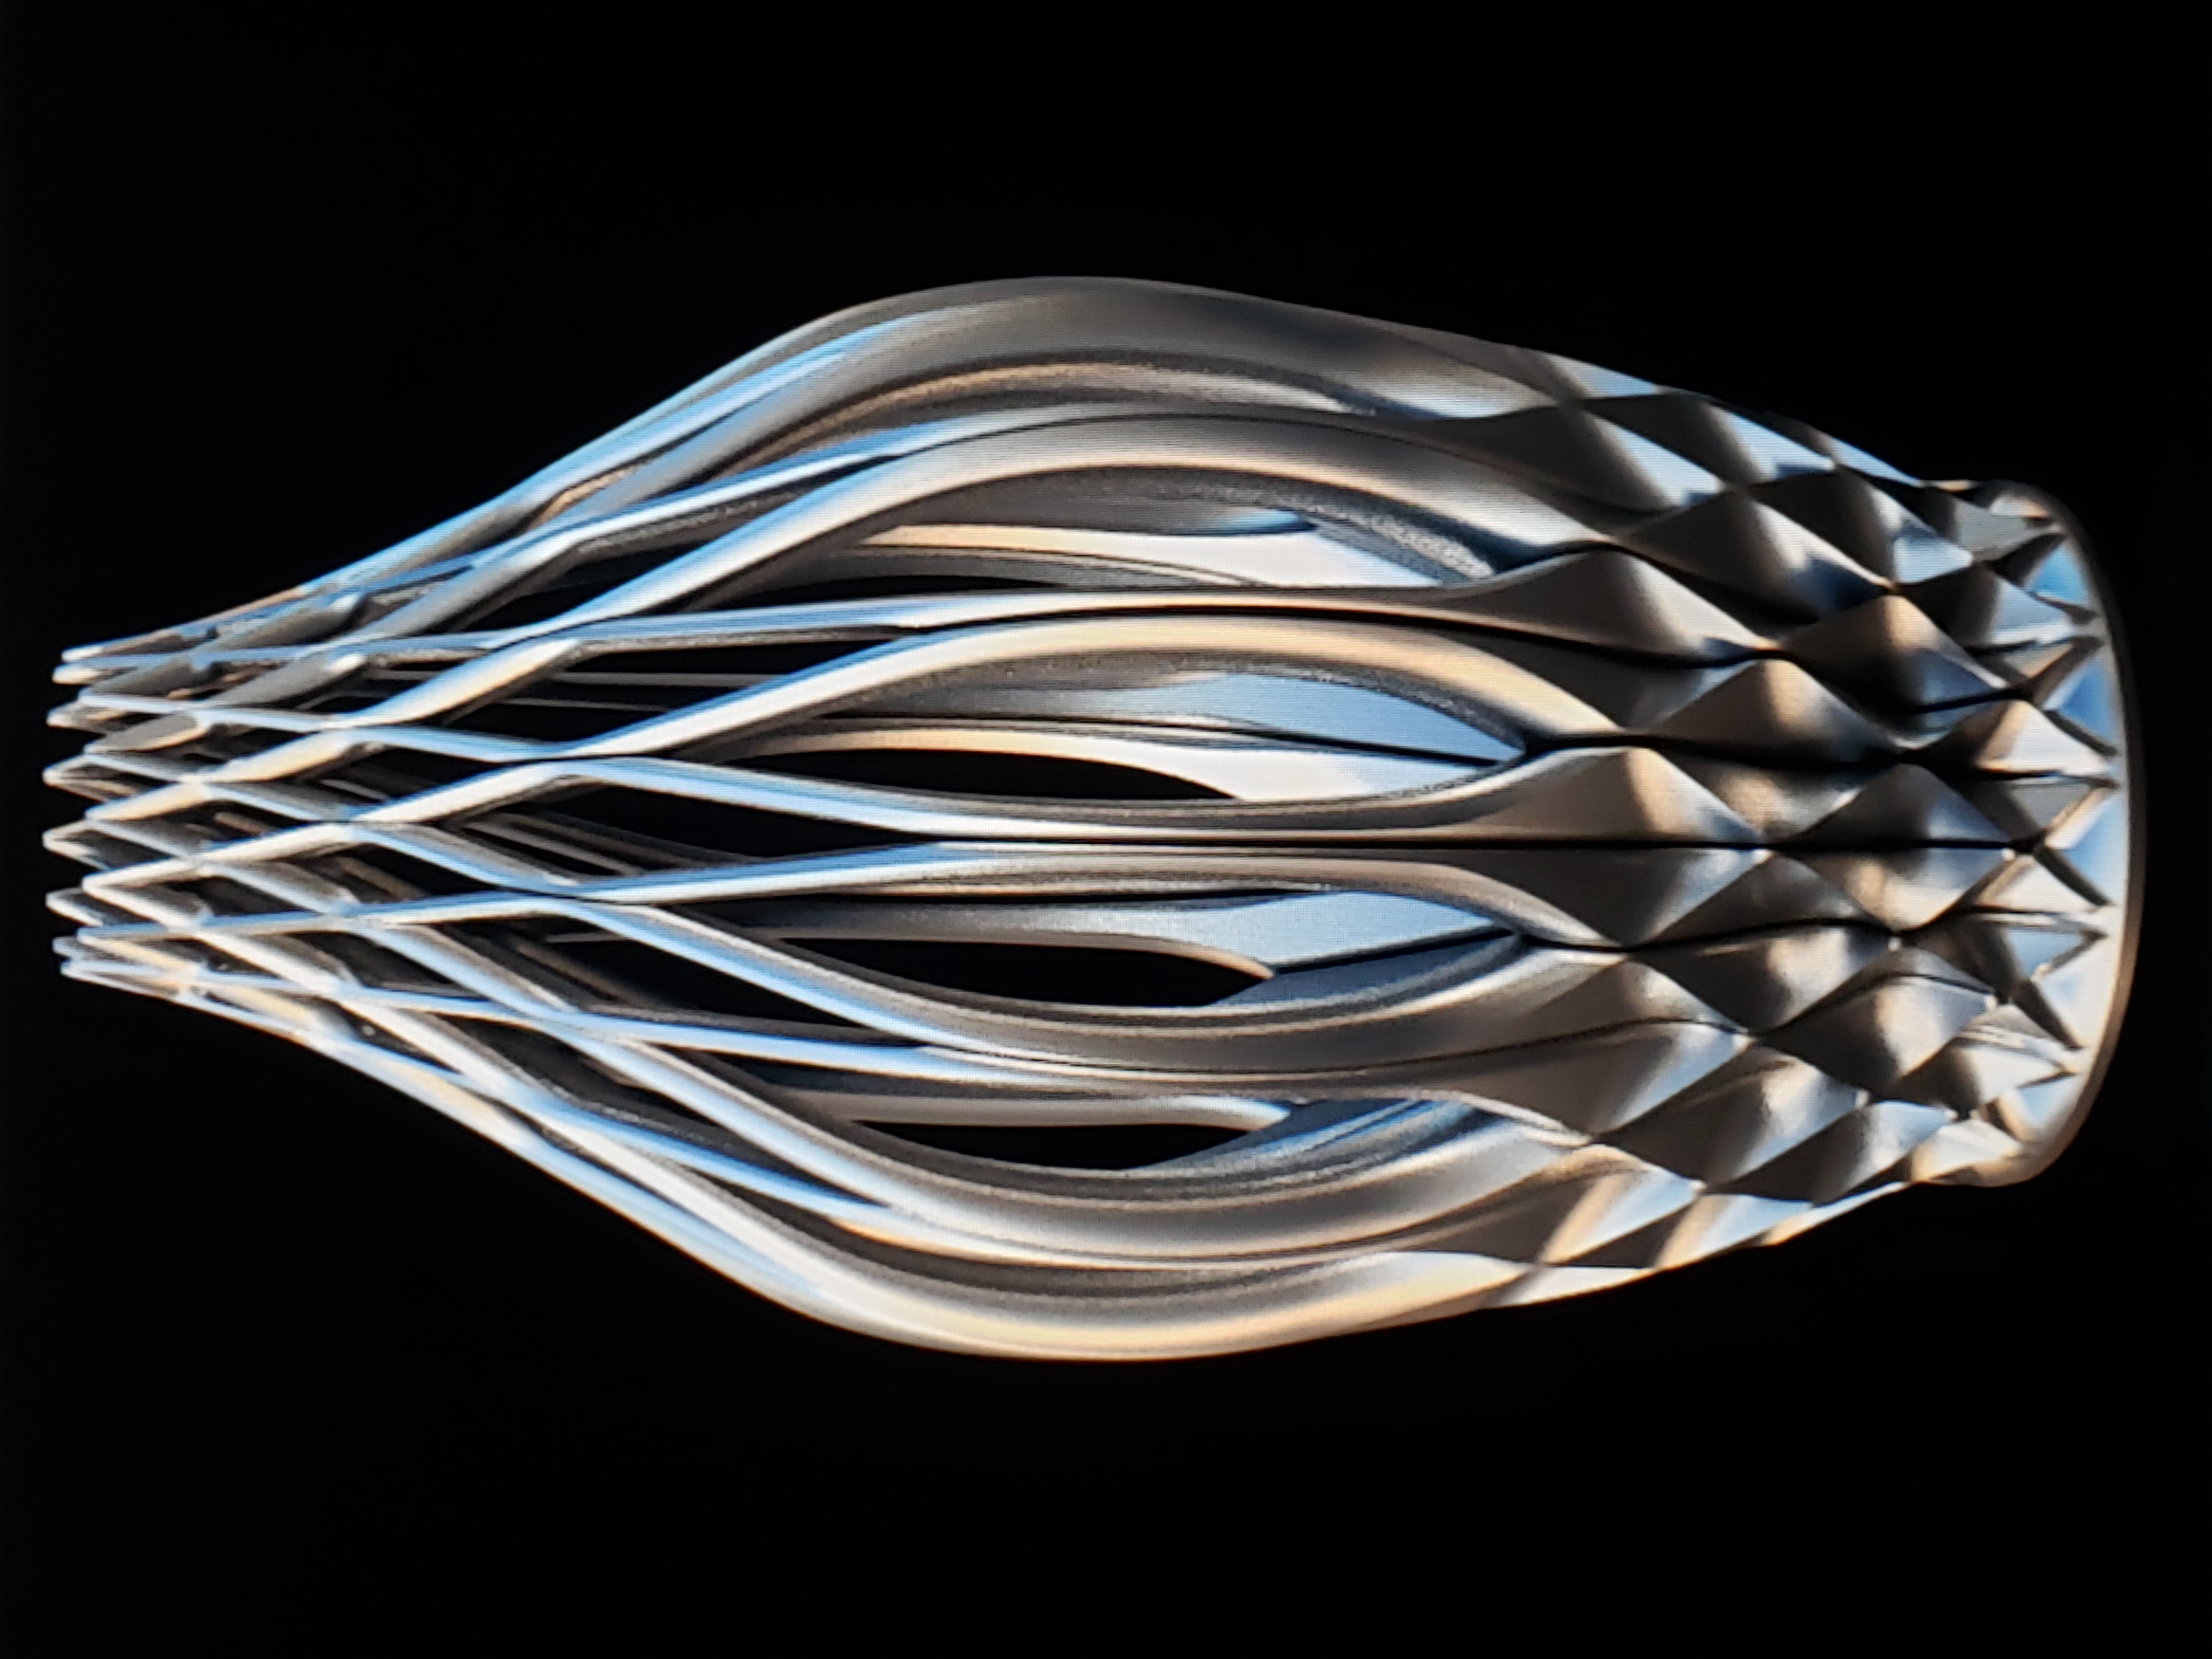
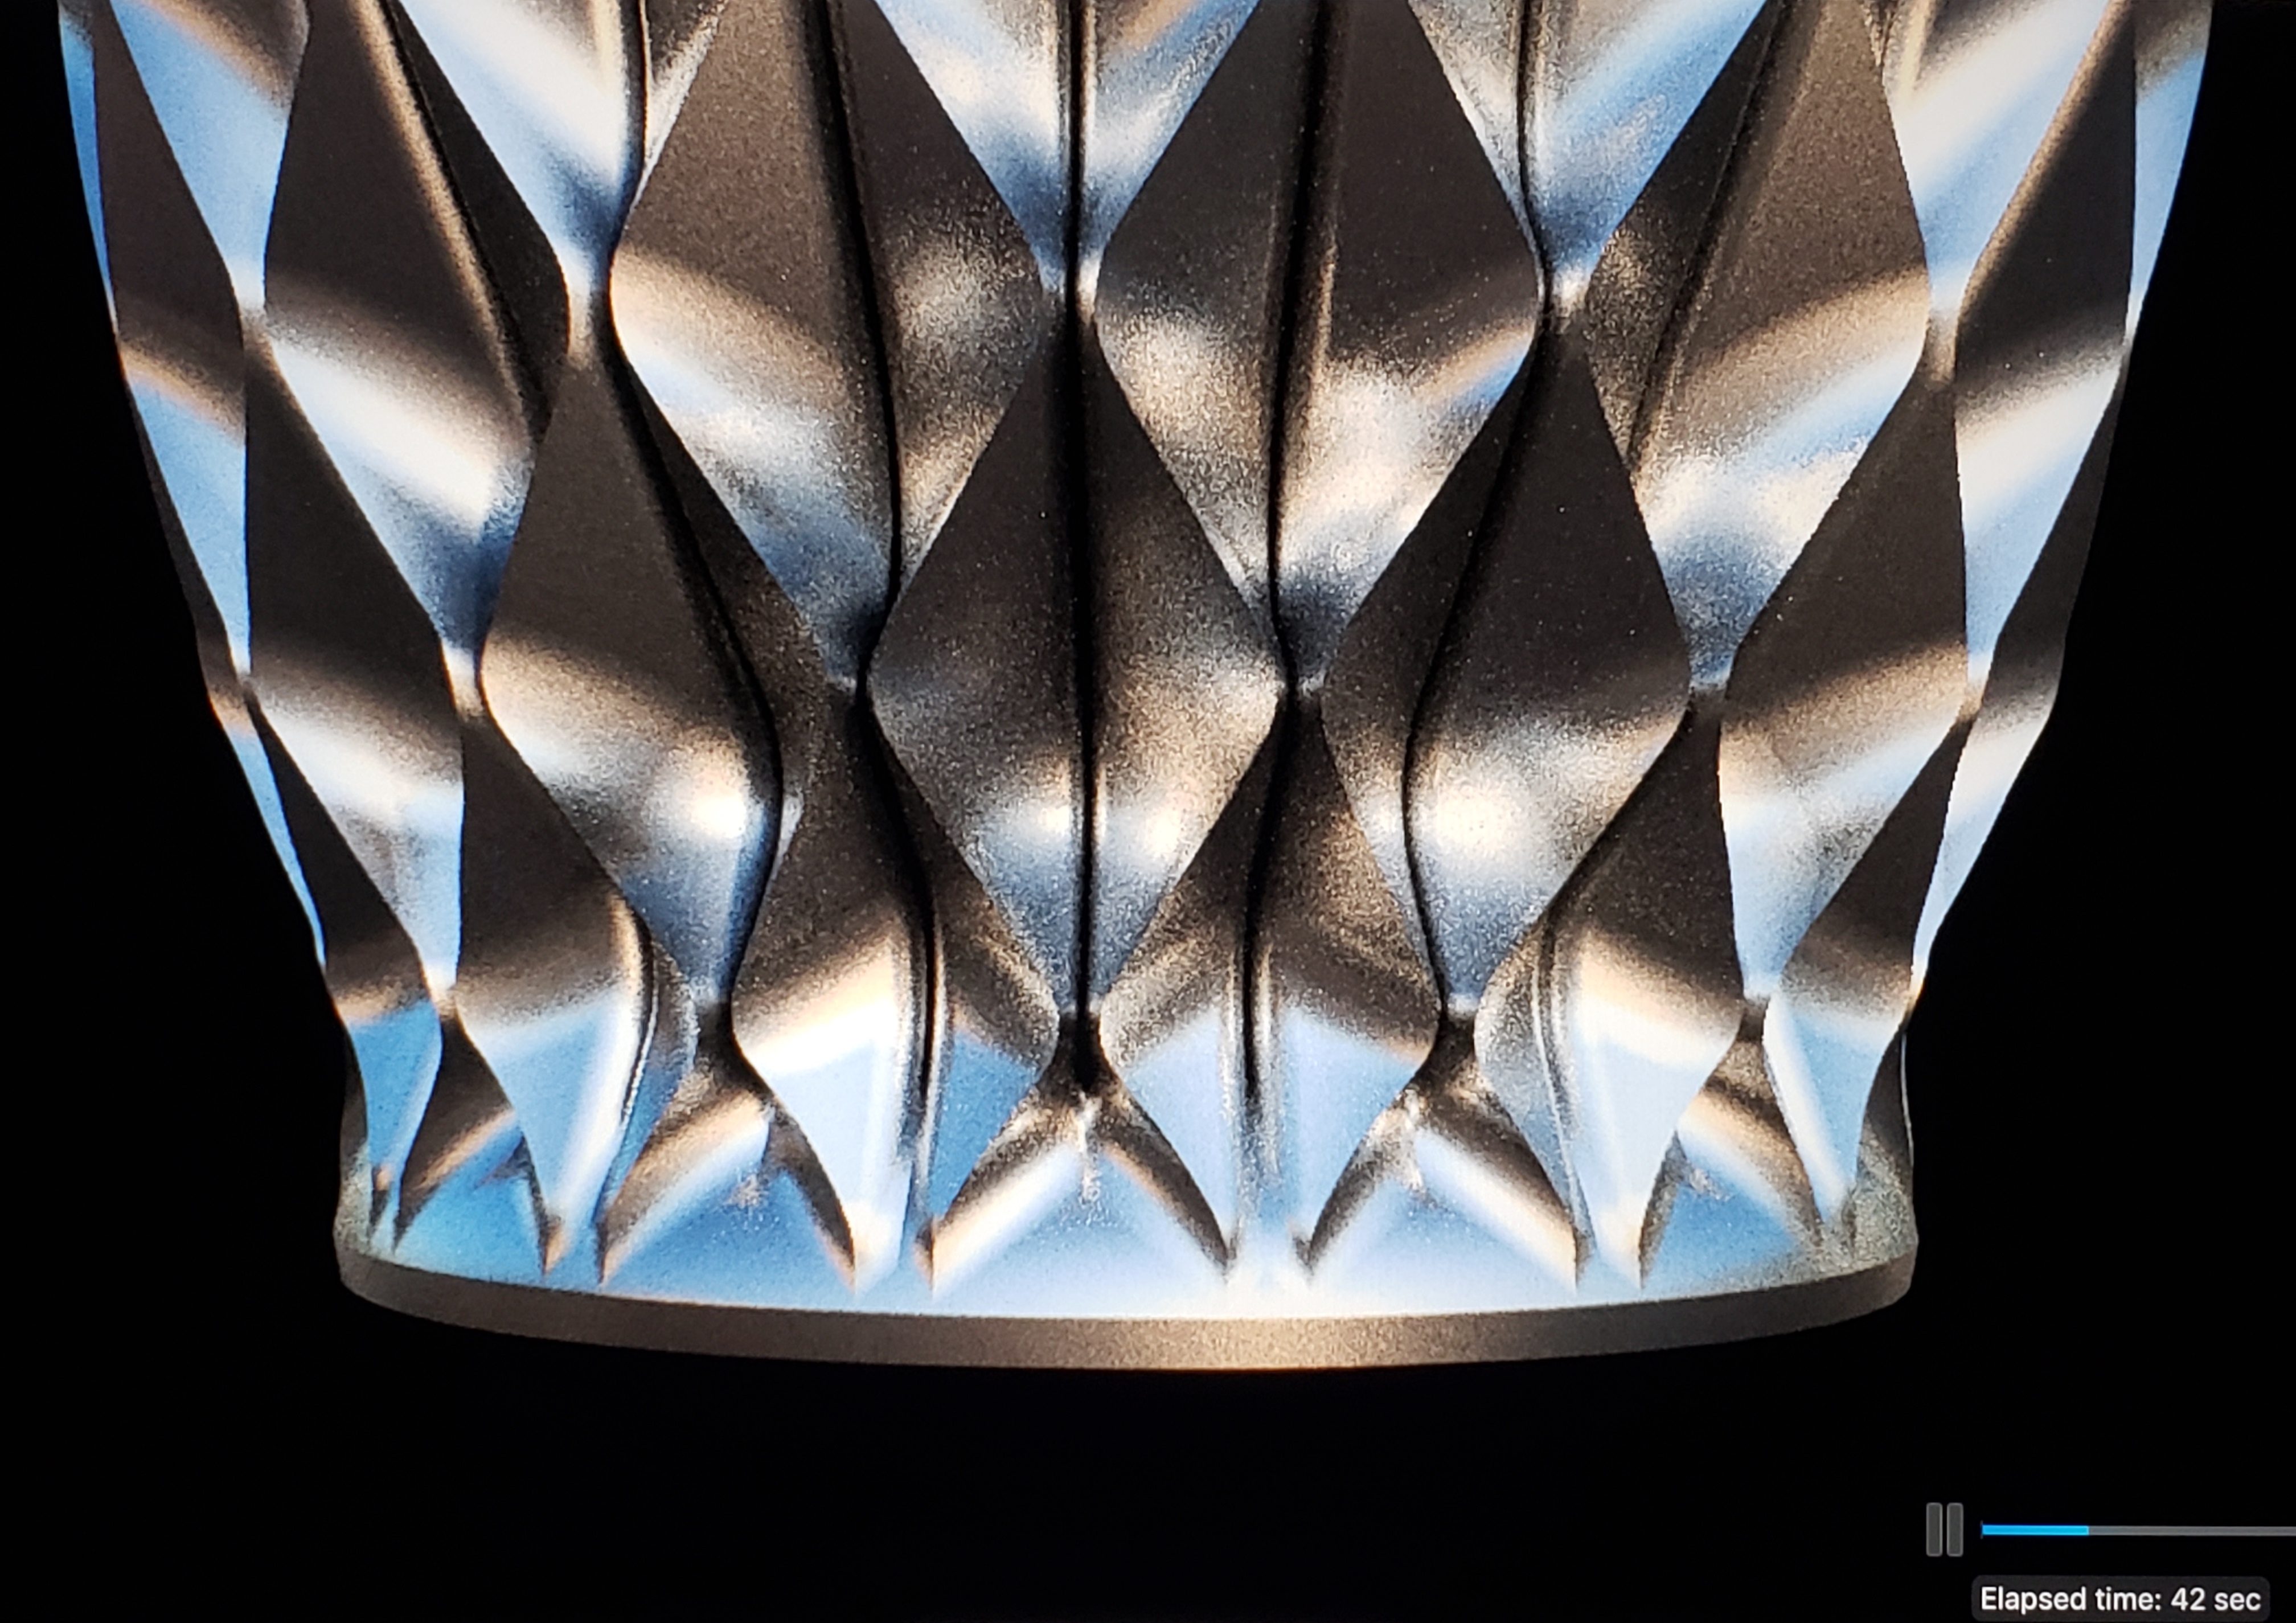
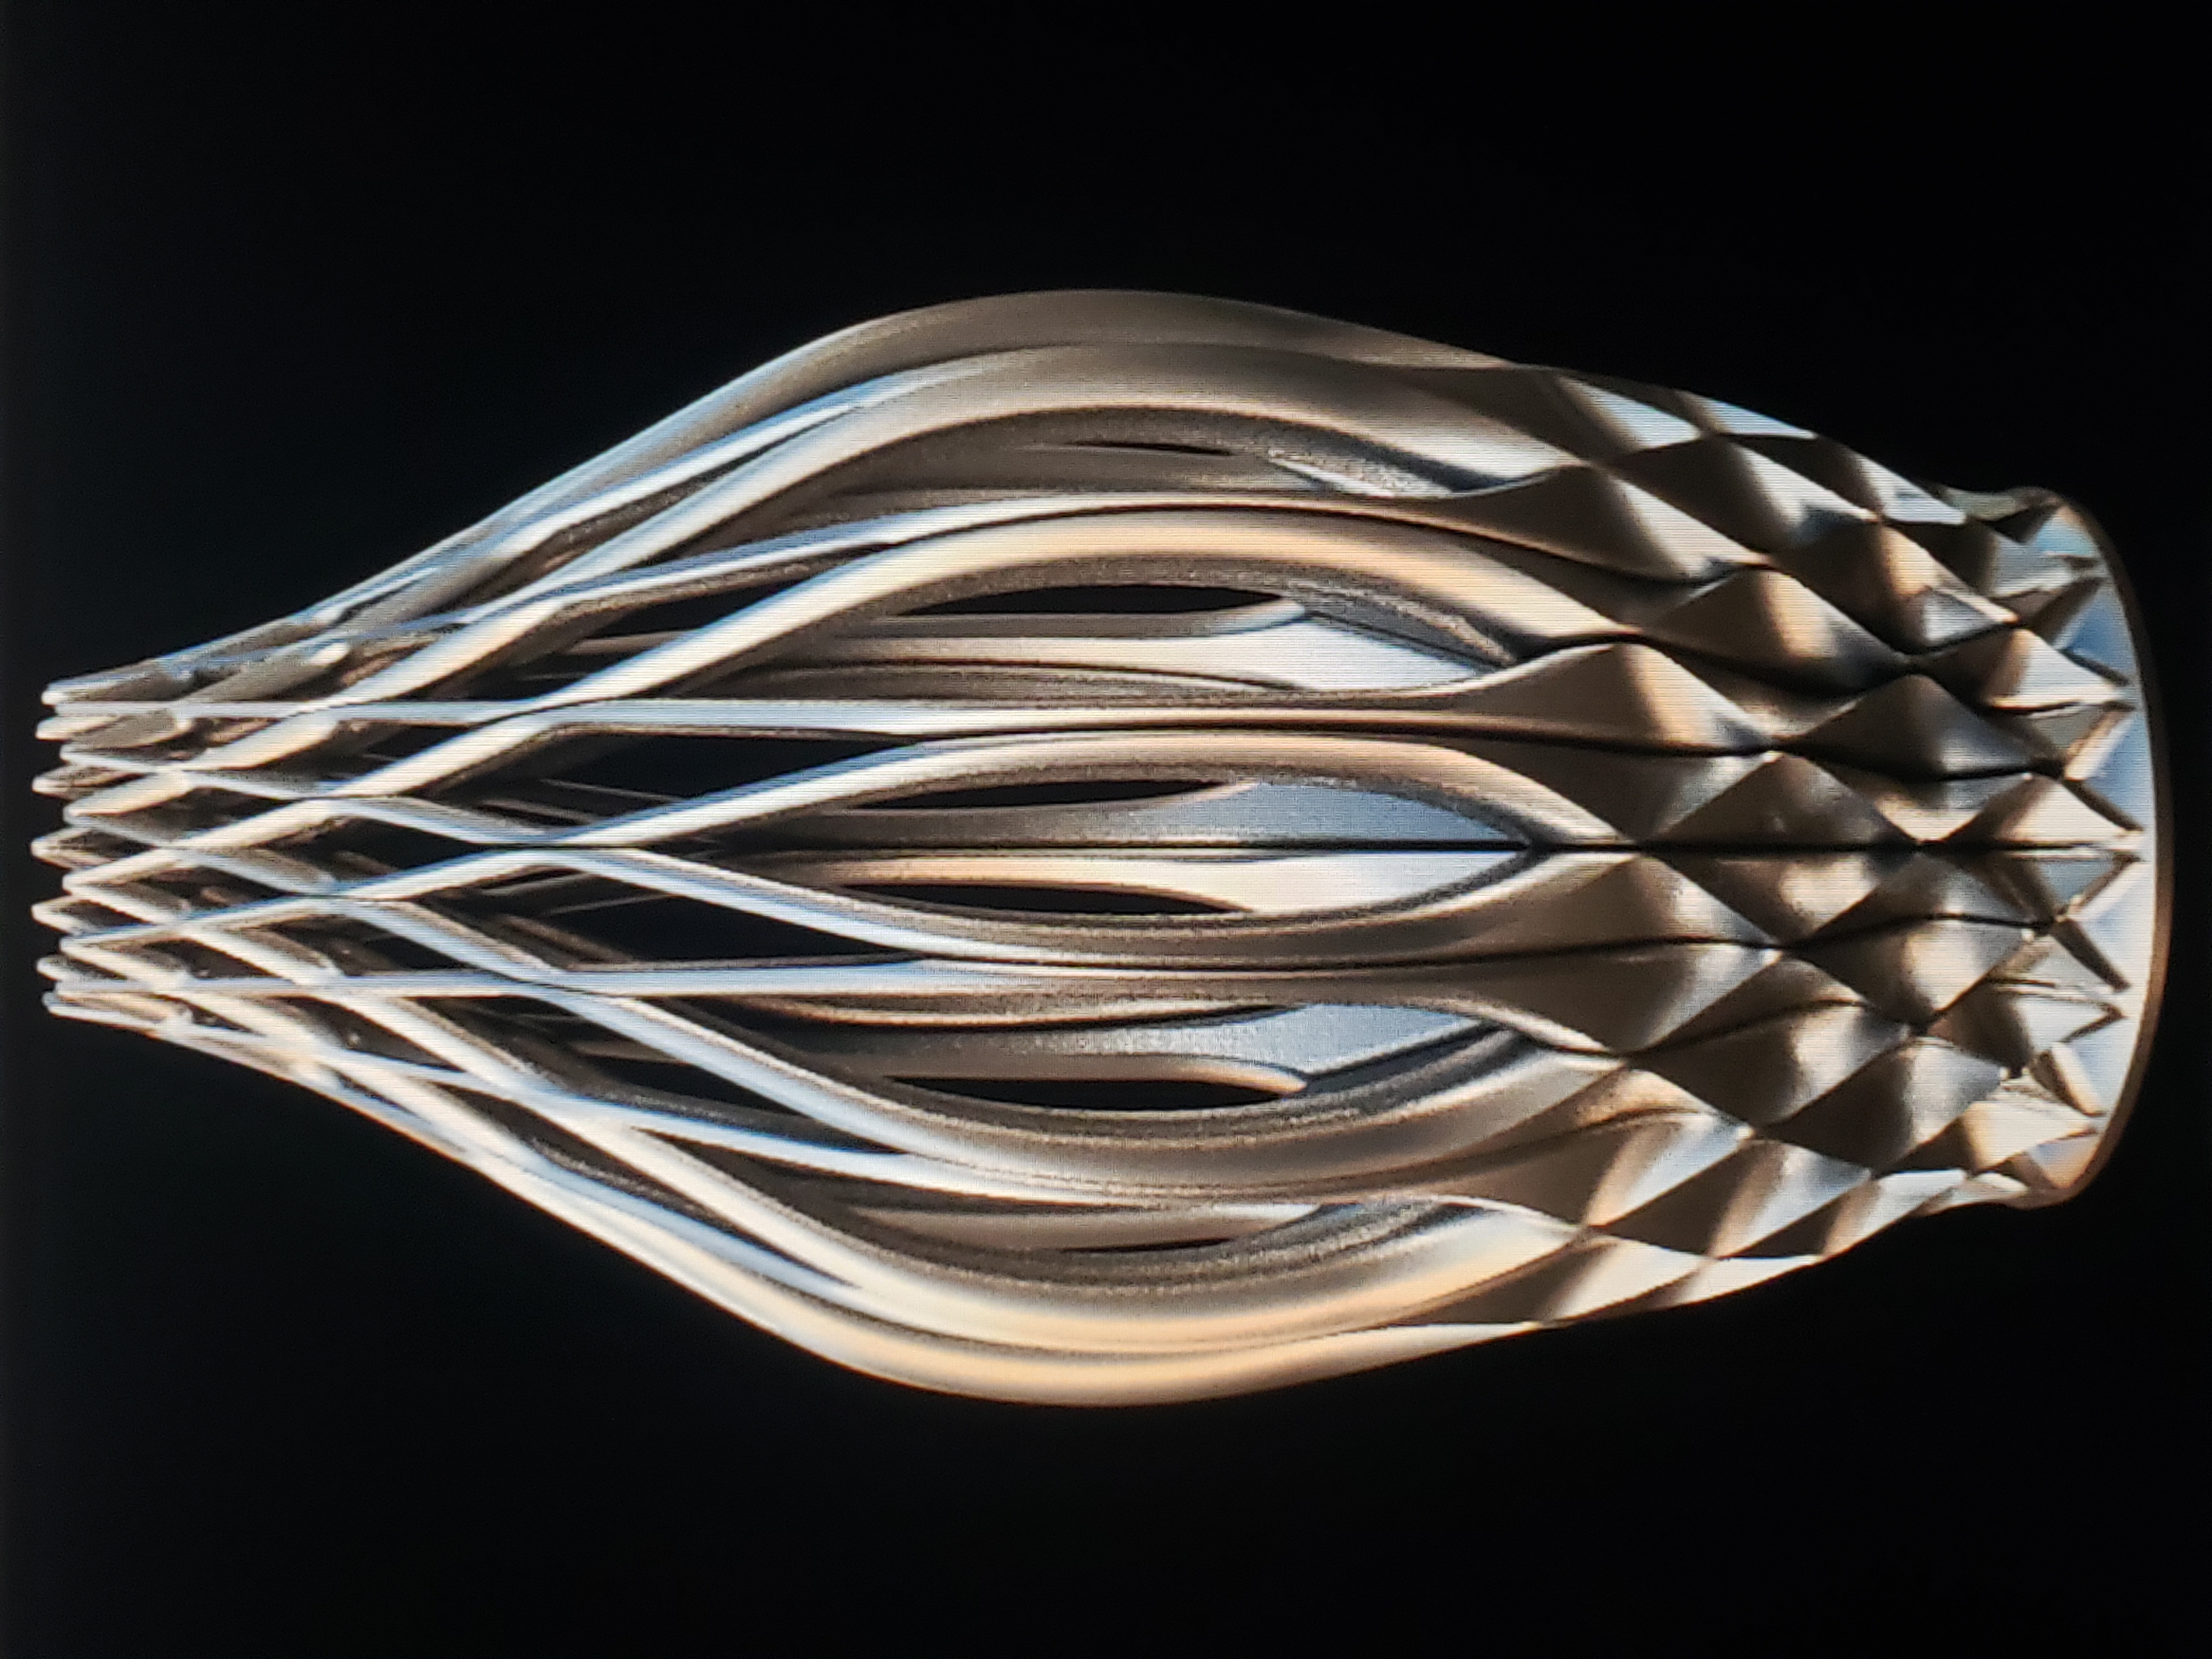
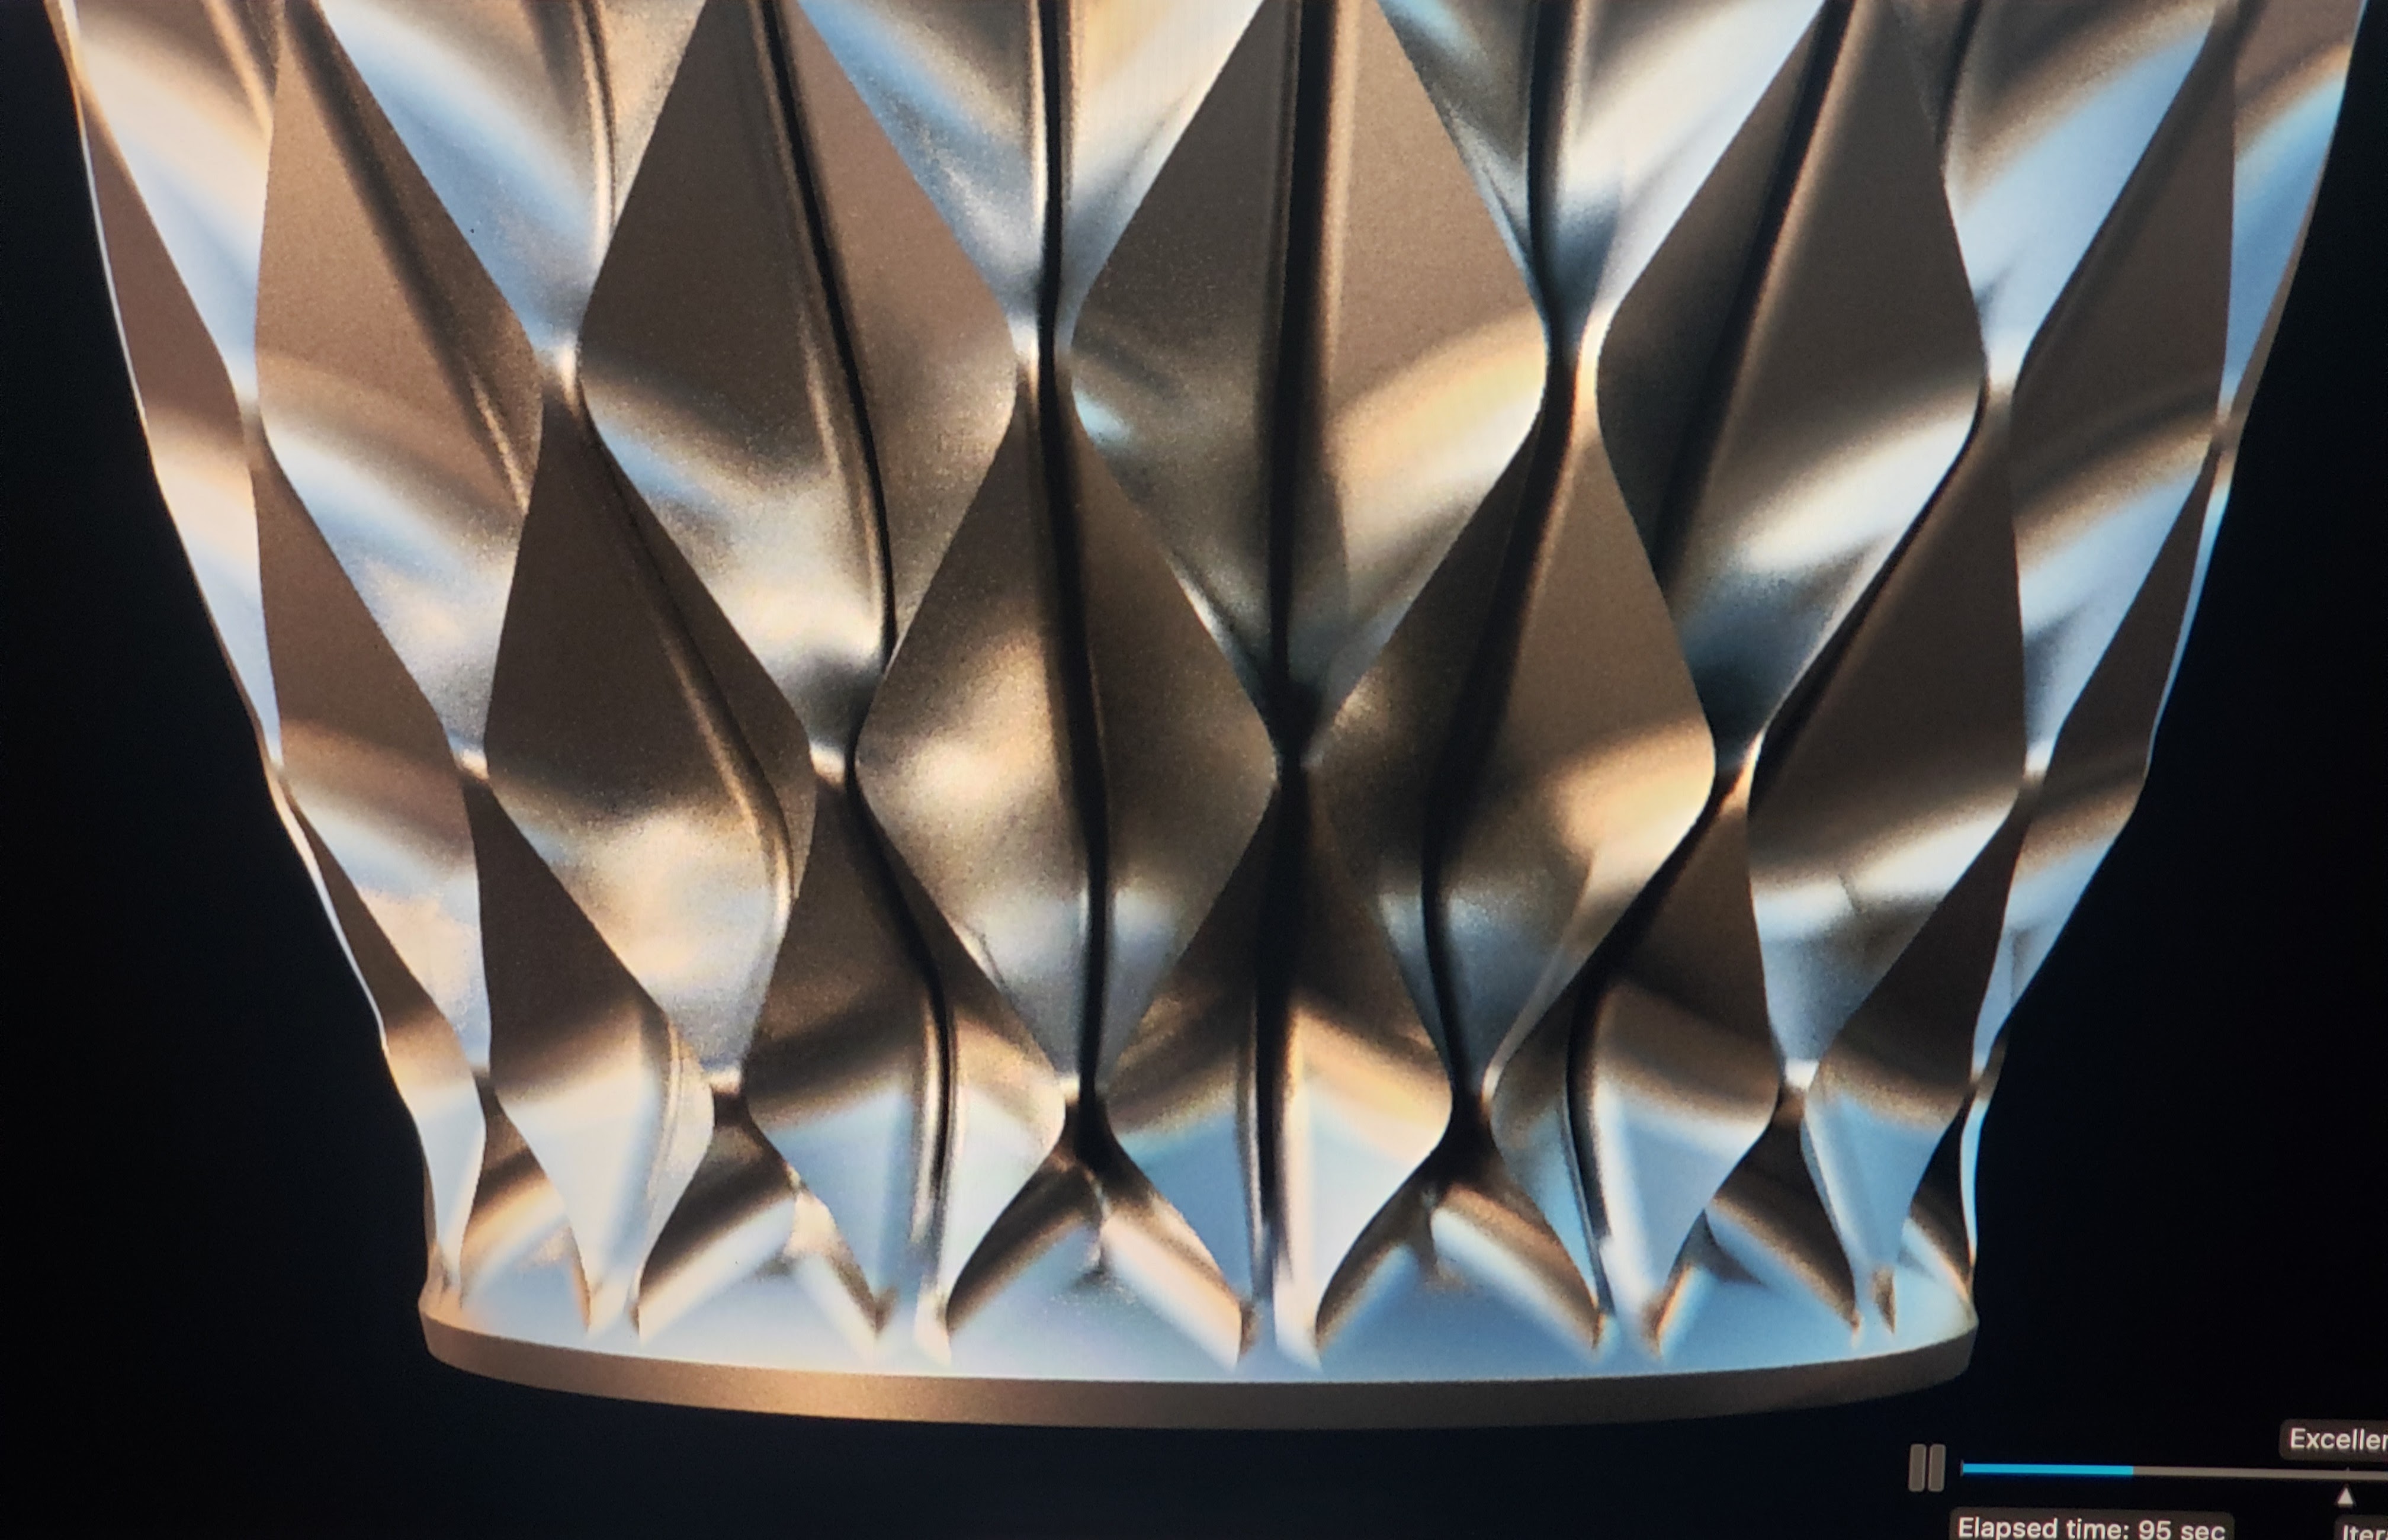
These are the initial stages of development of the cagelike enclosure of the LED Array. It was concieved with only the top half included, but I pivoted after making the happy accident of extending the bottom of the branch-like elements too far downwards, creating the lower, solid base of the design. The two rightmost images document two stages of fillets I added to finish the design and add depth.
Physical Prototype
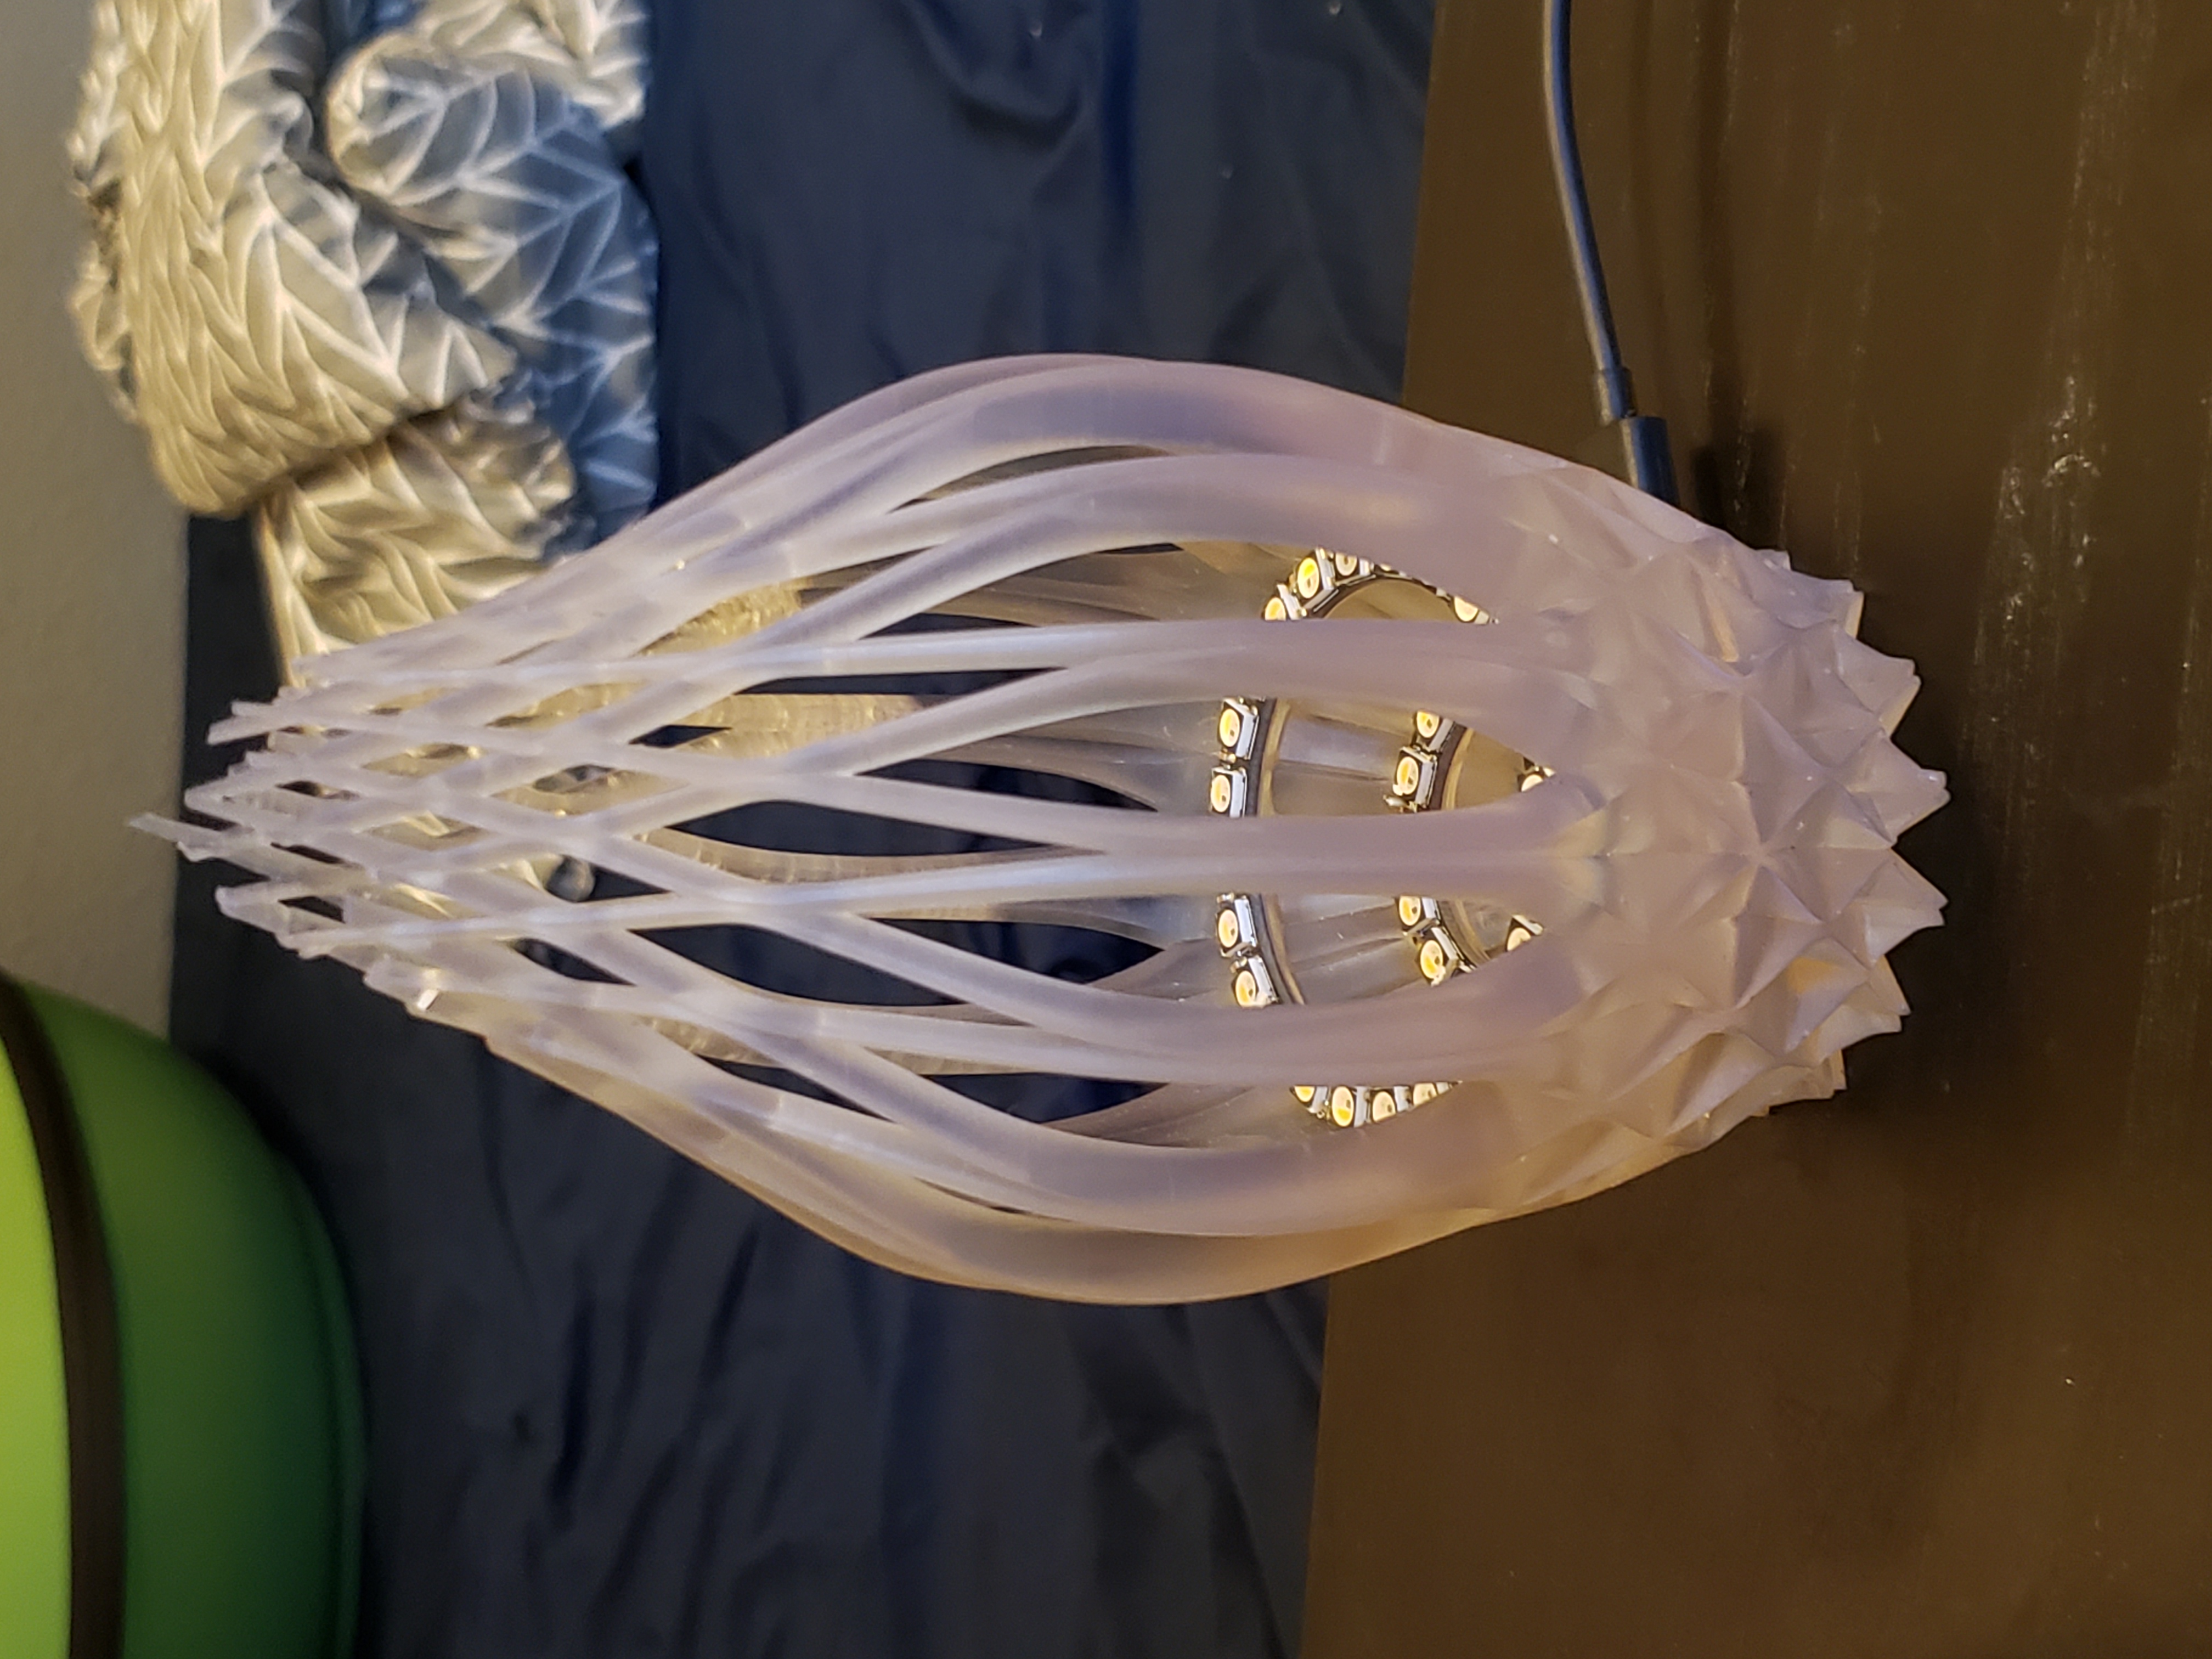
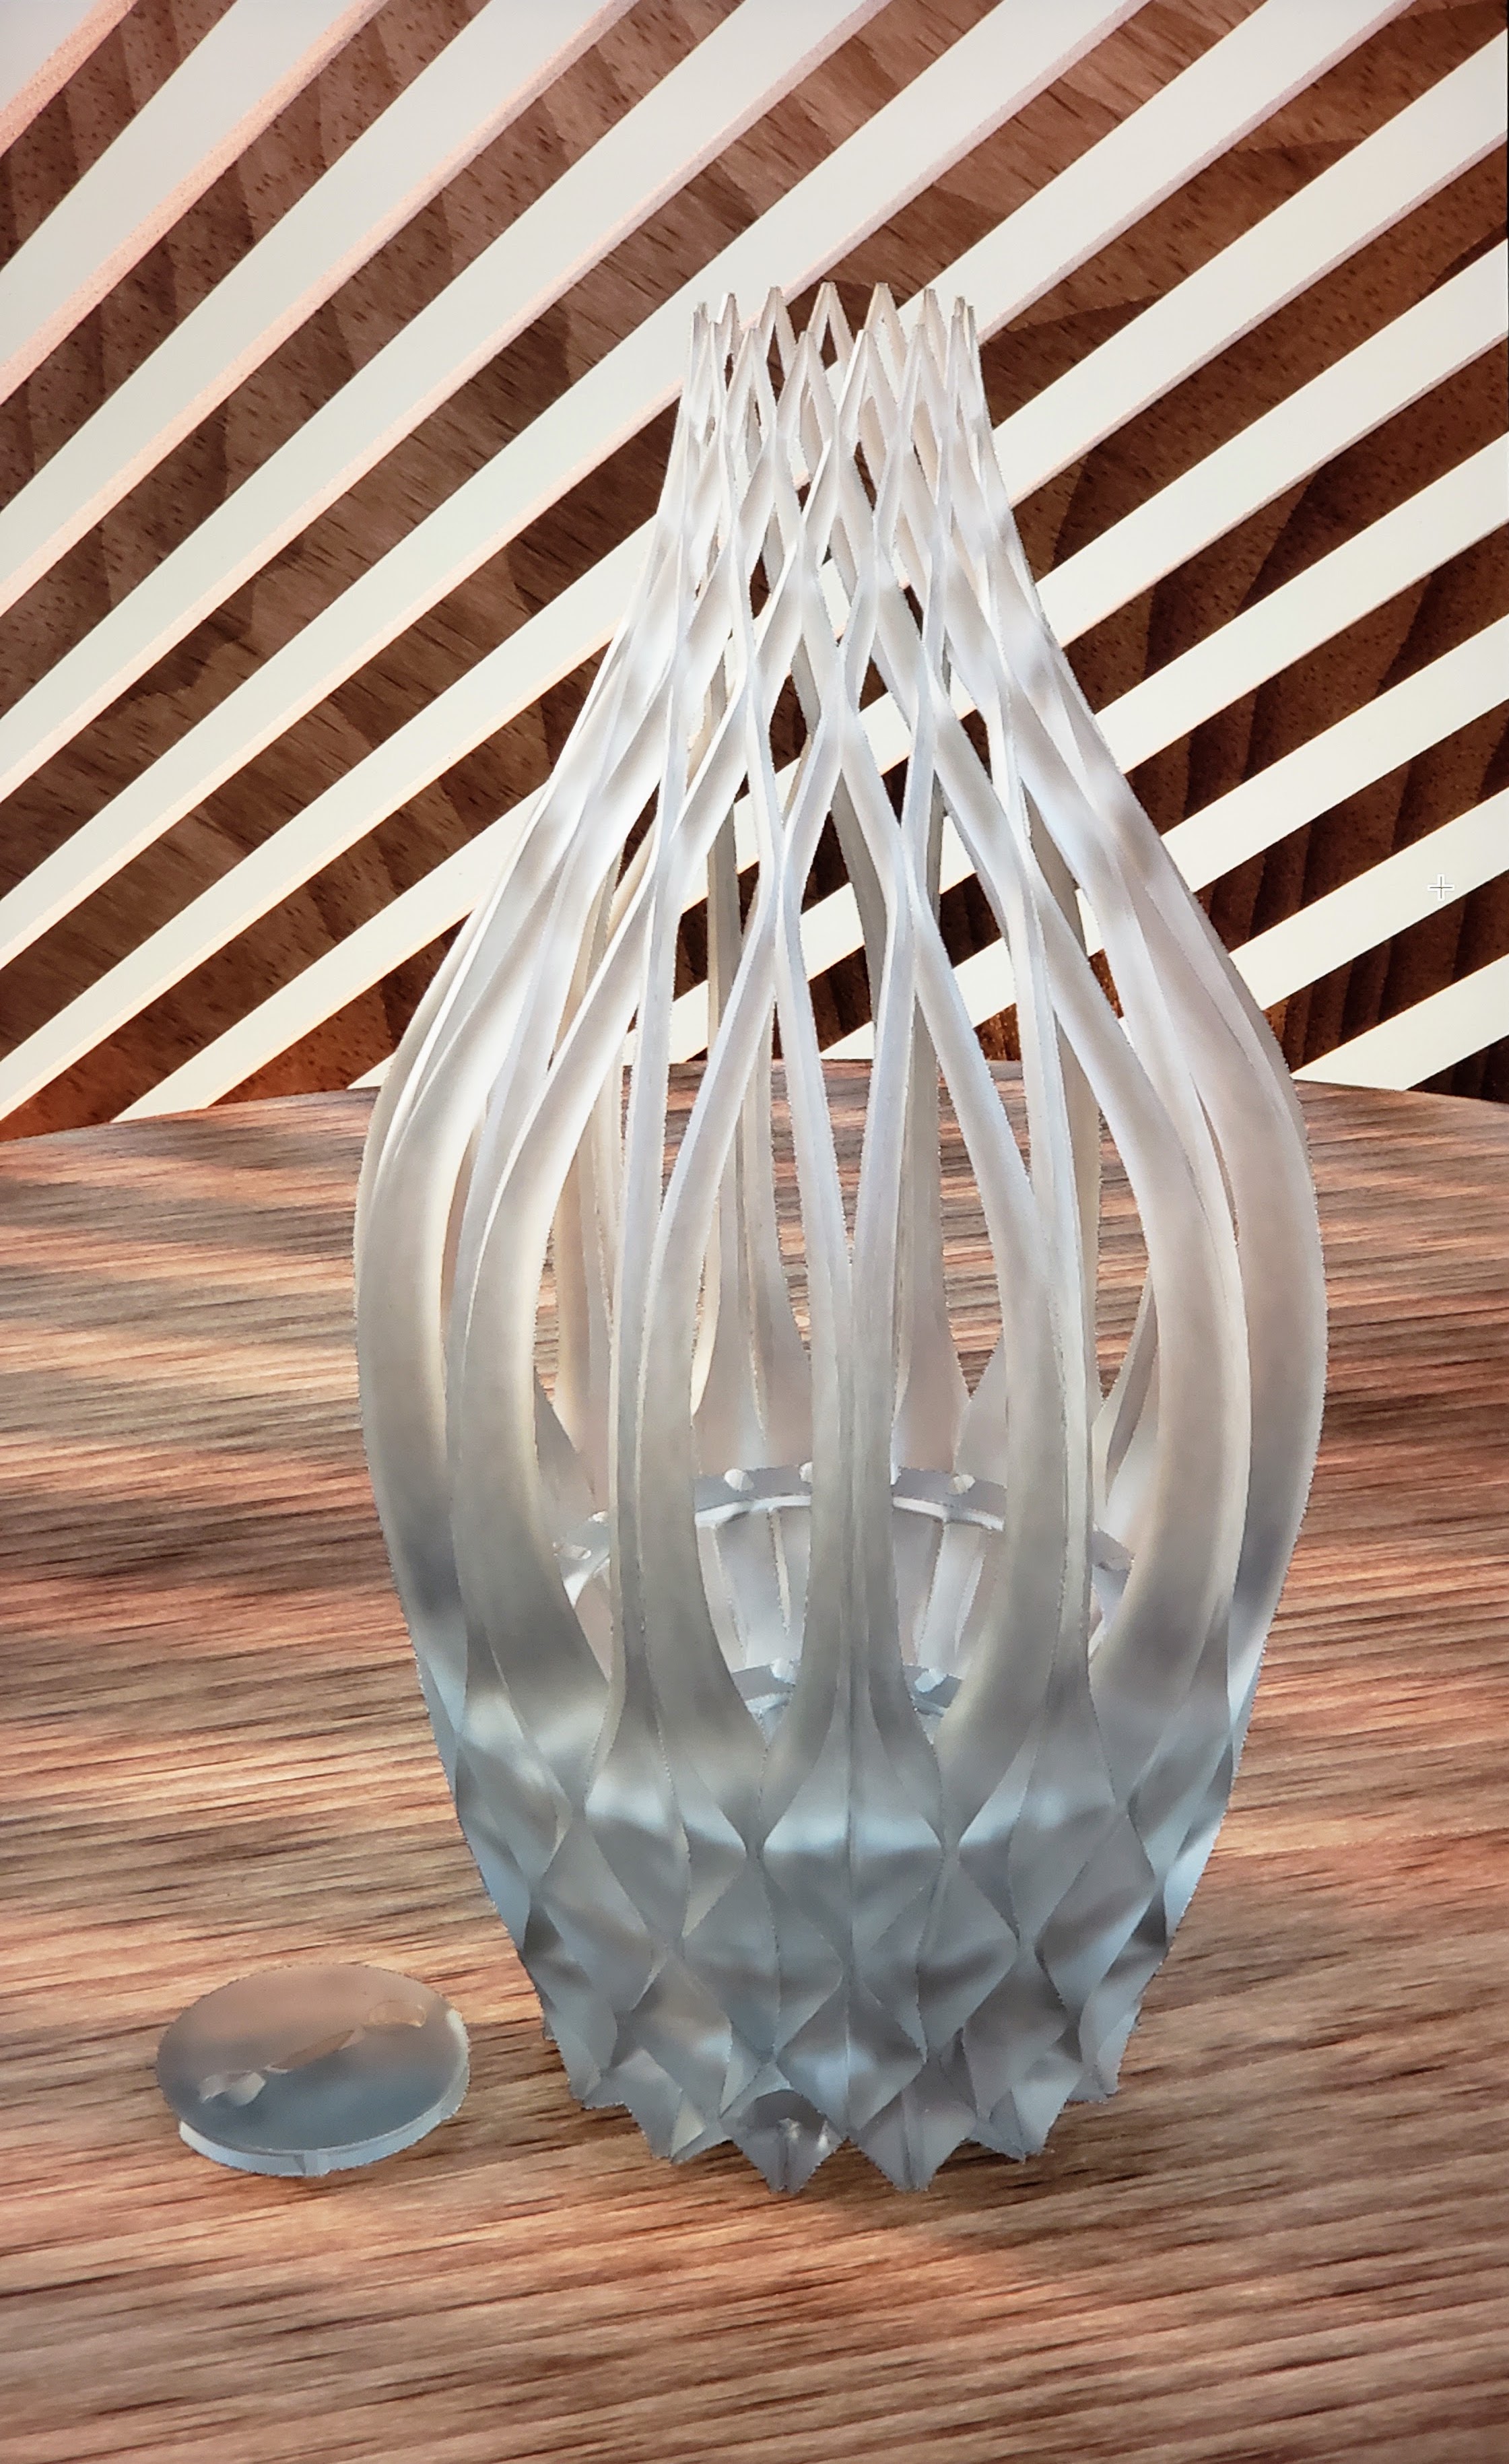
This prototype was printed on a Form 2 SLA 3D printer. The jagged and unfinished top is an unfortunate result of the printer running out of resin, but the parts that were finished came out beautifully and gave me a lot of confidence in what a finished version will look like. The rendered version on the right sits next to a small door that holds the buttons for adjusting the light. The door attaches to the bottom of the lamp and seals the internal chamber, which houses an Arduino micro.
Further Iteration
Thanks for looking!
