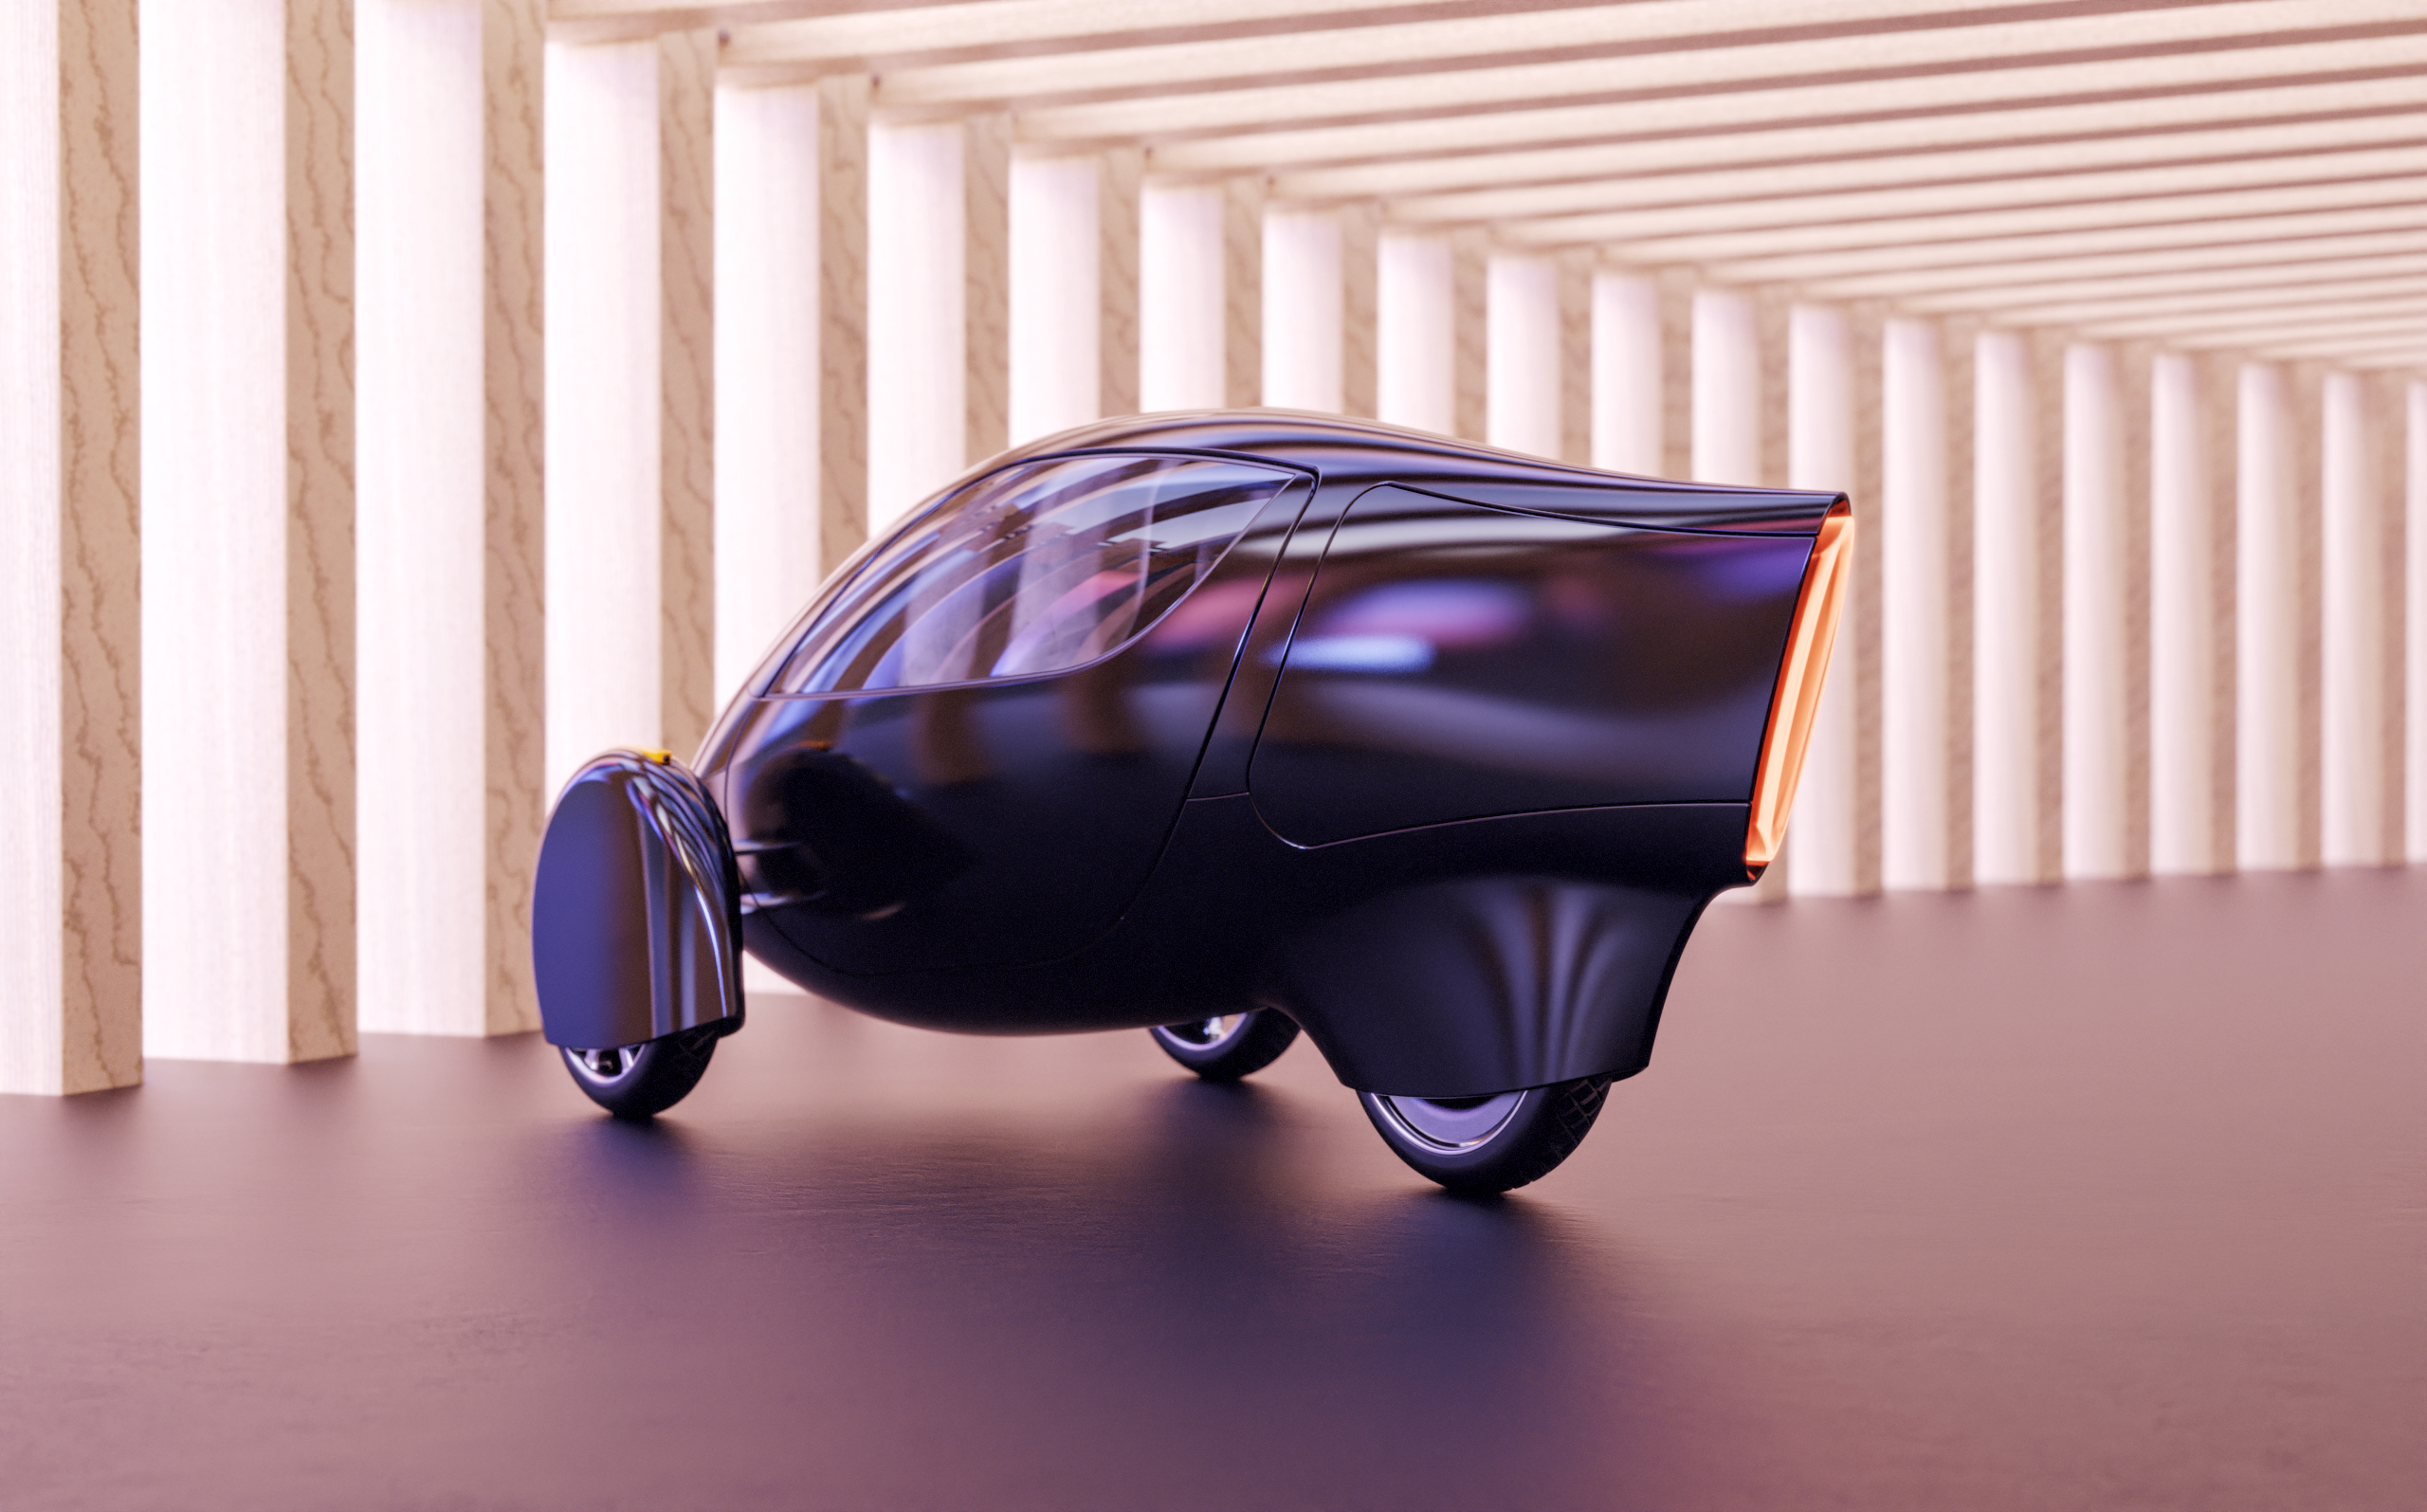
‘Bullet Bill’ Electric Tricycle Concept
Based on an original design by Tom Hart, itself inspired by his work on the Aptera electric vehicle.This page covers my process working with Tom to build upon, refine, and render his design. For a description of Tom’s technical intent behind the concept please visit his page.
Process
Stage 1
Original design and render from Tom

My changes included:
- Finishing the design of the rear taillight
- Adding thickness to body surfaces and cosmetic fillets to visible edges (including to the doors and rearward hatches which were already present)
- Adding tread to the tires and separating them from the wheels
-
Adding a rear axle since its reflection is visible in the wheel
- Carving out a passthrough in the body for the rear swingarm
- Adding gaskets to the windows


Stage 2 Modelling
Tom’s new original design and render

Tom continued working on his design independent of the branch I made in stage one; he then sent me the above model to work on and the rest of the iterations on this page are built off of it.
Along with reimplementing most of the changes I made in stage 1, my most obvious contribution here was adding a major character line to the front ‘bumper’ and reshaping the headlight.
Other changes included:
- Retopologizing the center of the front bumper to remove the pole and the artifact it created
- Redefining the windshield/sunroof outline as a single spline to create a more fluid interface between the two
- Adding depth to the headlight and an internal lightbox
- Creating an interior surface materially separate from the exterior panels


Tom then made some tweaks and additions to this branch of the design, including:
- Adding retroreflectors with integrated rear view mirror-cameras to the front wheel fairing design
- Adding a rear brake disk
- Making a variety of tweaks to the proportions including shortening the character line I added earlier
I also added new tread to the wheels and the Aptera logo to the hood; the logo is the property of Aptera and is used here and in the other images on this page purely for visualization purposes.


- Remaking the rear wheel fairing from a single T-spline surface to improve its fluidity, paying particular attention to the shape of the character line created by its interface with the rest of the body
- Adding seams to the exterior body panels in accordance with manufacturability and assembly
- Further tweaking the shape of the headlight and realigning it with the character line

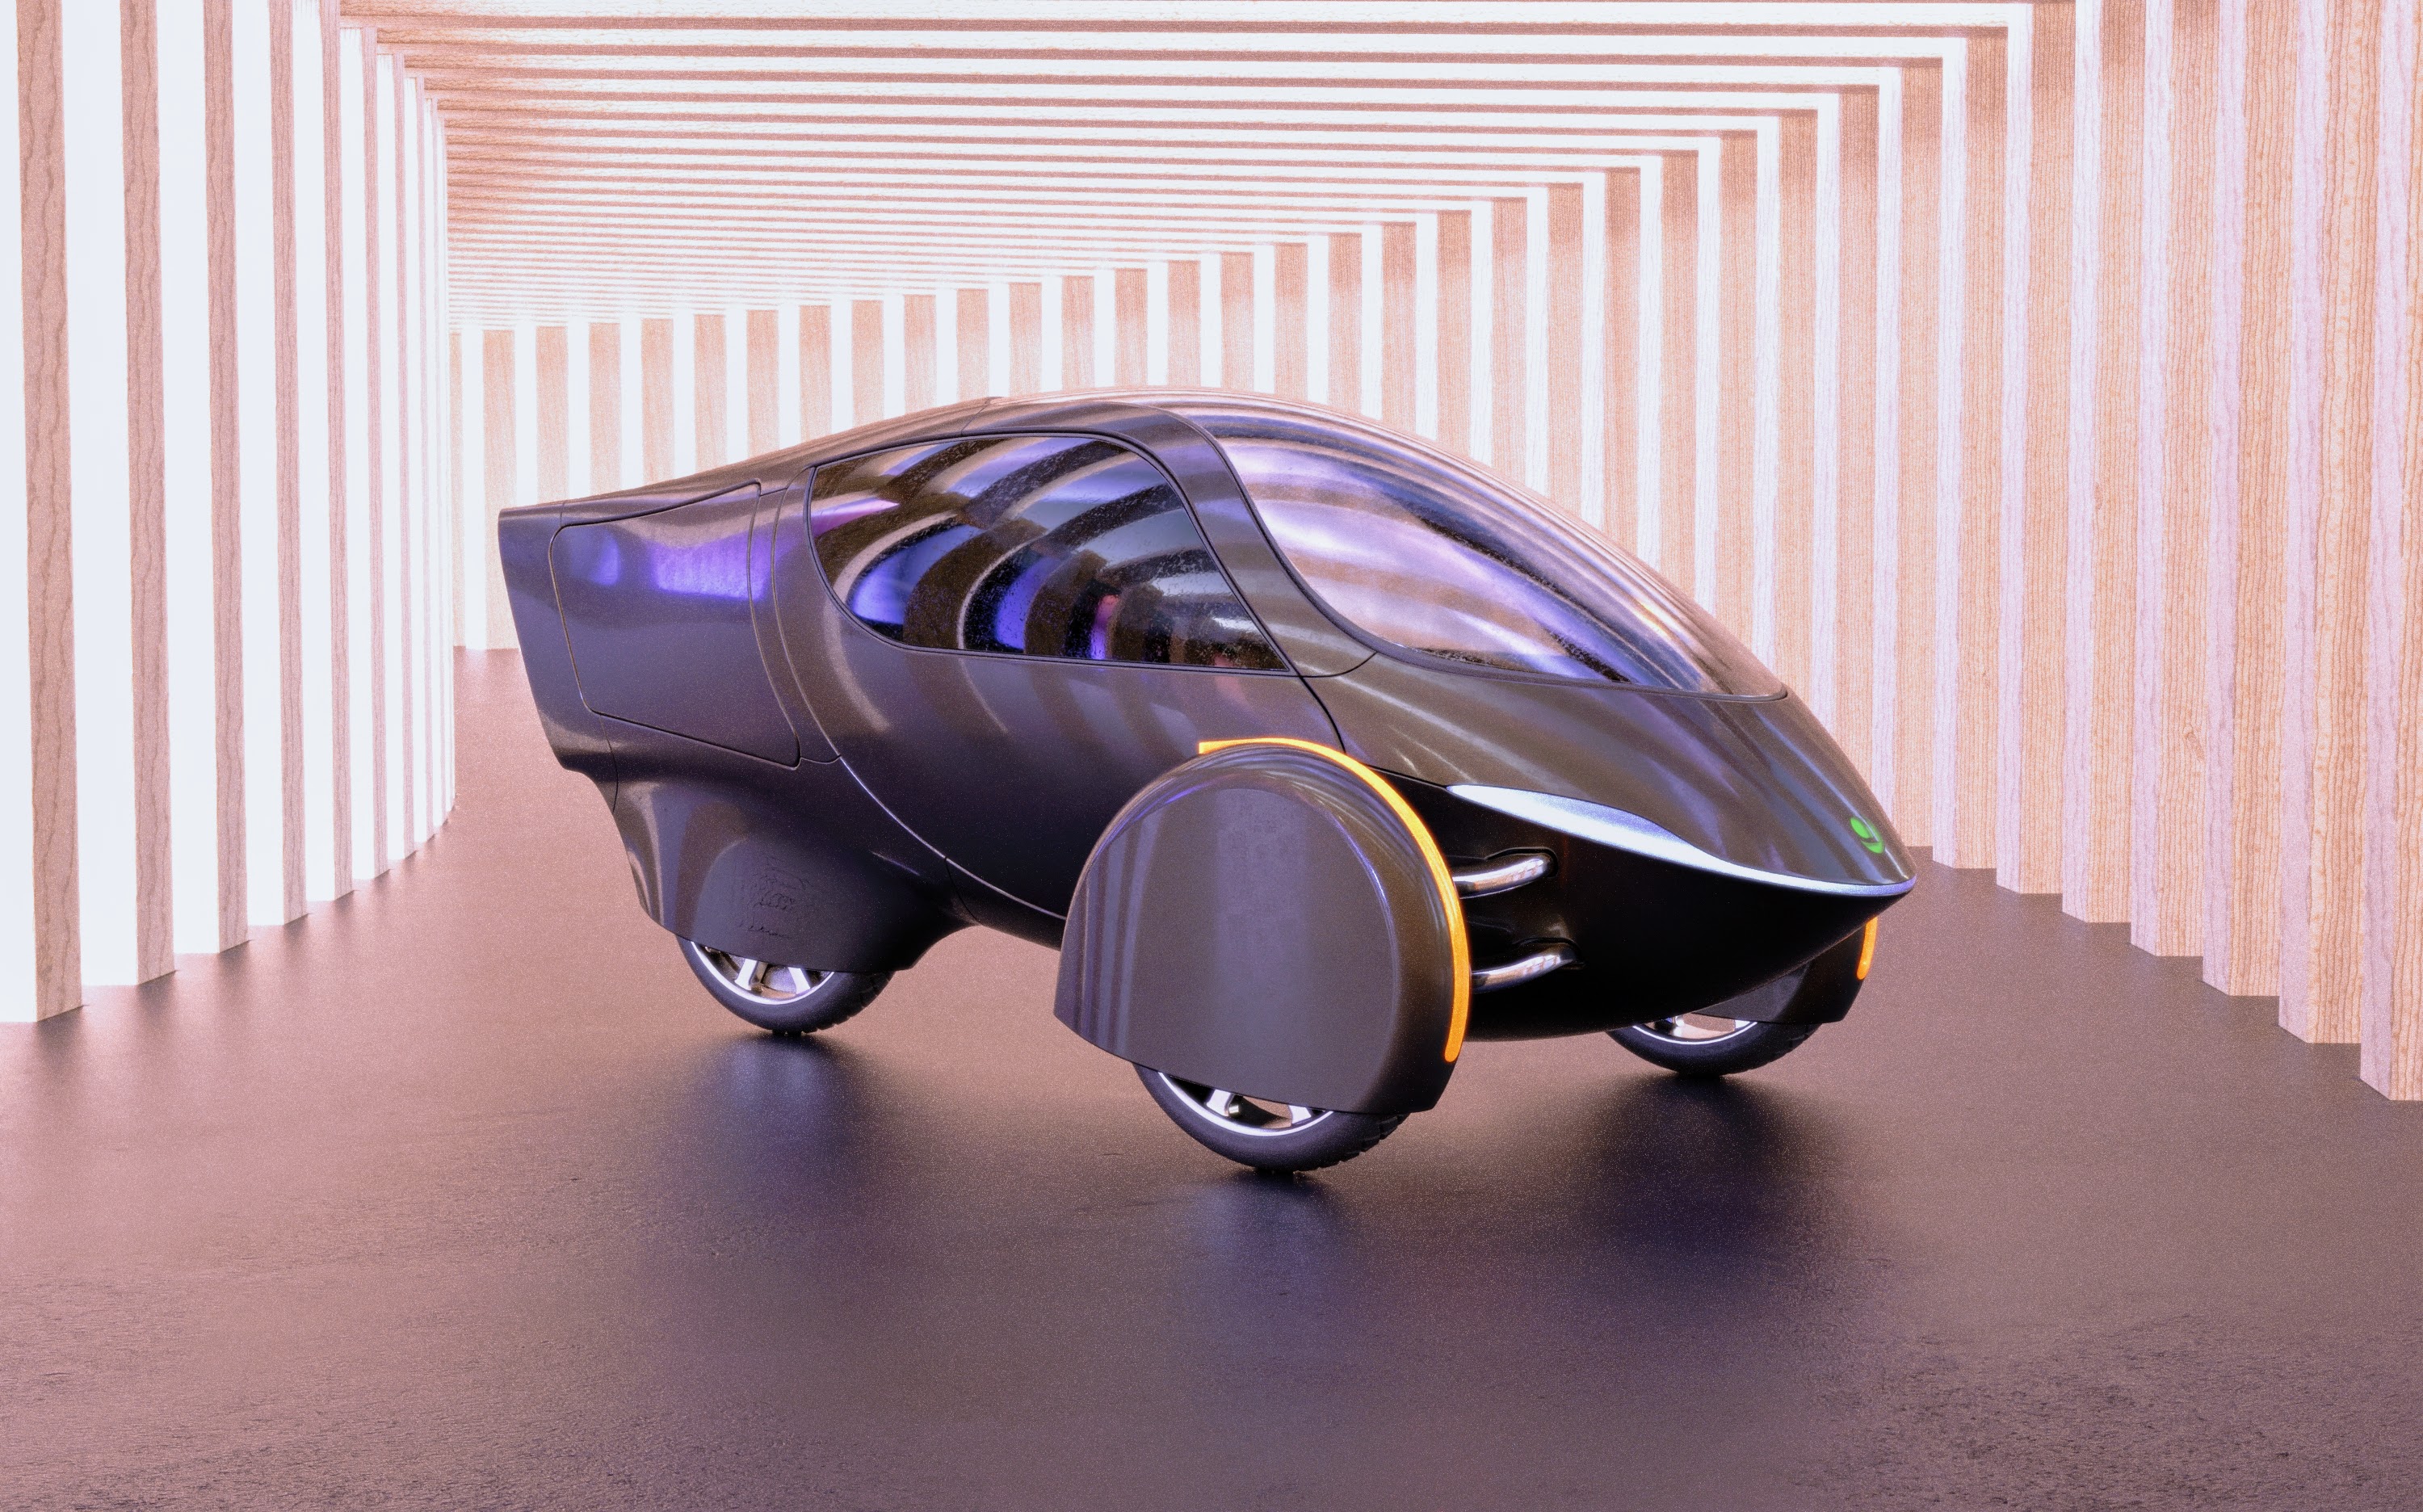


Stage 2 Rendering

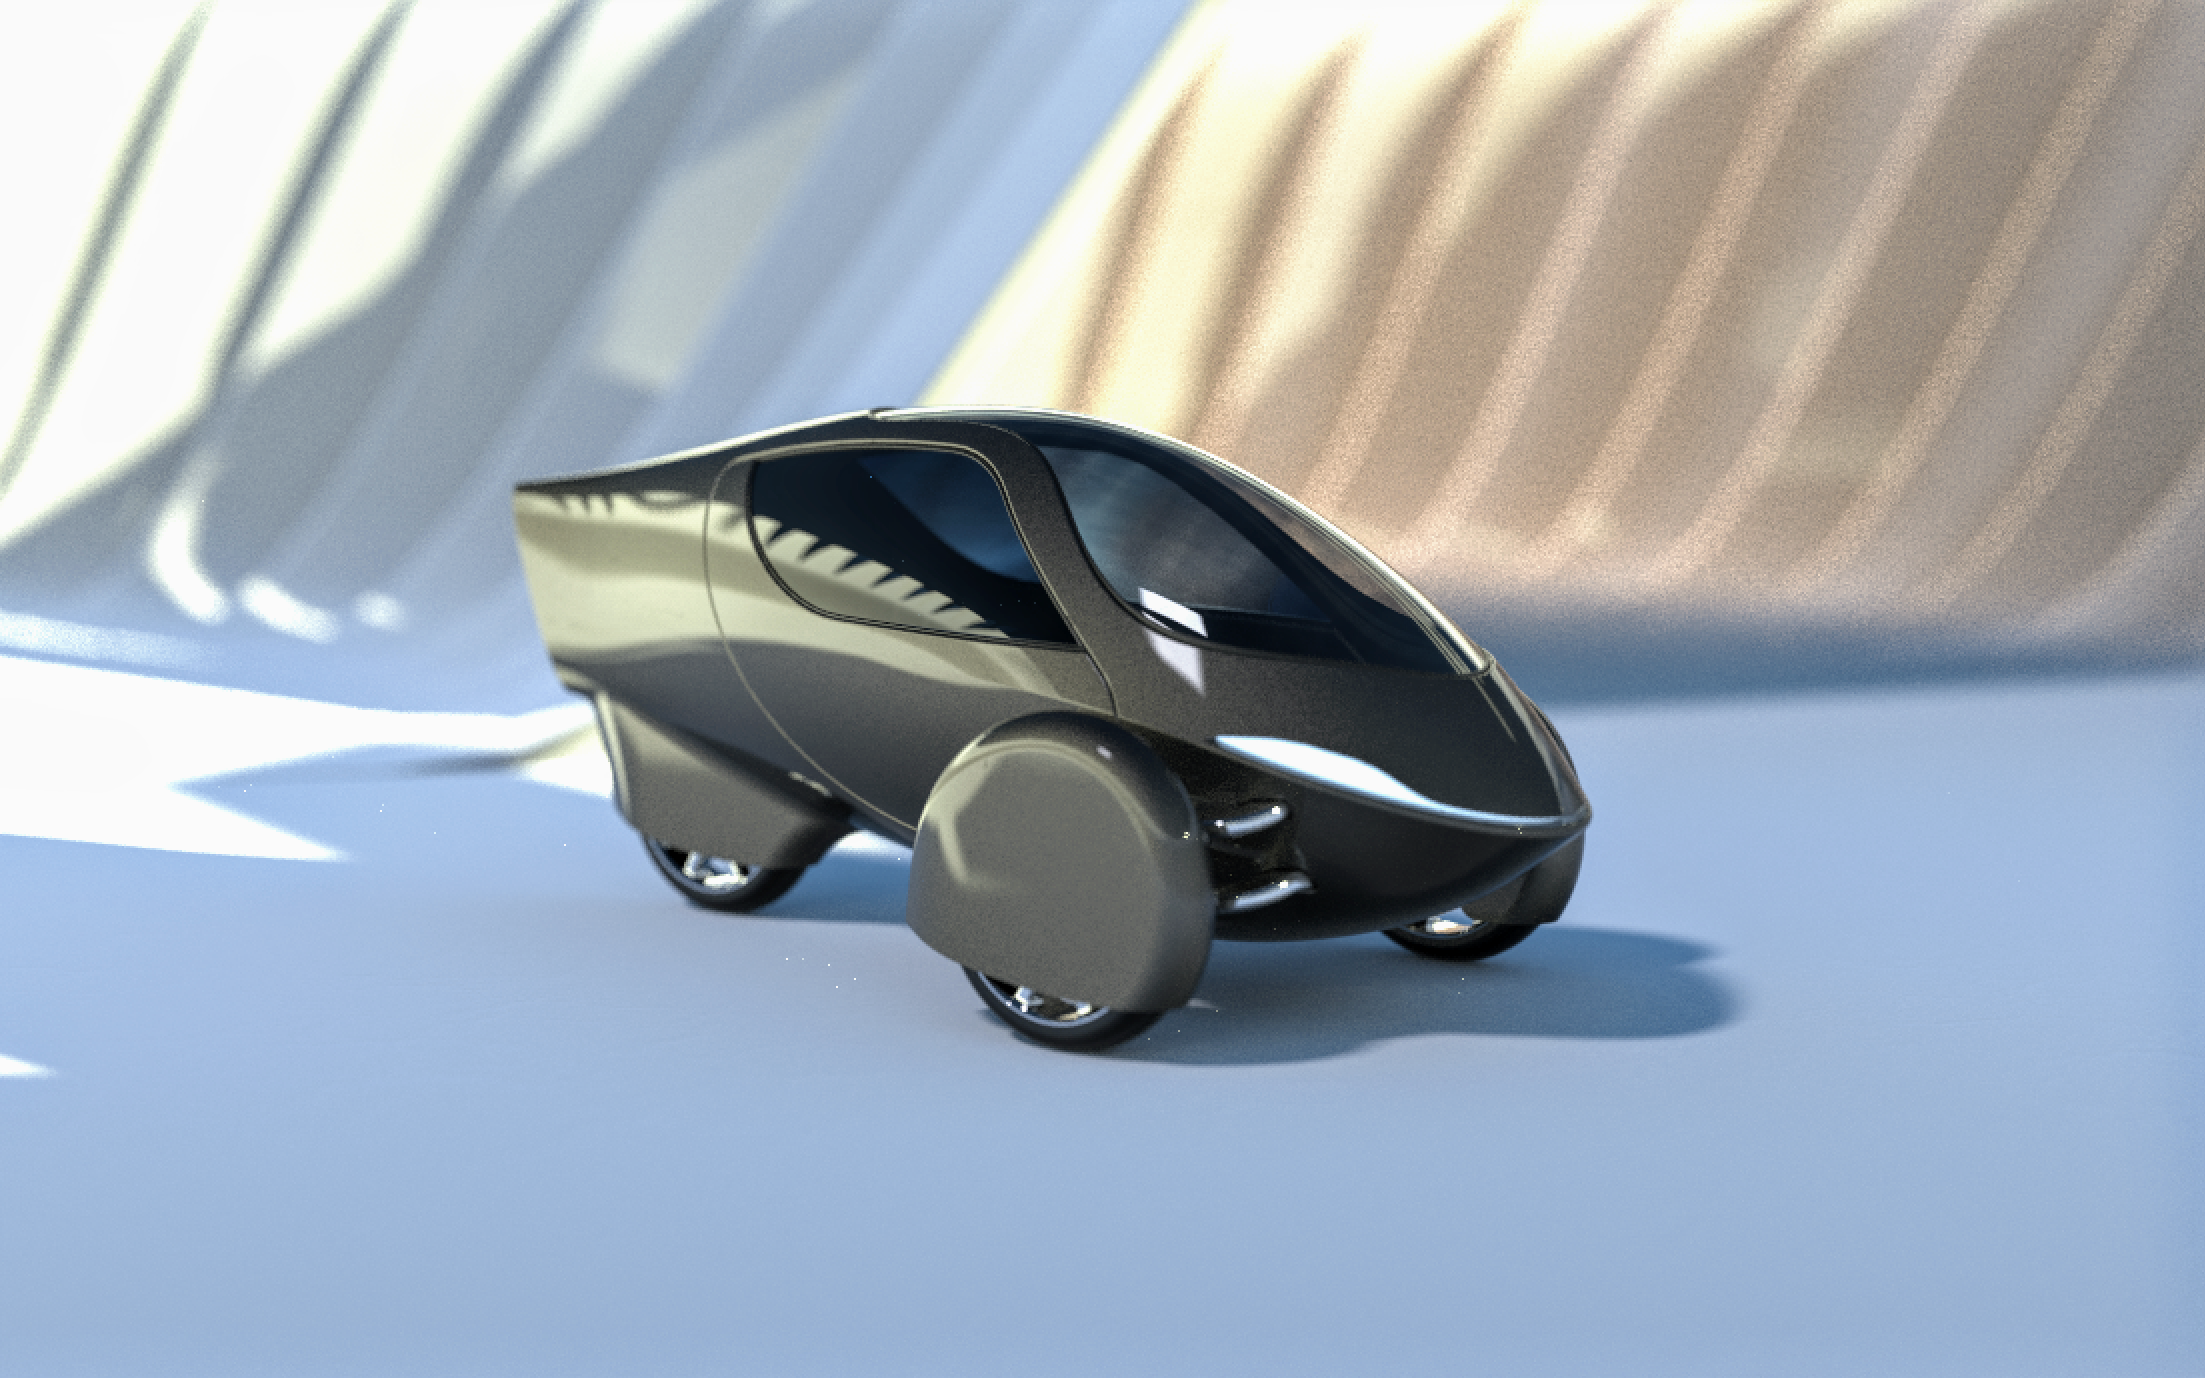
Having just begun learning Keyshot at the time, I took this project as an opportunity to develop my skills with the program. Some of my work developing the rendering aspects happened parallel to the modelling described earlier, so I’m jumping back a little; apologies for any resultant confusion. Above is my last render using Fusion 360 (which both Tom and I used for modelling), below is my first using Keyshot. The initial drop in quality in many aspects is apparent as I experiment and get the hang of things.
I felt the surfaces needed more details to reflect so I designed this pergola structure to enclose the model:

And in doing so I realized it should enclose the model on all sides, and bend so as to conceal the ends of the structure when viewed from within. This arrangement was heavily inspired by Fushimi Inari Taisha, a Shinto shrine in Kyoto.
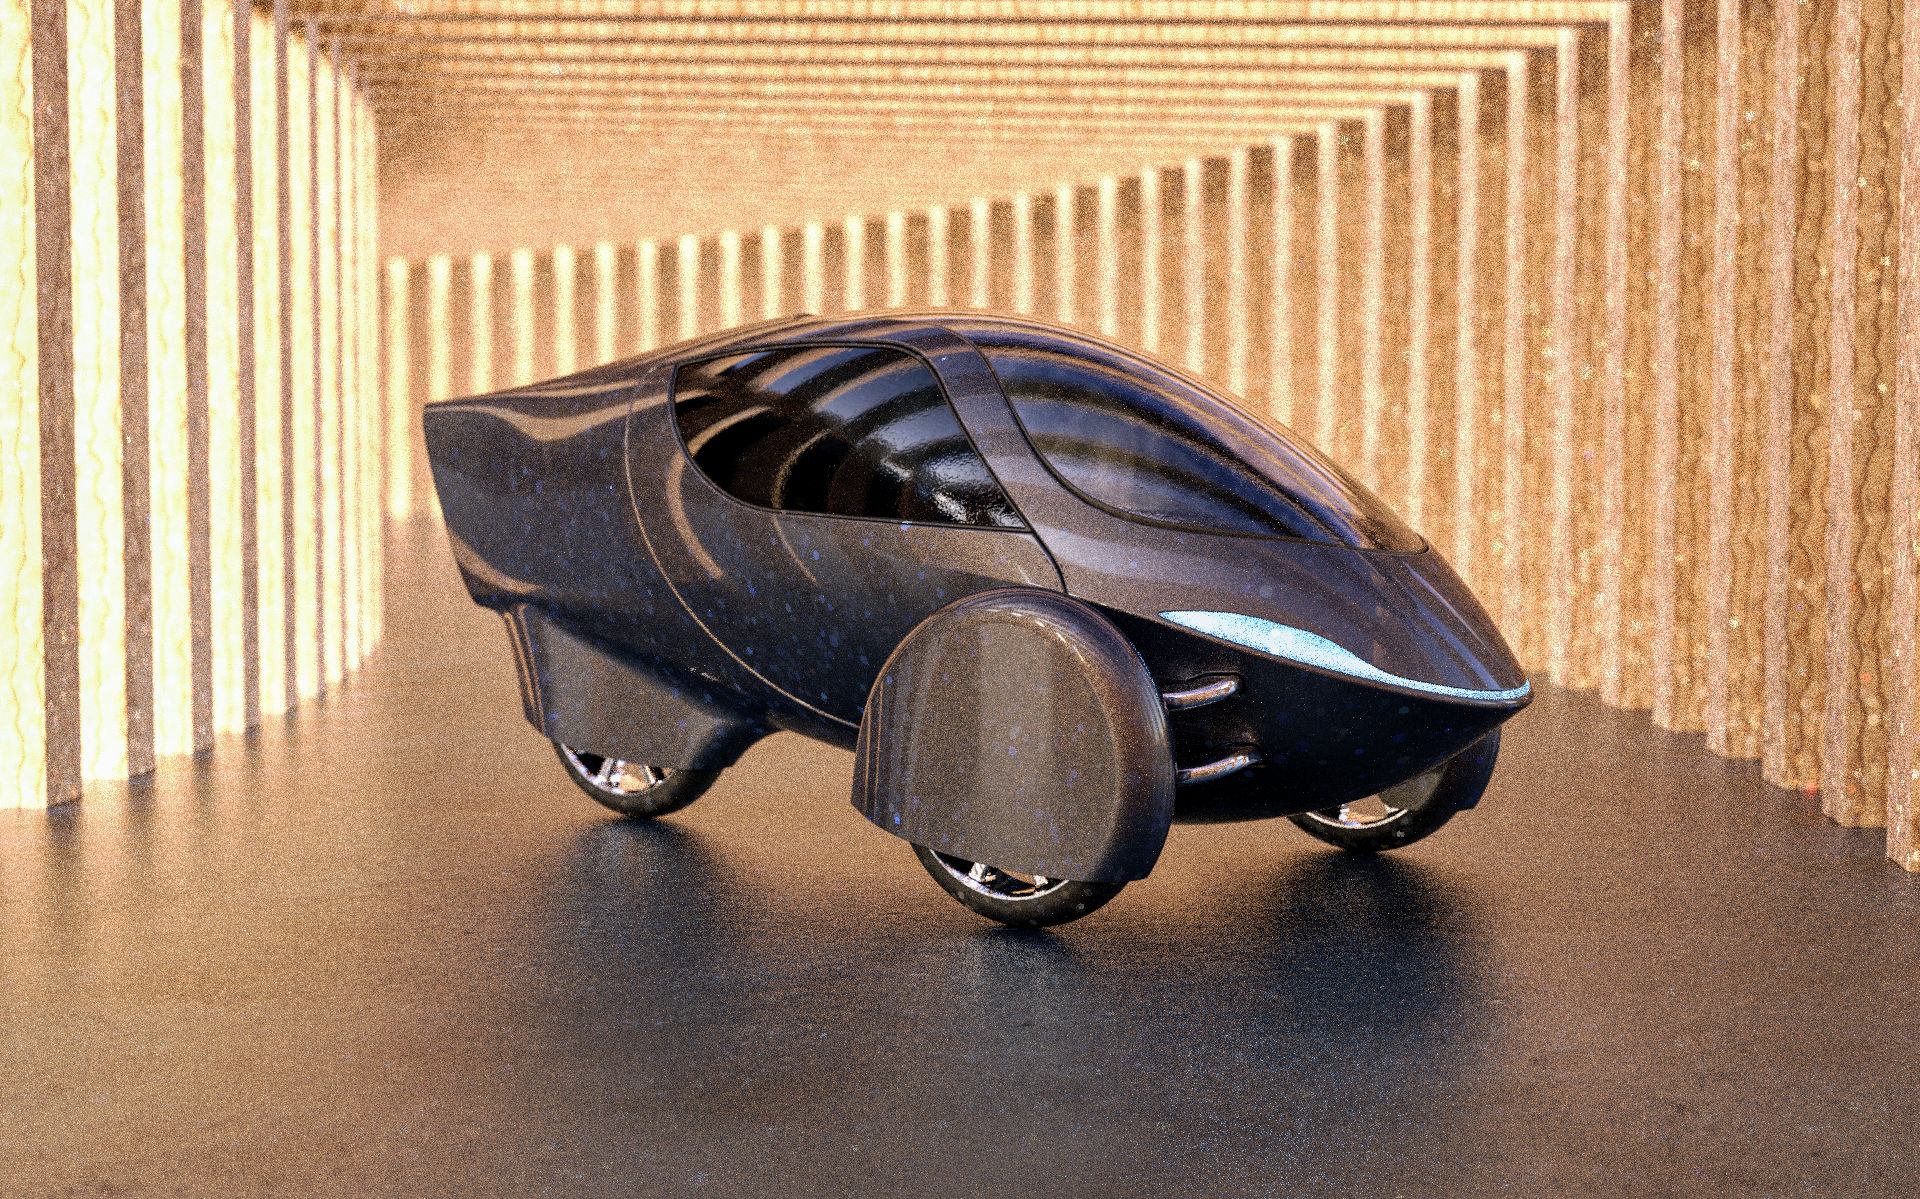
I then placed a number of additional lights within the HDRI to balance the warm tones of the wooden beams and increase the visual interest of the reflections.

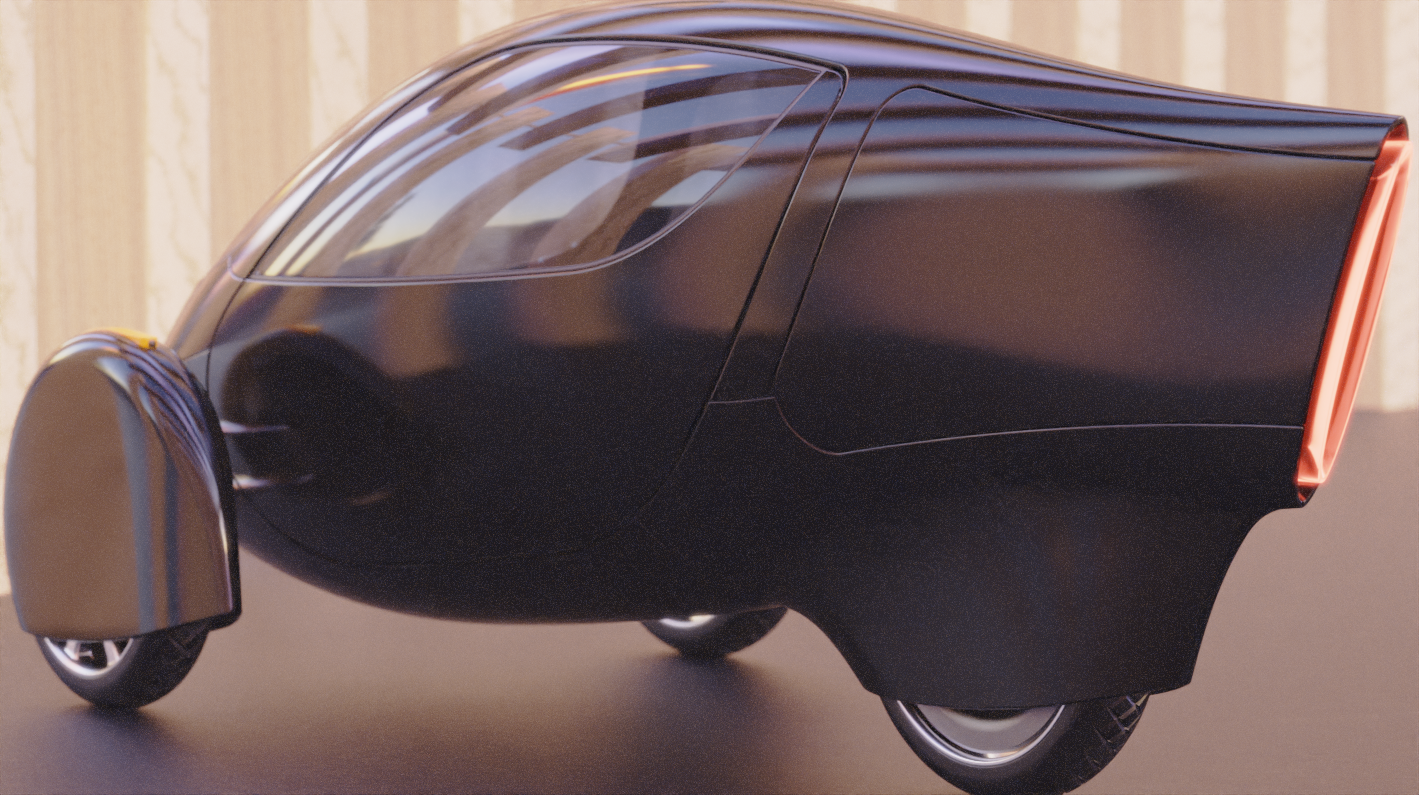
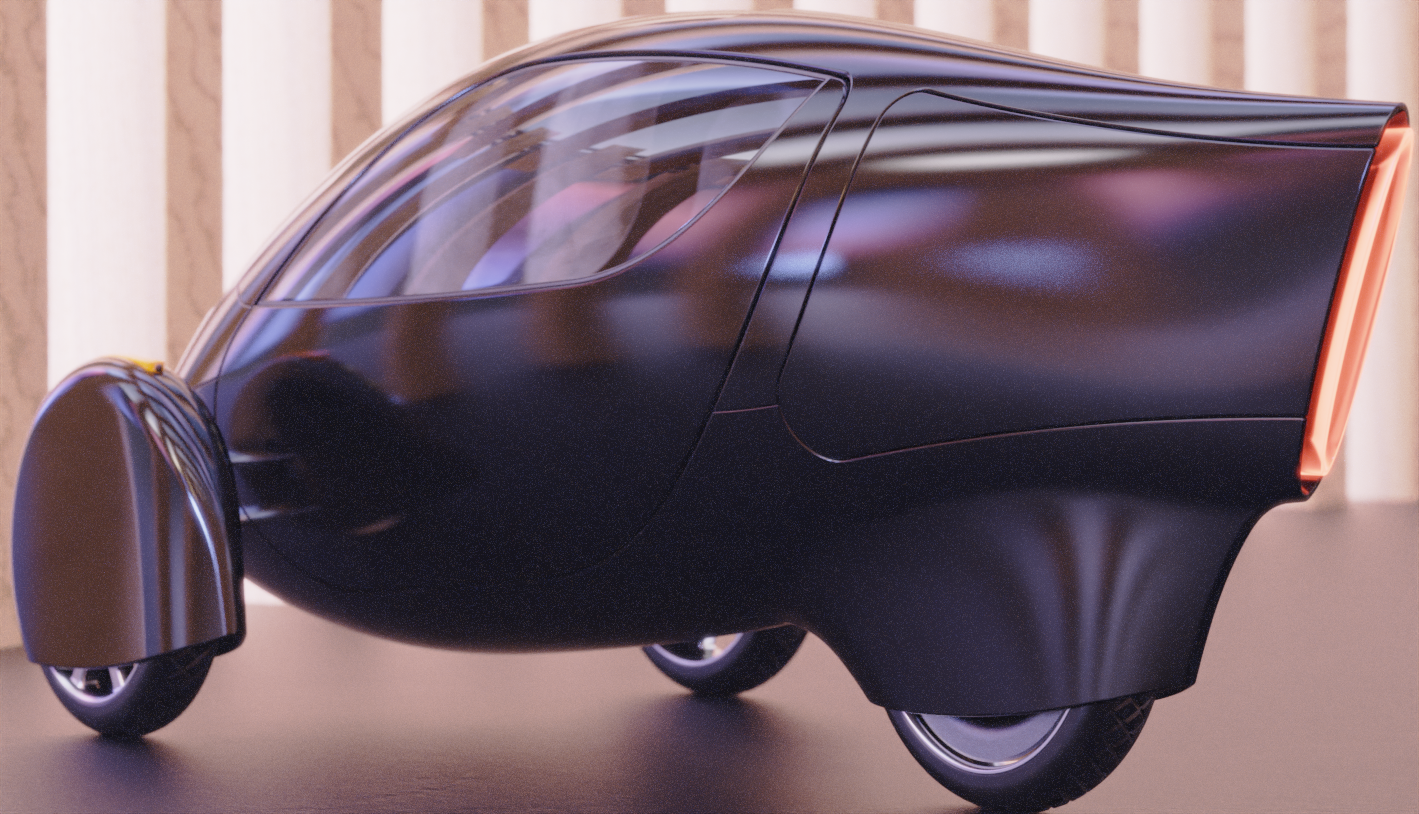
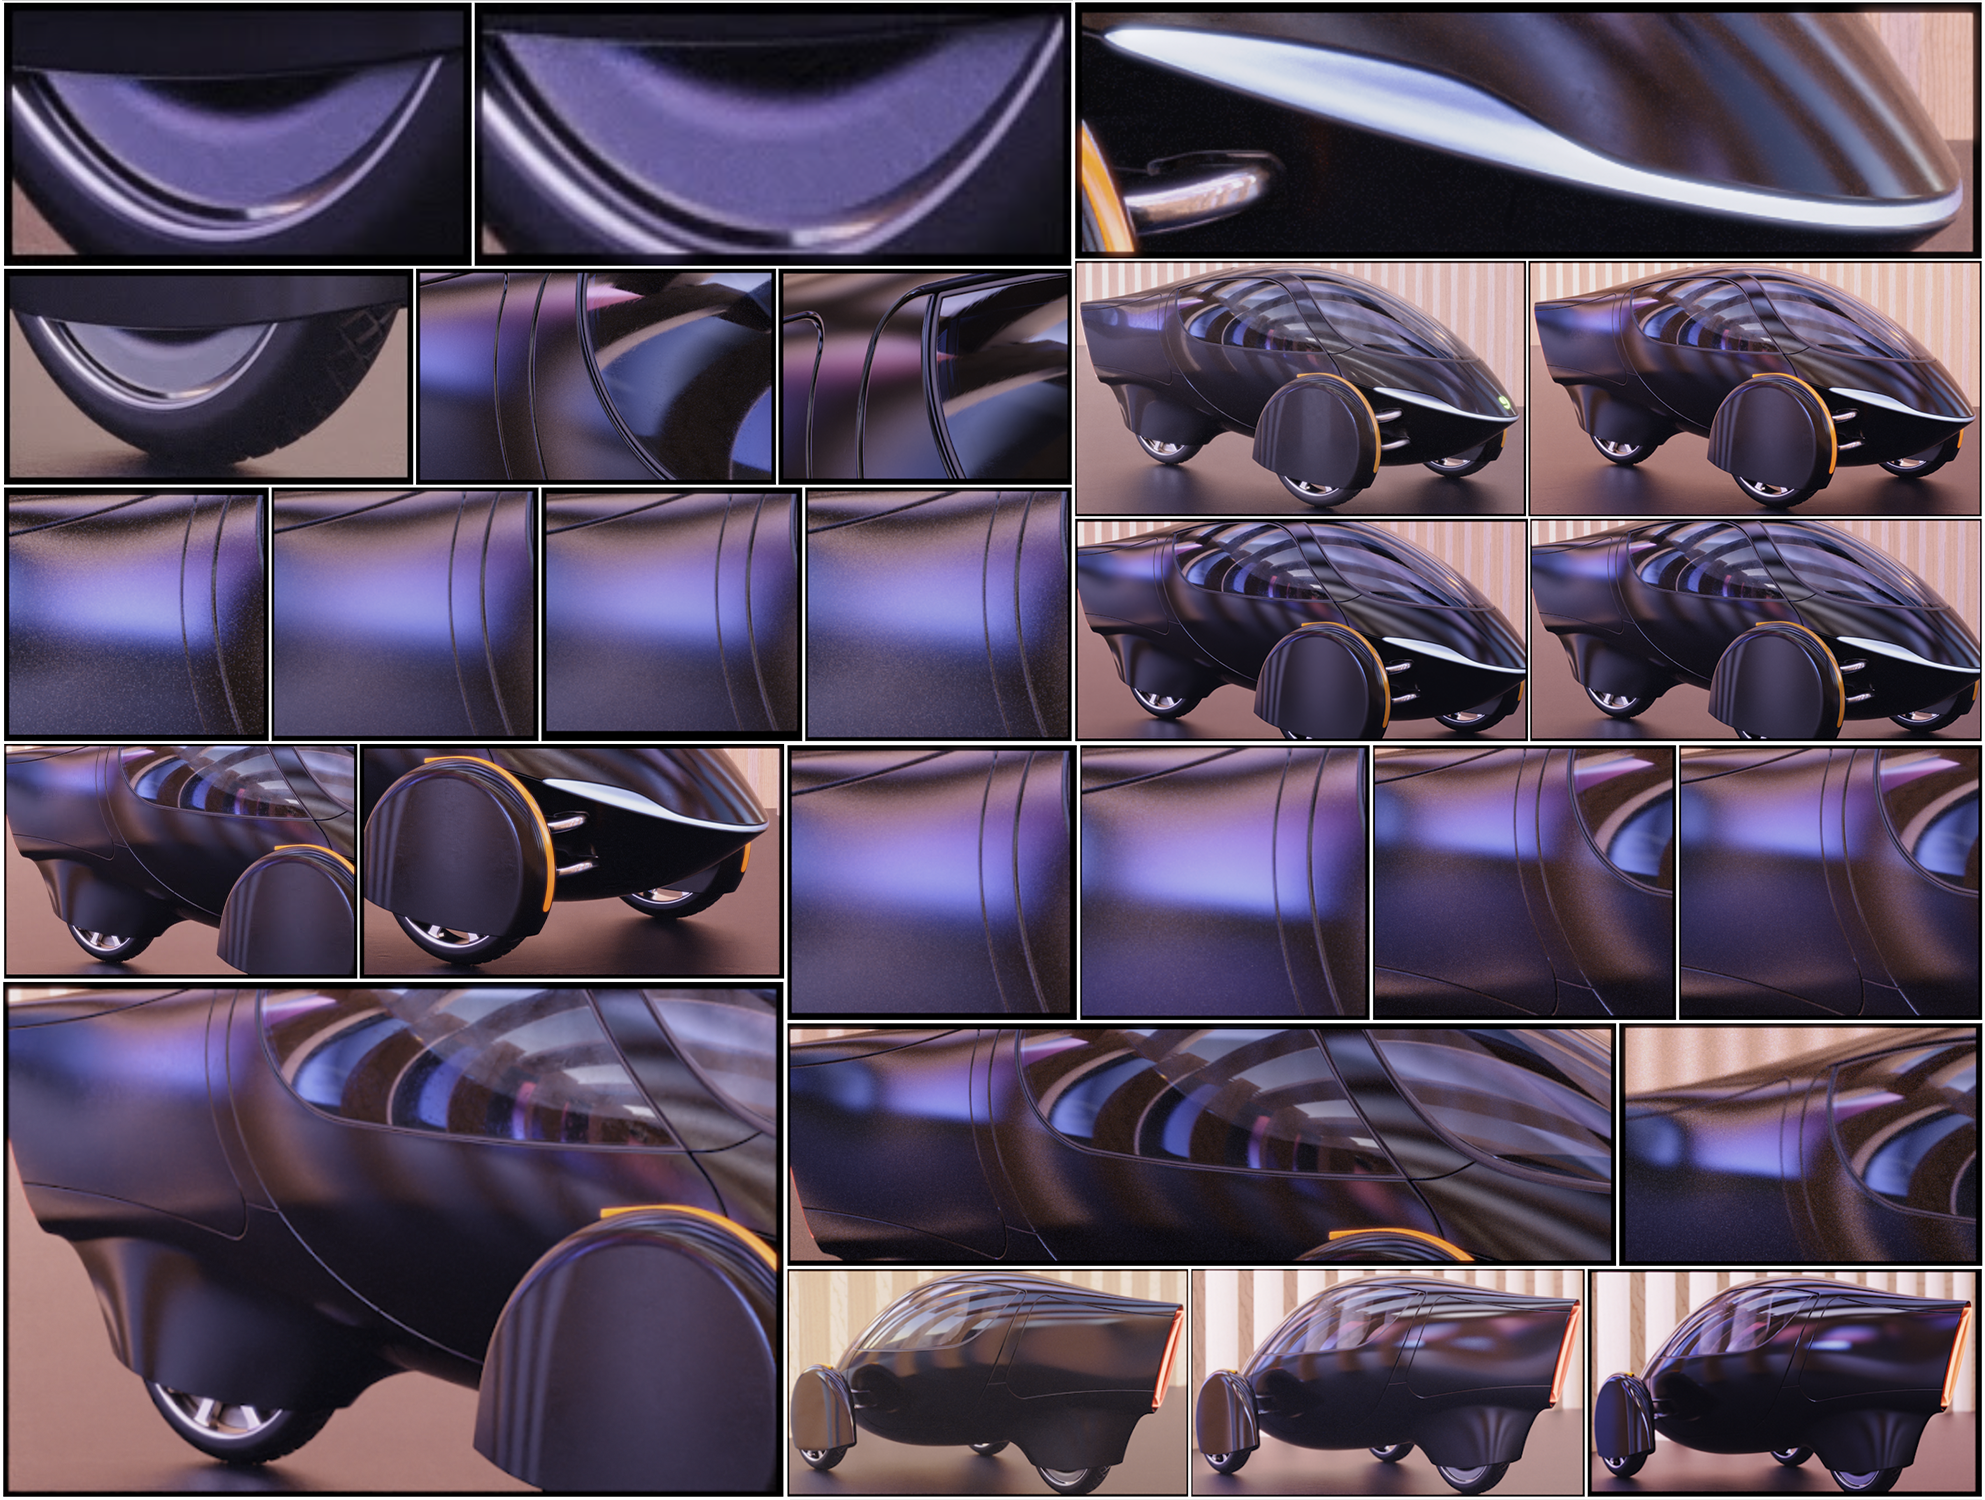
And made a number of partial renders to refine CMF, lighting, and render settings, some of which are below


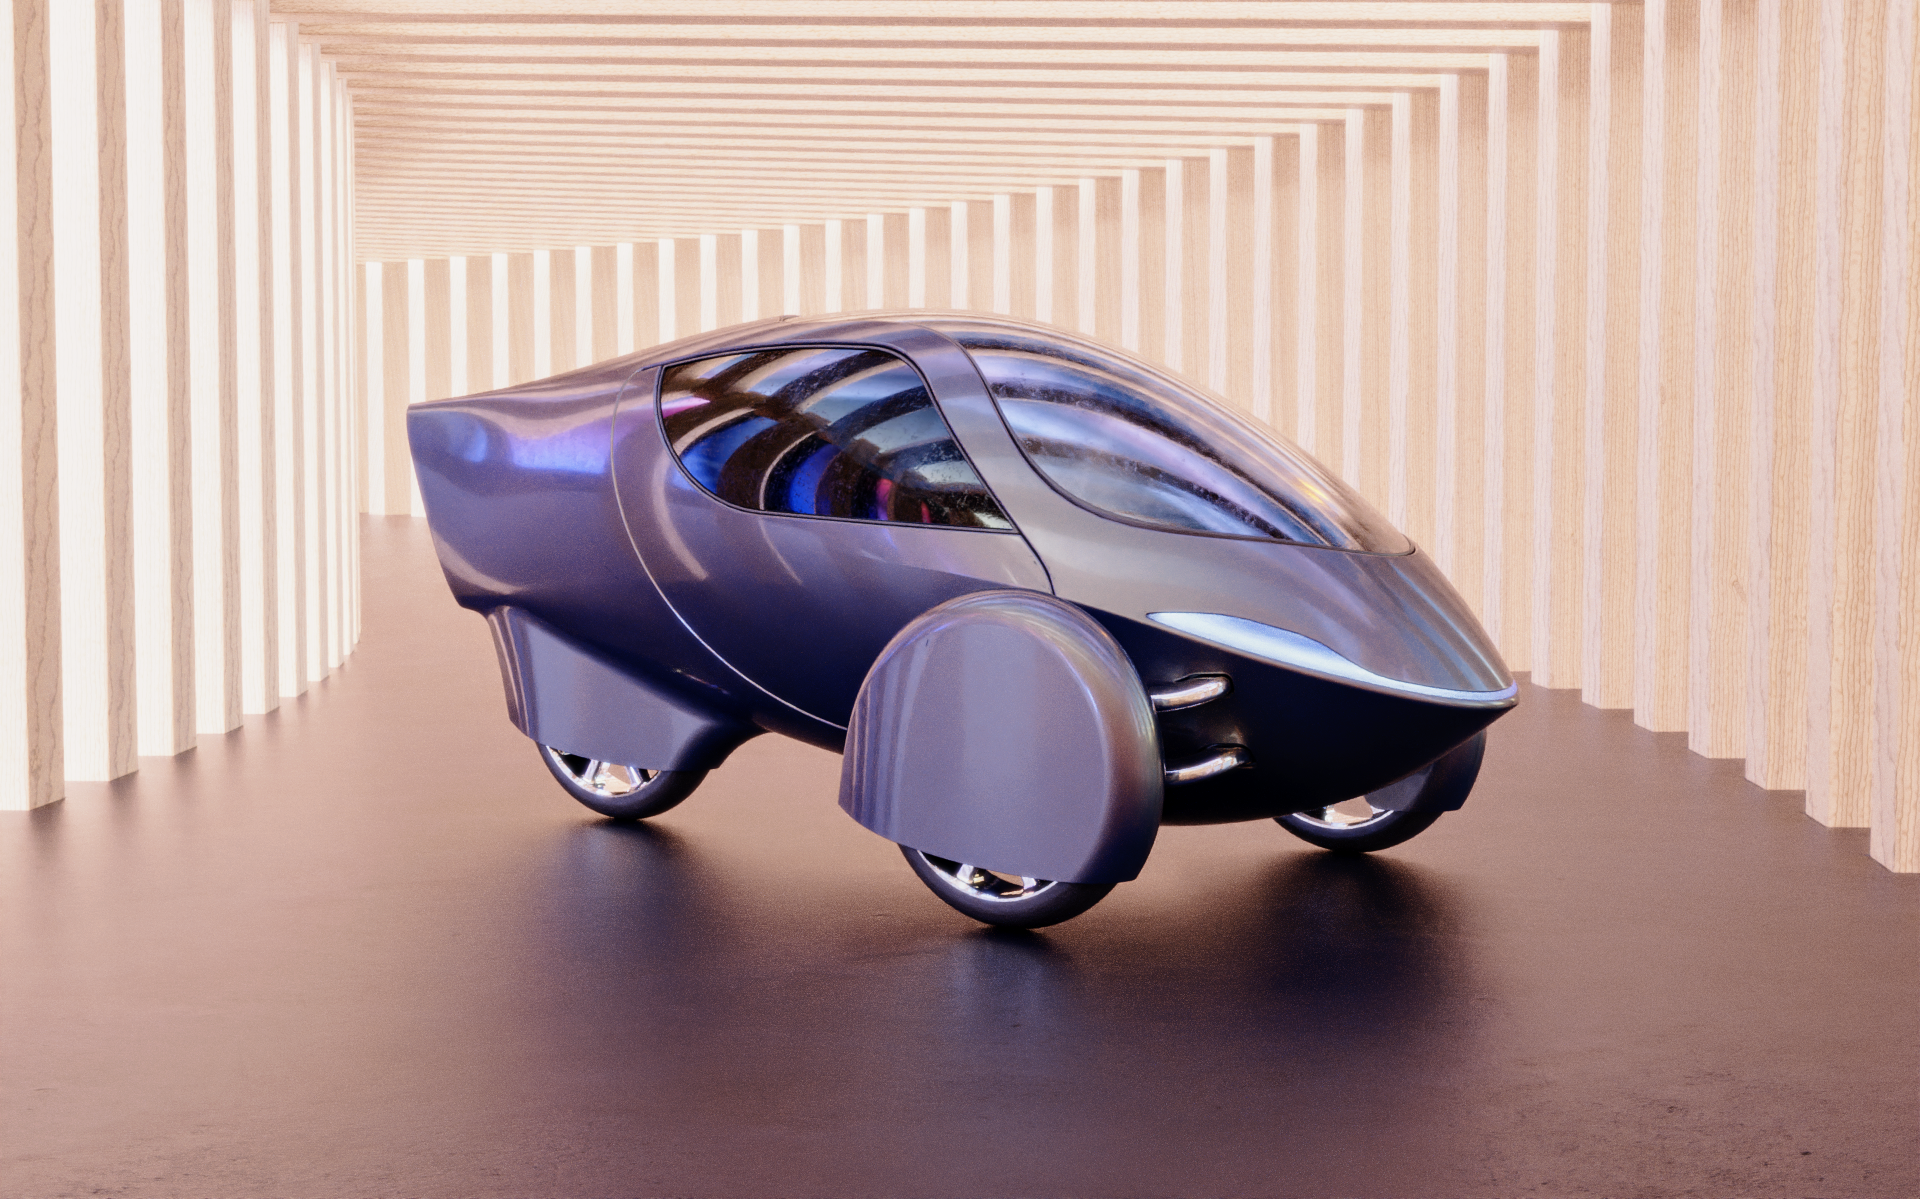
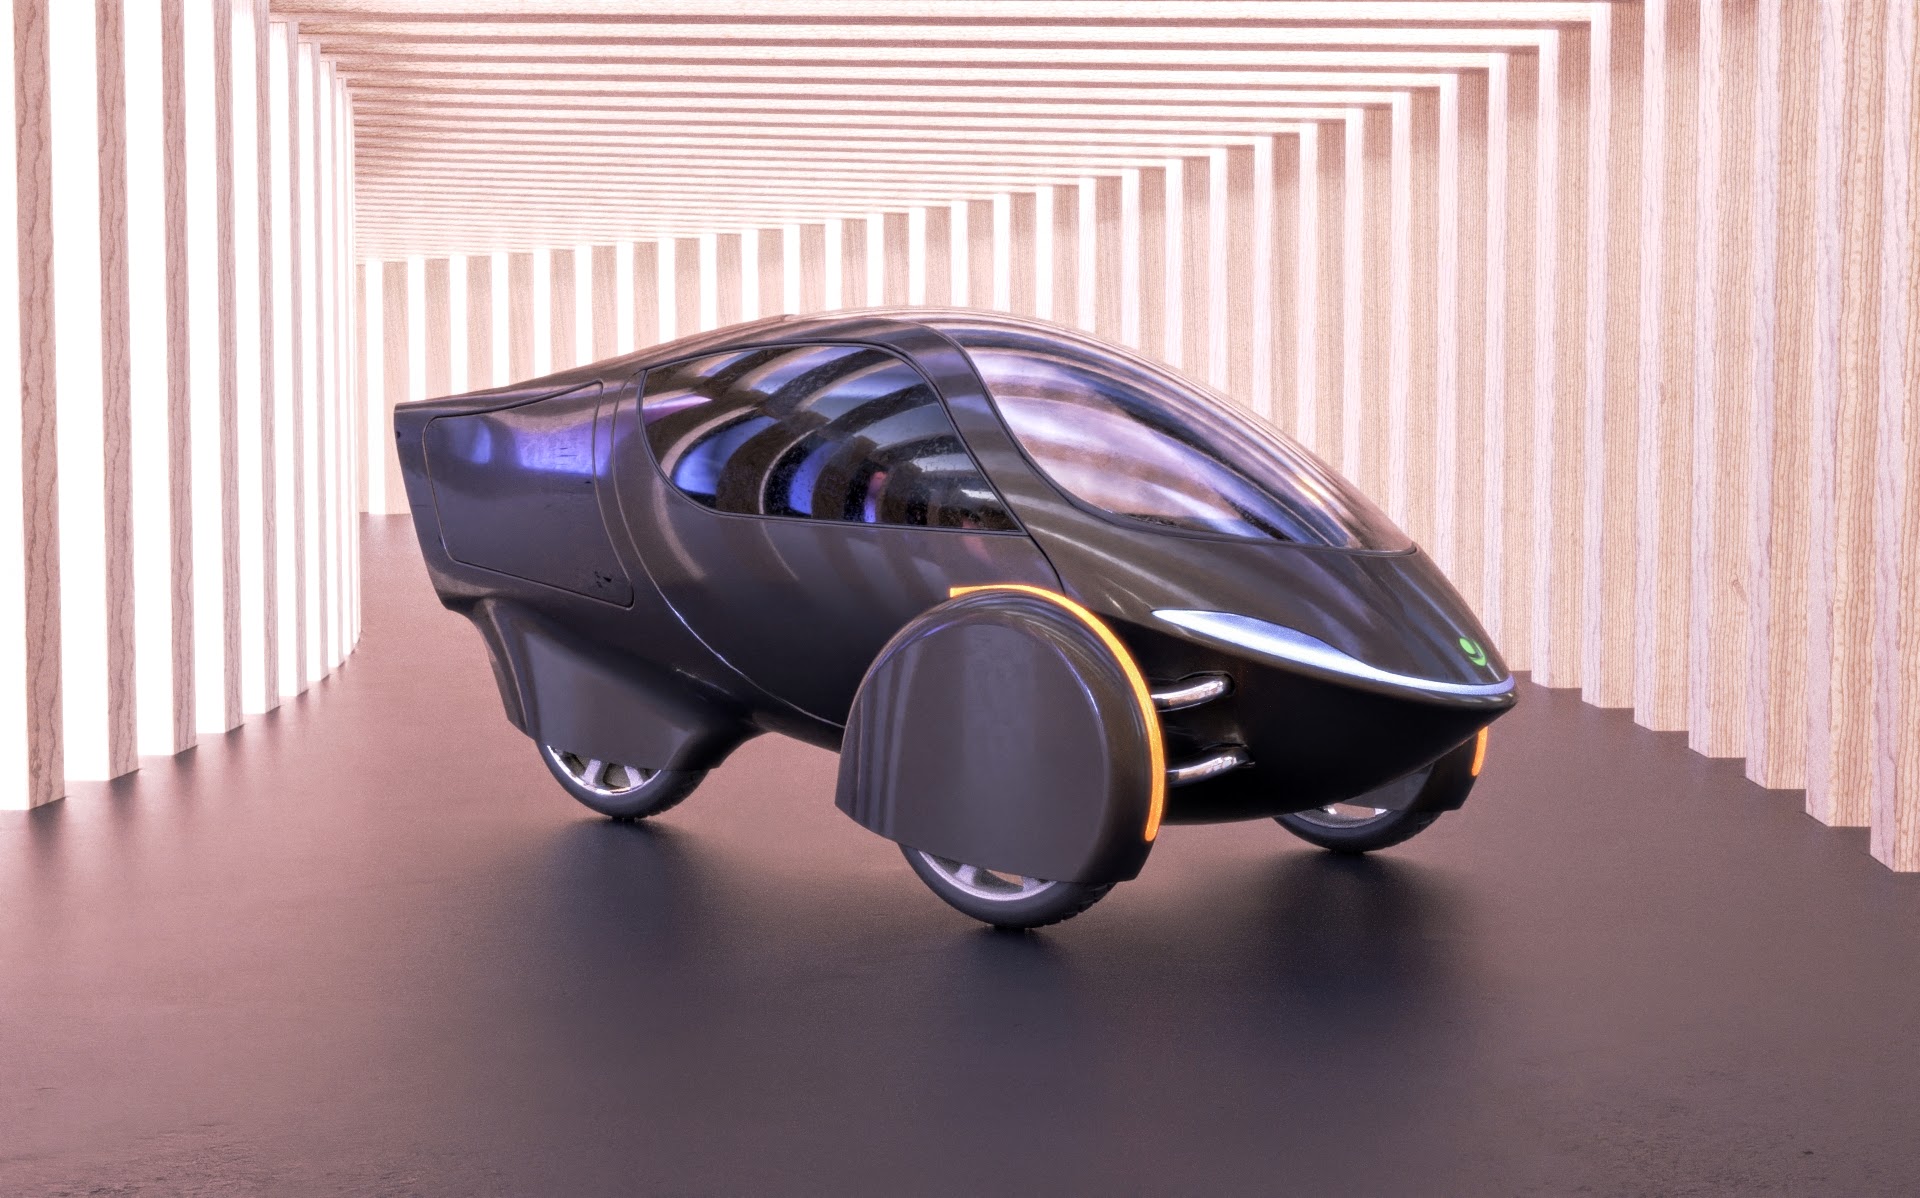

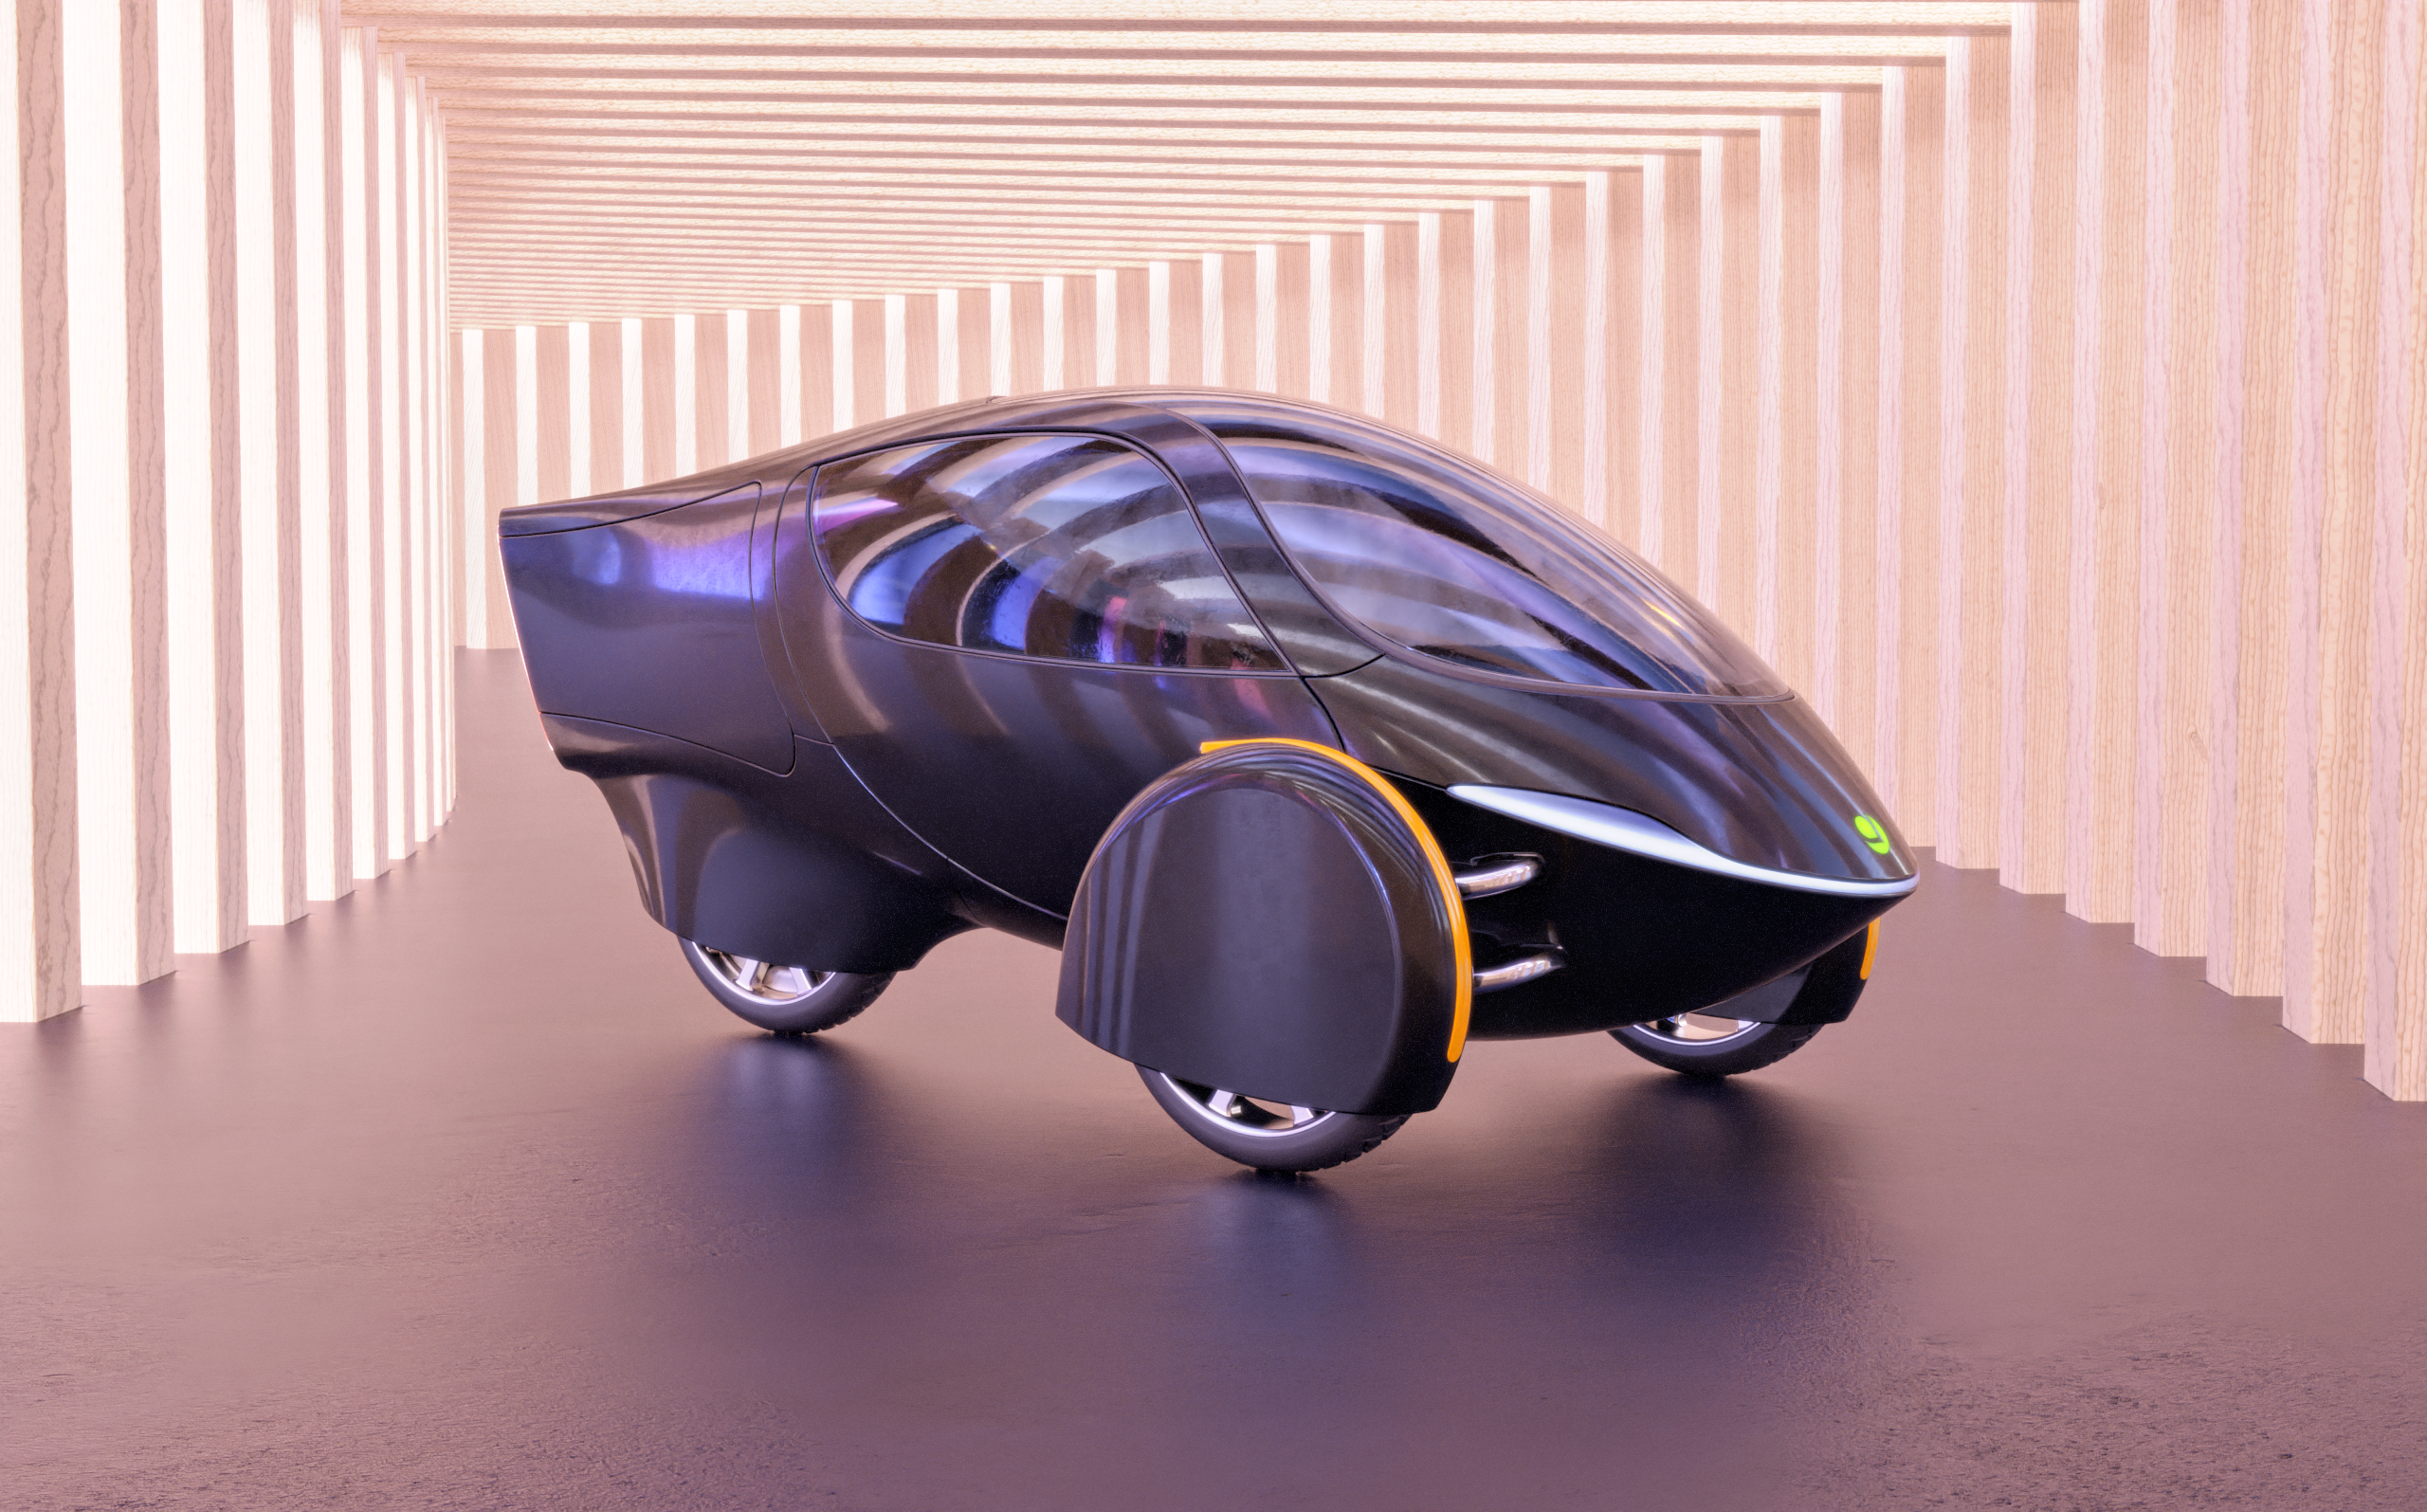
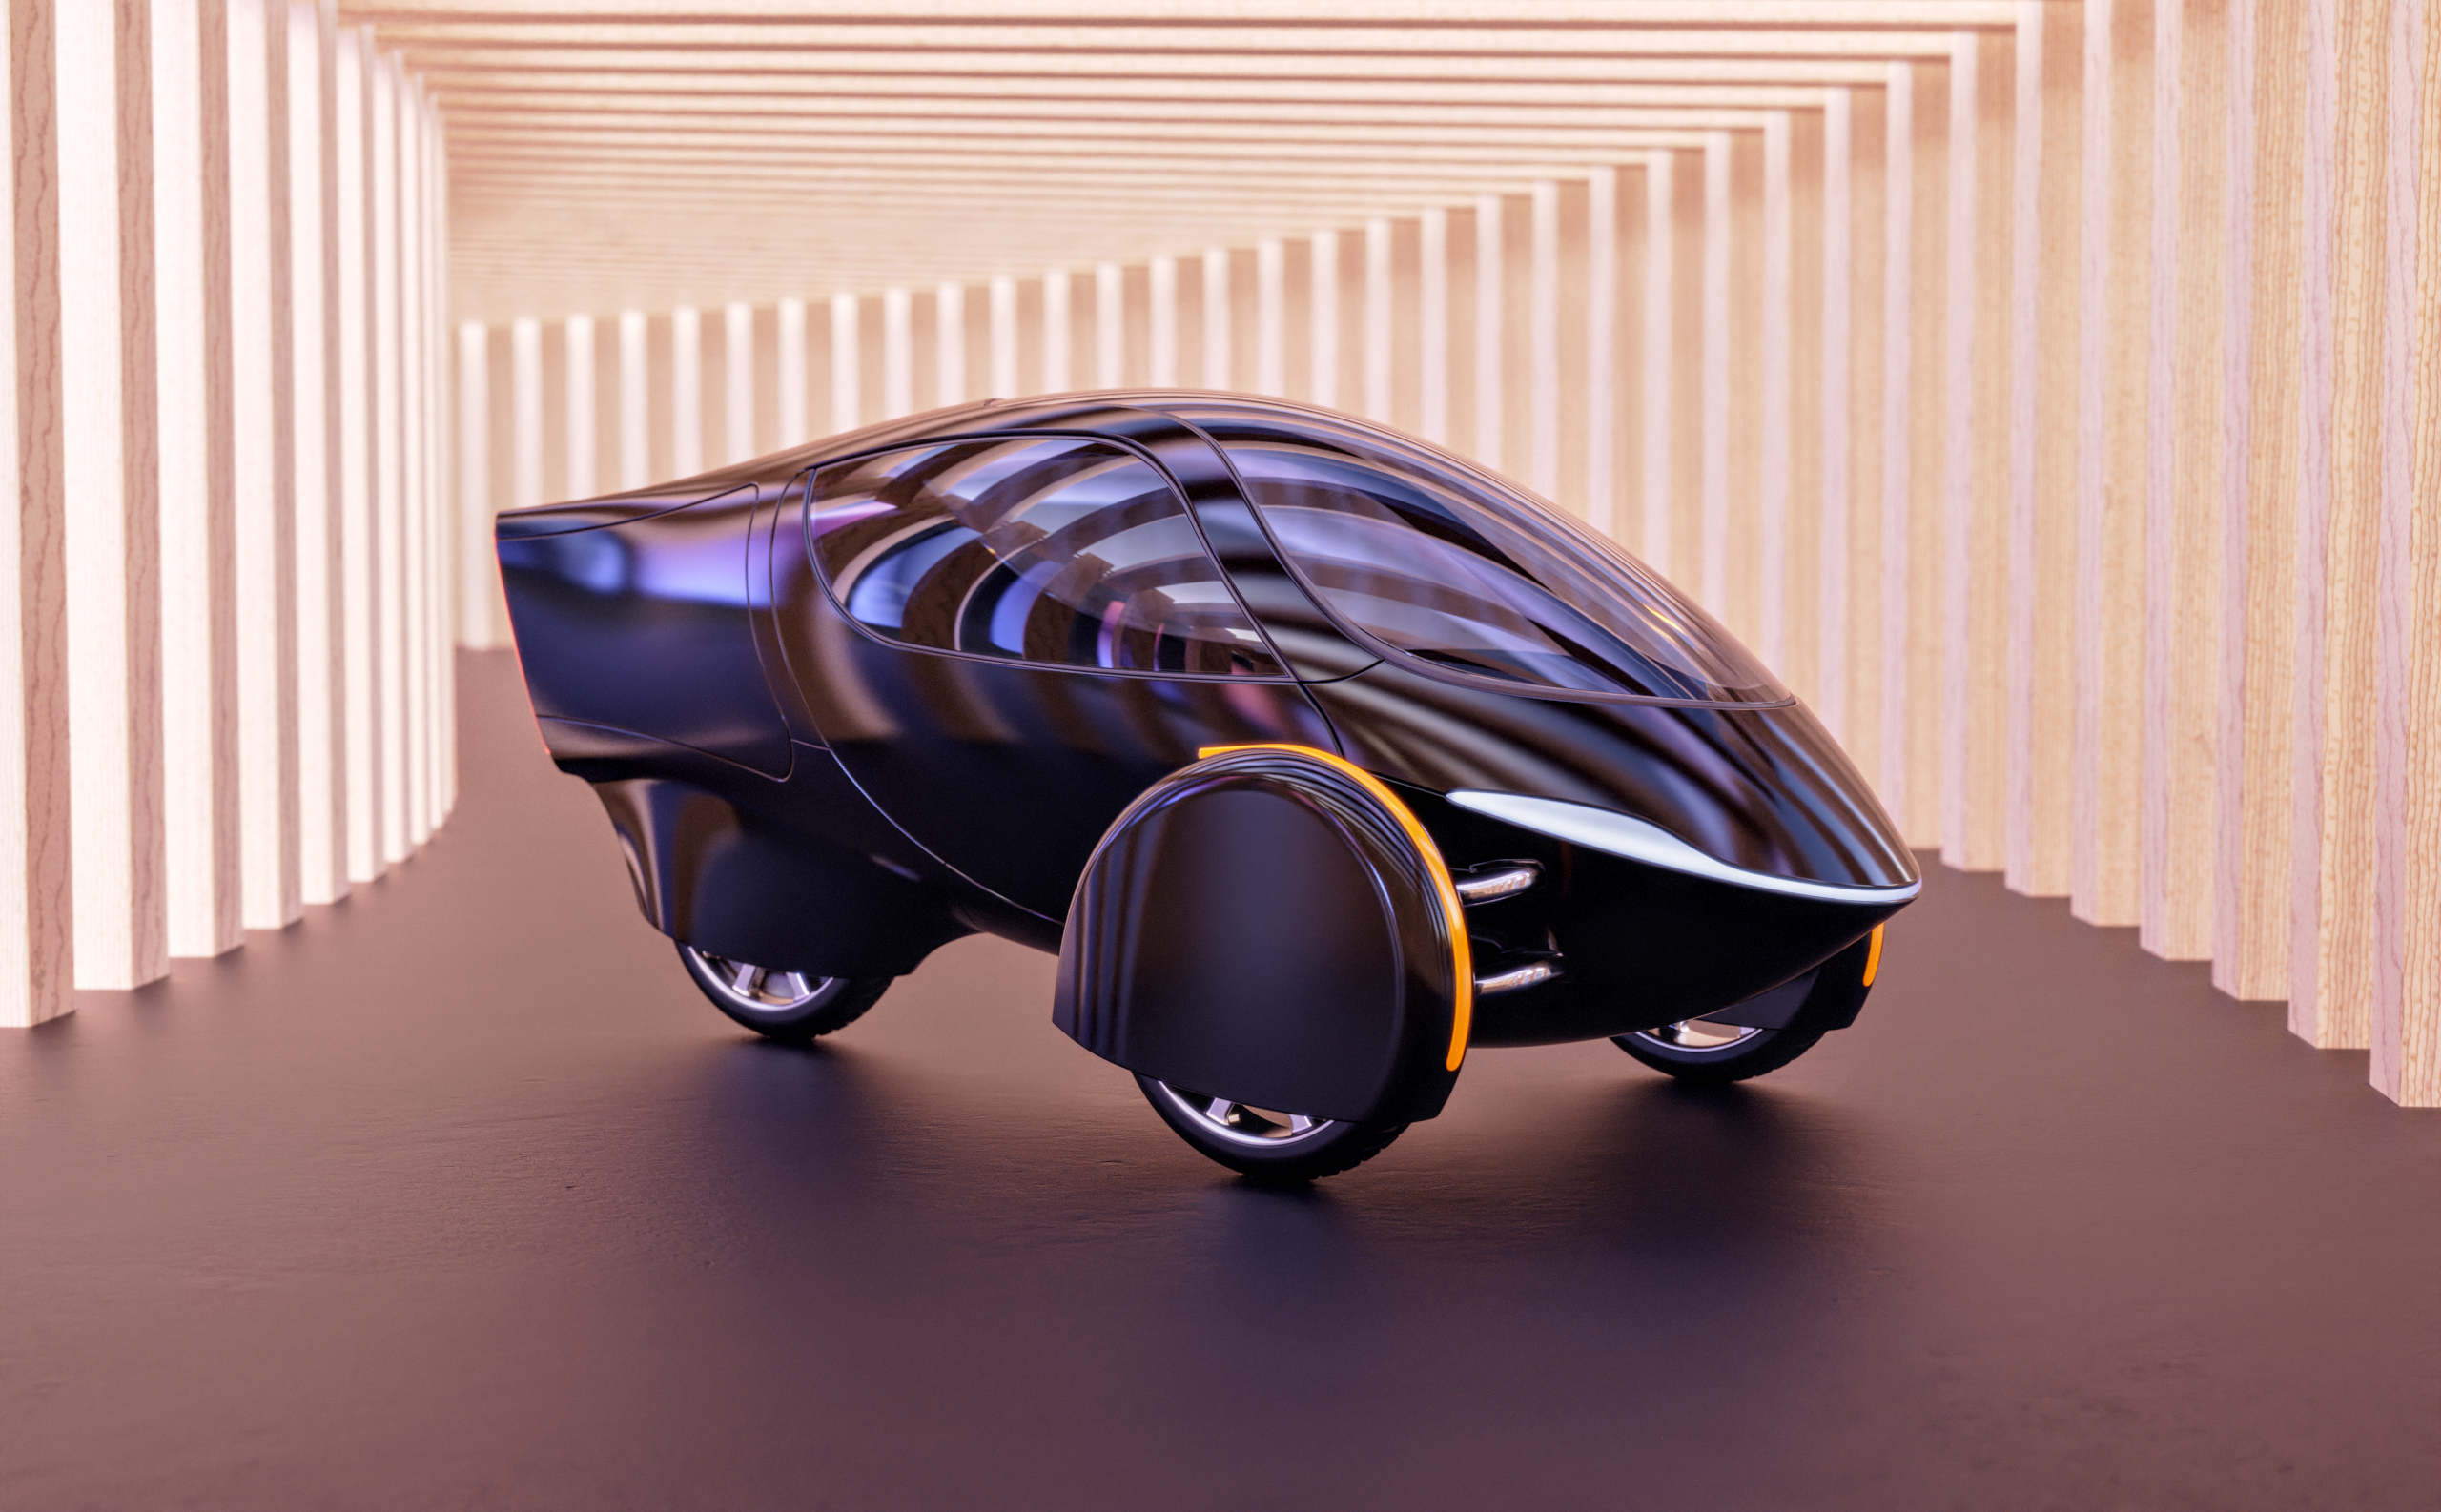


And a couple quick 30-hour renders later, the final result:
Tom has continued working on the design and you can check out his work on his website here
Thanks for looking!
Thanks for looking!
